

Import and Export
If you have already built nice pages/templates/sections in EComposer, this feature helps you store them on your devices as a permanent backup. Or in the case that you want to quickly Transfer pages from your current store to other stores so that you don’t have to build pages from the beginning.
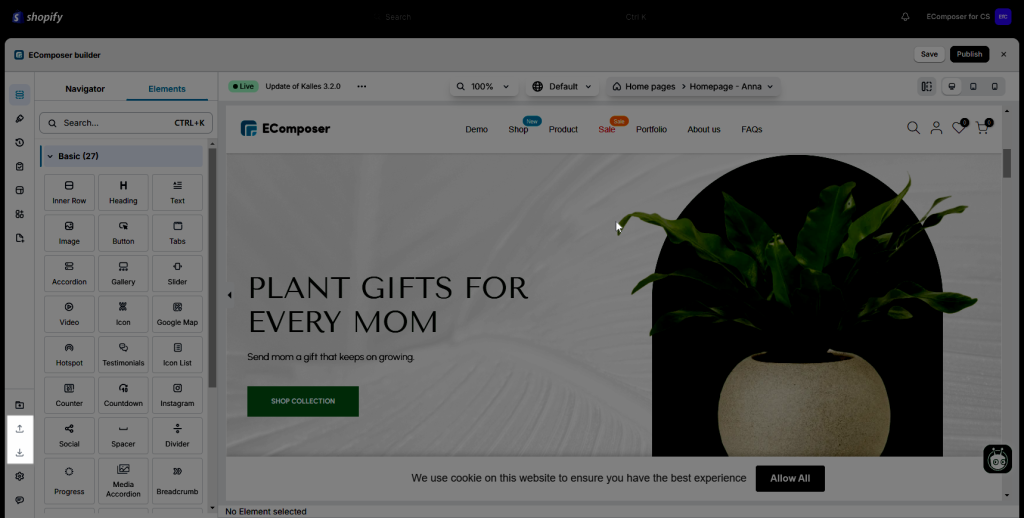
On the EComposer editor, you can see the Export/Import options at the left bottom corner.
1. How to Export a page/template/section?
The Export feature will export and download your page as a file to your computer.
Step 1: Please click on Publish -> General -> Change the Title. This name is also your export file name.
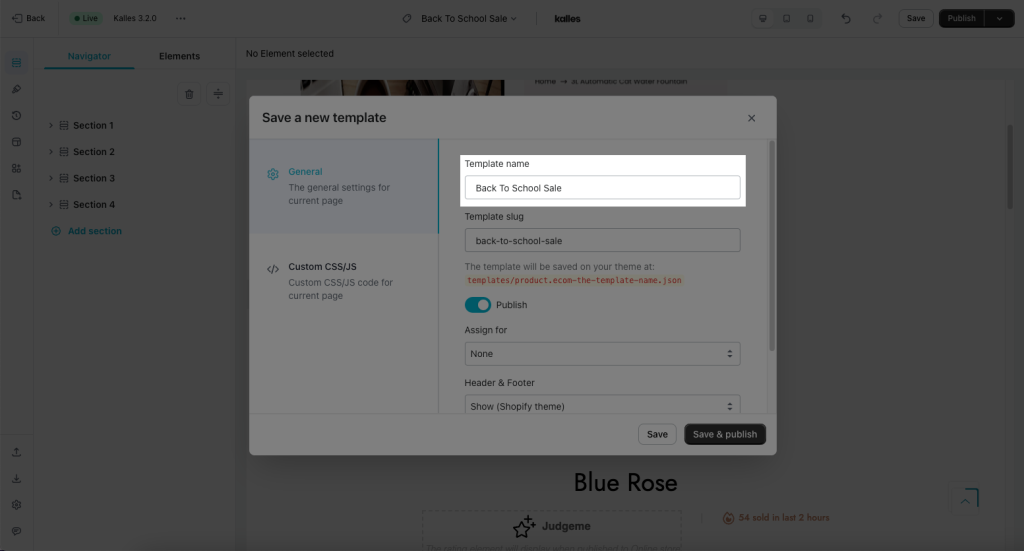
Step 2: At the bottom left corner, choose the “Export current layout to file” option to export your page.

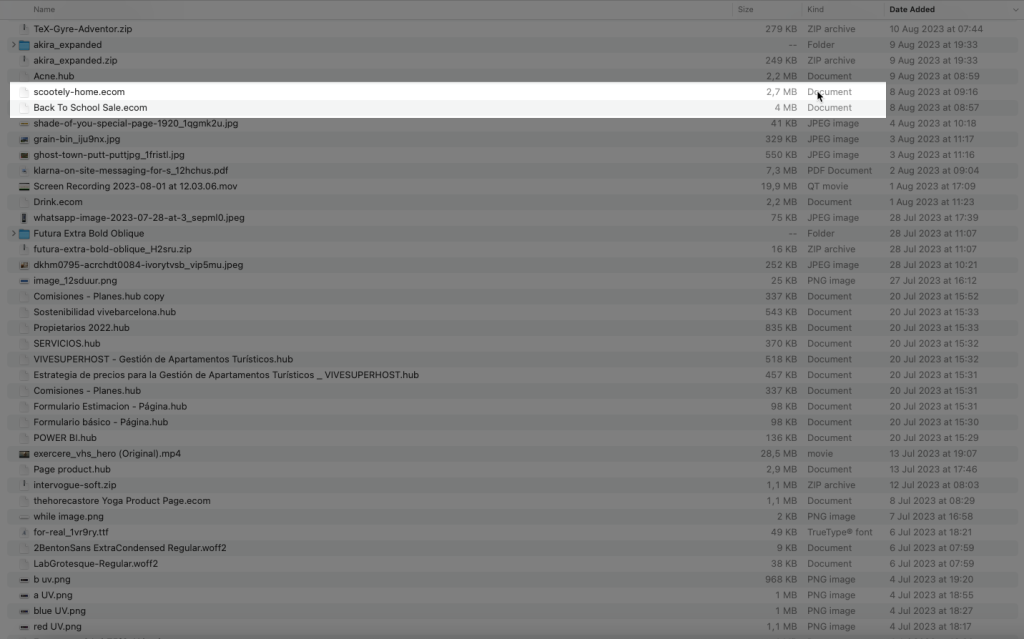
The exported files go under the .ecom format.
2. How to Import a page/template/section?
Importing is one of EComposer’s outstanding features. It helps you Import the page/section/template from your computer to EComposer.
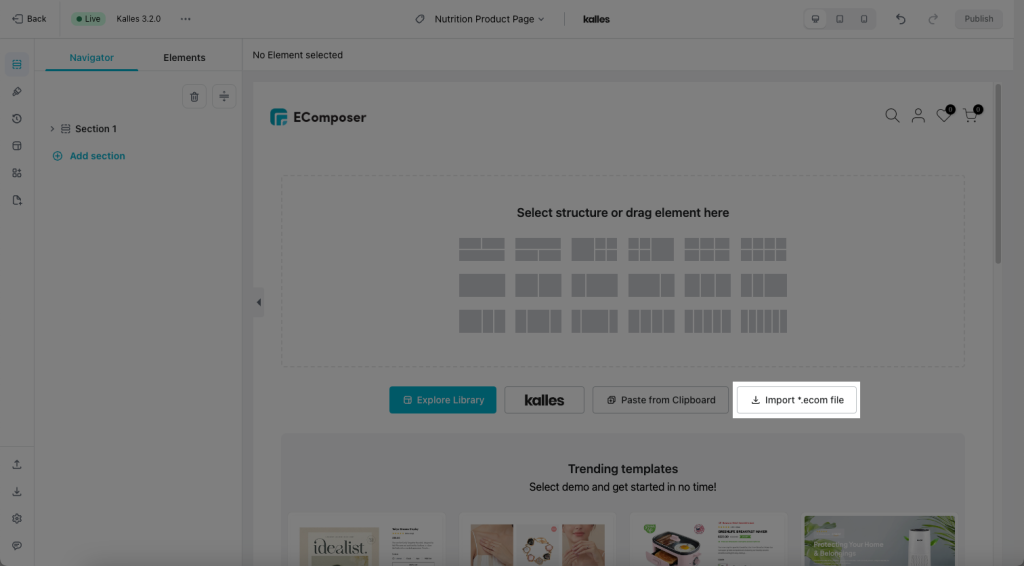
Step 1: You should start from a new Blank page -> click the Import *ecom file button.
Step 2: Select Options to Import:
- Section Data (Must choose): This option helps you import codes automatically.
- Page setting: Import all settings from the file.
- Site style: Import all styles from the file.
- Global typography and color: All typography and color parts will be imported.
- Custom CSS, JS: If the file has custom CSS, JS, you can choose to import it or not.
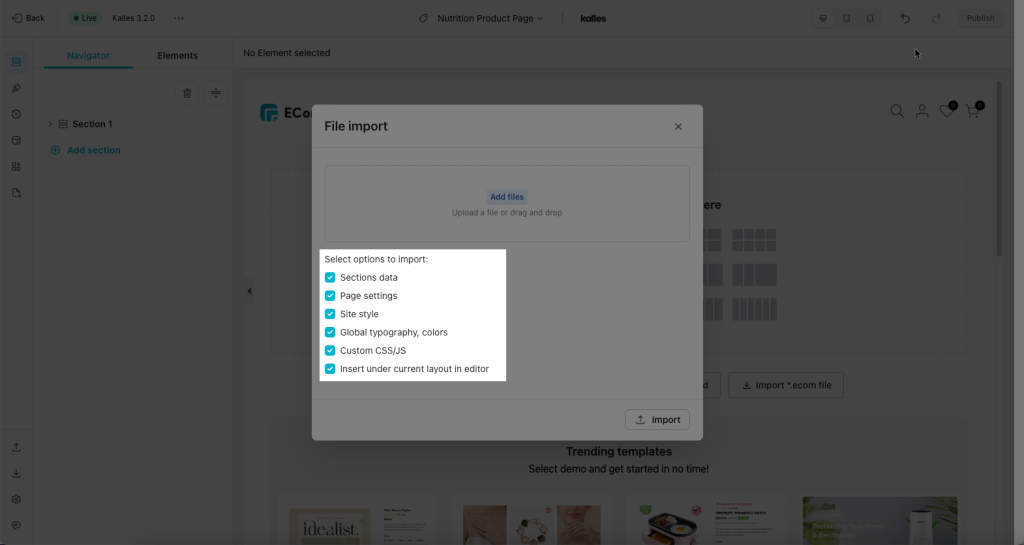
Step 3: Simply click Import to have your backup layout visible on this new page and you can continue working on this design.

Note: There is no ways to import the pages of the Shopify theme into EComposer due to the differences of the core. You must replicate those pages in Ecomposer Editor by using app’s components


