How to add “:” character after variant name in Variant element
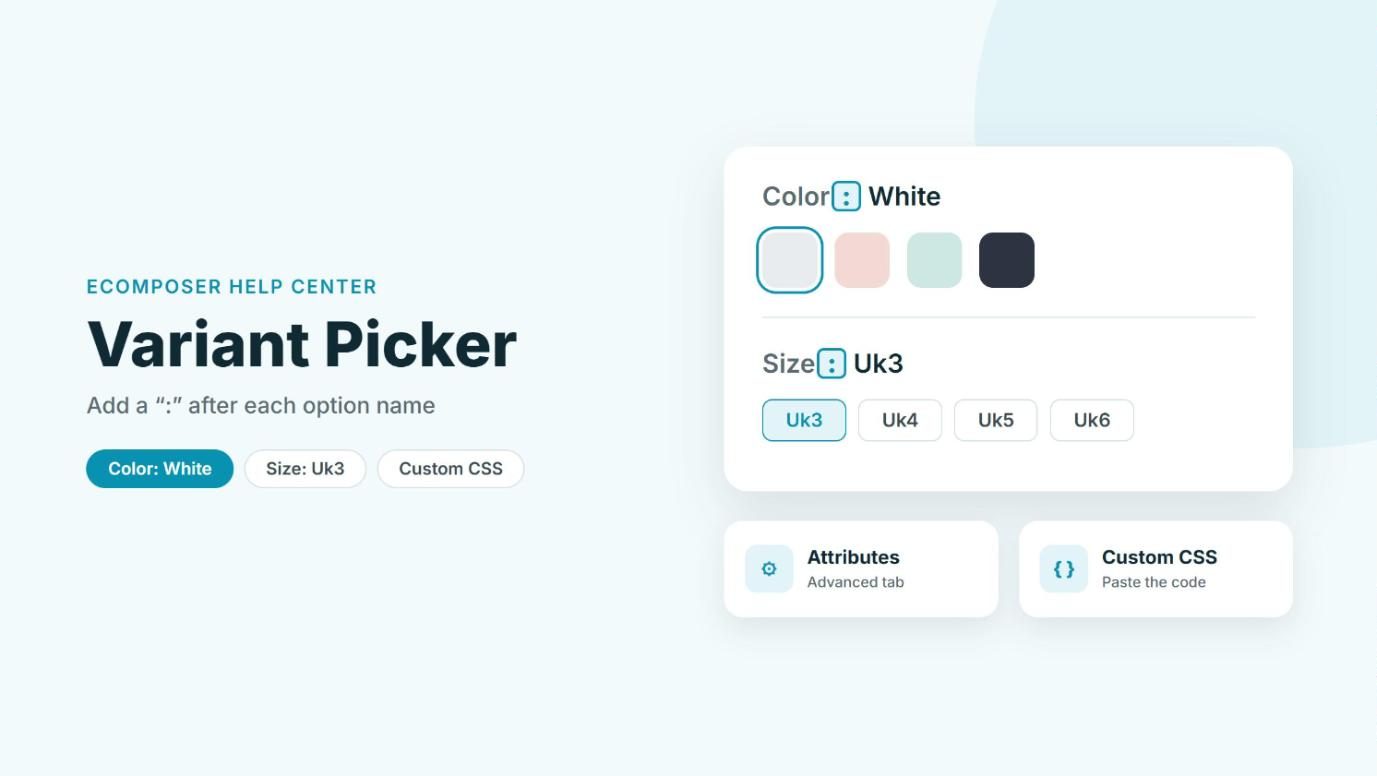
On the Variant Picker element, the option name and the selected value normally sit side by side, like “Color White” or “Size Uk3”. If you’d like a “:” between them, so it reads “Color: White” or “Size: Uk3”, a short piece of custom CSS does the trick. Here’s how to add it.
The selected value (like “White” or “Uk3”) only shows next to the option name when Show option selected is turned on. You can find it in the Content tab of the Variant Picker.
1. Add the CSS code to the Variant Picker
The code goes into the Custom CSS field of the Variant Picker. It only affects the element you add it to, so the rest of your page stays exactly as it is.
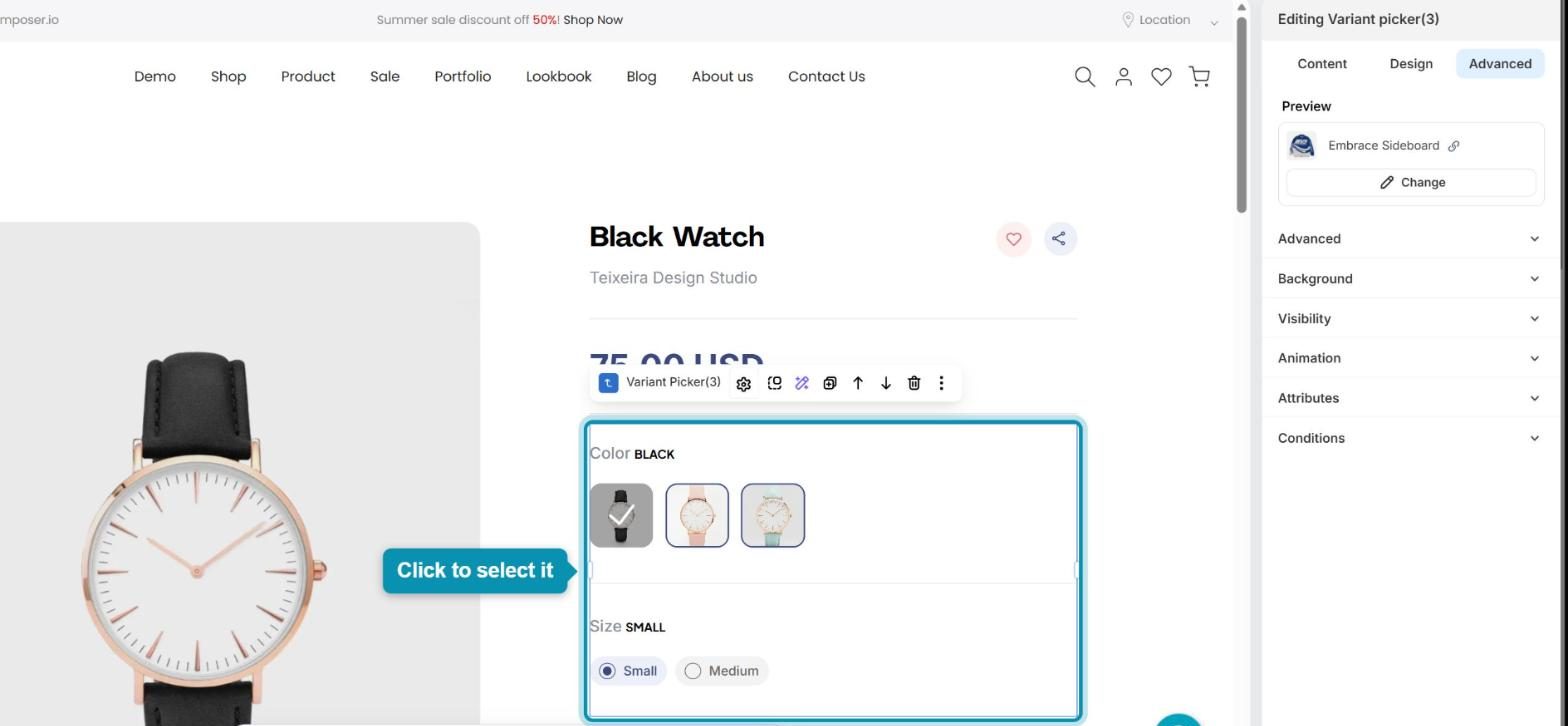
Step 1: Click the Variant Picker element on your page to select it. Its settings will open in the panel on the right.
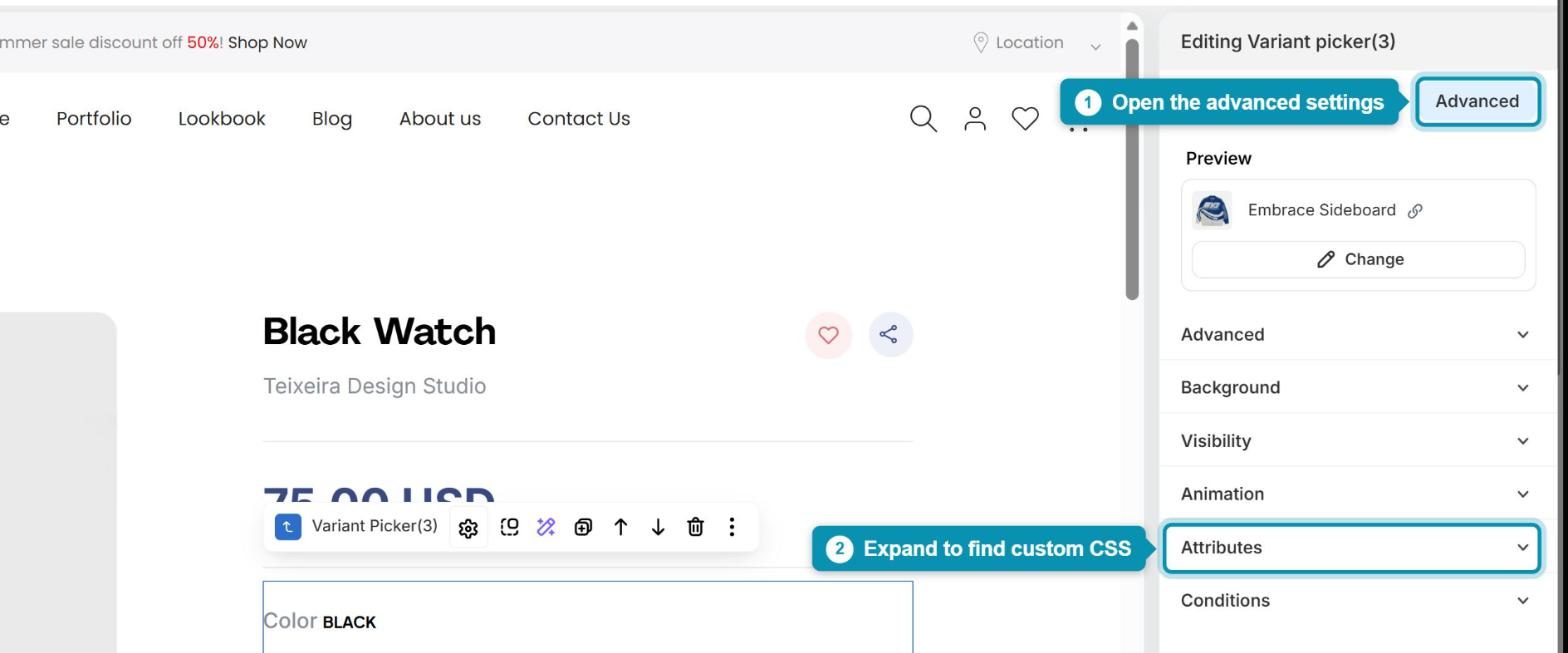
Step 2: Switch to the Advanced tab, then click Attributes to expand it.
Step 3: Scroll down to Custom CSS for this element and paste the code below into the field.
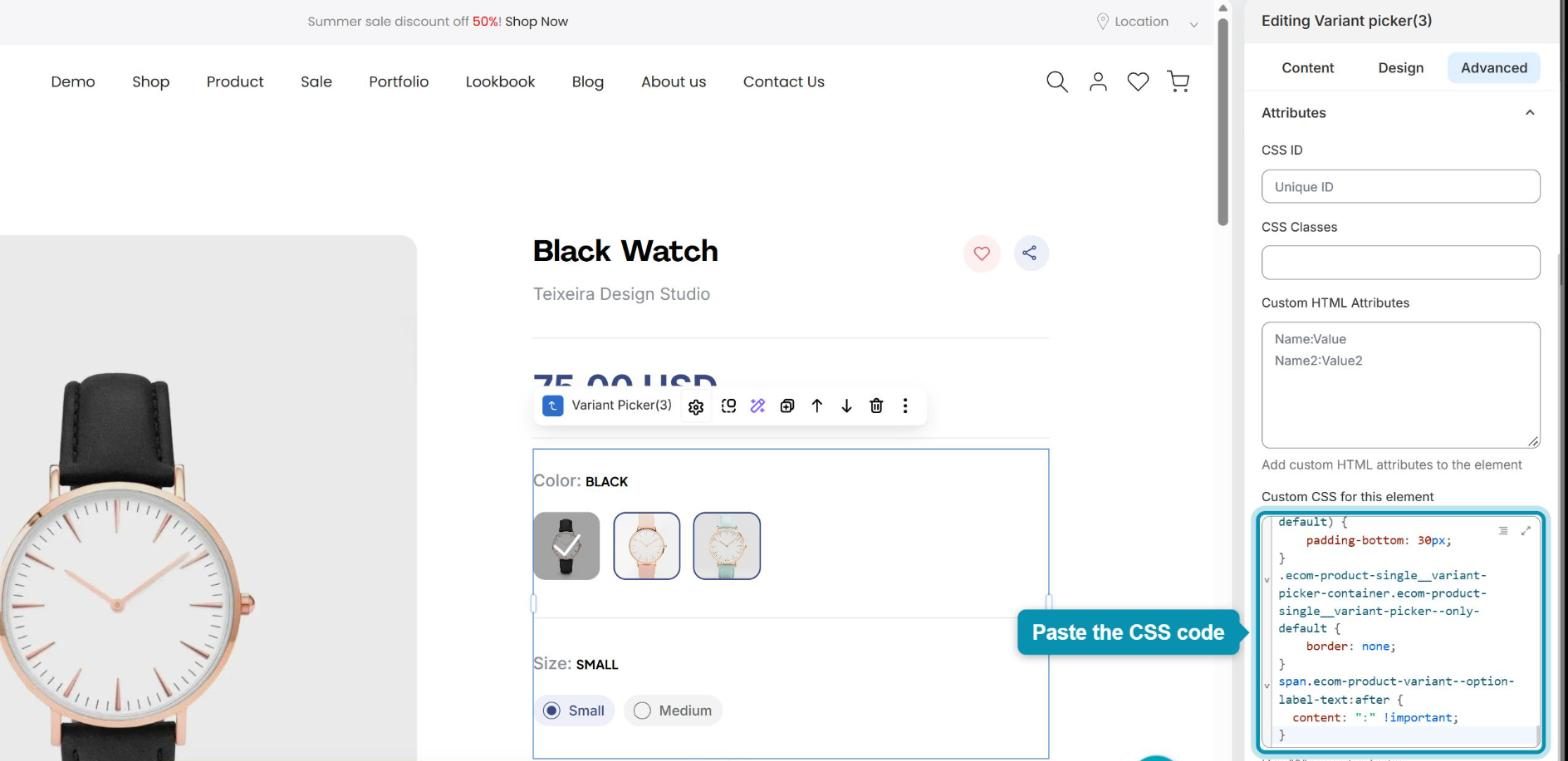
span.ecom-product-variant--option-label-text:after {
  content: ":" !important;
}
You don’t need to change anything in the code, just paste it as it is. If the field already contains some CSS, add the new rule on a new line after the existing code instead of replacing it.
2. Check the result
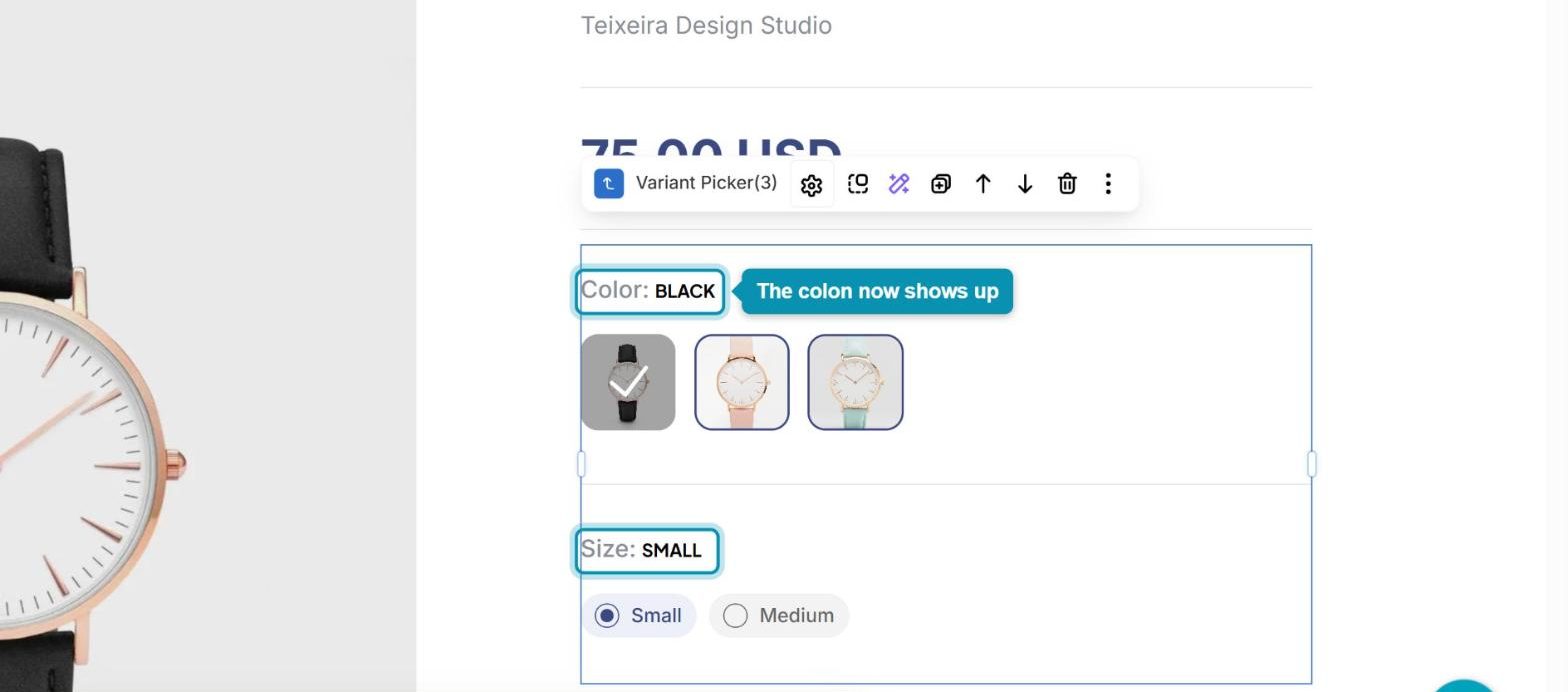
The colon shows up right away in the builder, so you can check it without leaving the page: each option name is now followed by a “:”, like “Color: Black” and “Size: Small”. When you’re happy with it, click Publish to show it on your live store. If you ever want the colon gone, just delete the rule from the Custom CSS field.