How to solve the error when uploading images that exceed the allowed resolution
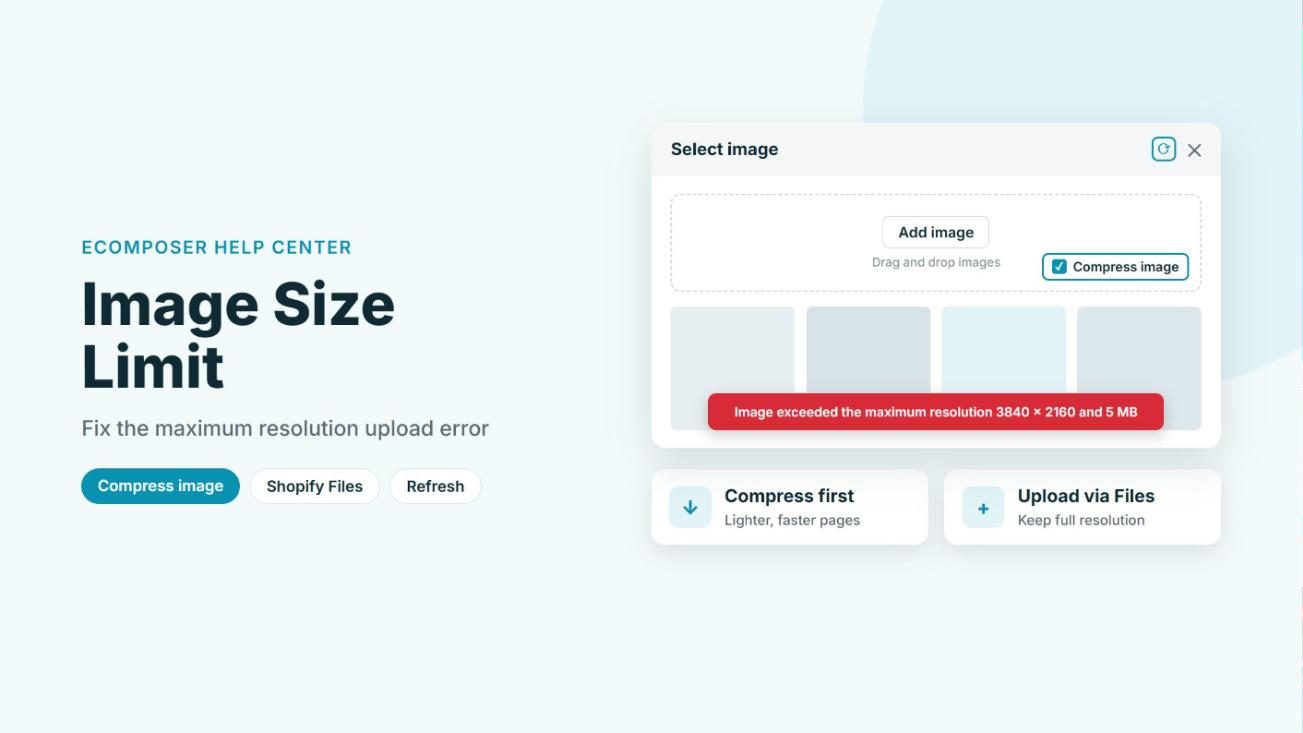
Got a red error saying your image exceeded the maximum resolution when uploading it in EComposer? Don’t worry, your image is fine; it’s just bigger than what the editor accepts. In this article, we’ll explain why that limit exists and show you two easy ways to get your image onto the page: shrink it before uploading, or upload it through Shopify Files instead.
1. Why EComposer limits image size
Very large images slow your store down. They take longer to load (which makes visitors leave before the page appears), they’re heavy on mobile data and smaller screens, and slow pages also rank lower in search engines. That’s why EComposer only accepts images up to 3840 × 2160 px and 5 MB in the image library. If your file goes over that, you’ll see an error like the one below at the bottom of the Select image window.

2. Reduce the image size (recommended)
The best fix is to make the image lighter before it reaches your page. You can resize it to 3840 × 2160 px or smaller in any image editor, then let EComposer compress it for you while uploading.
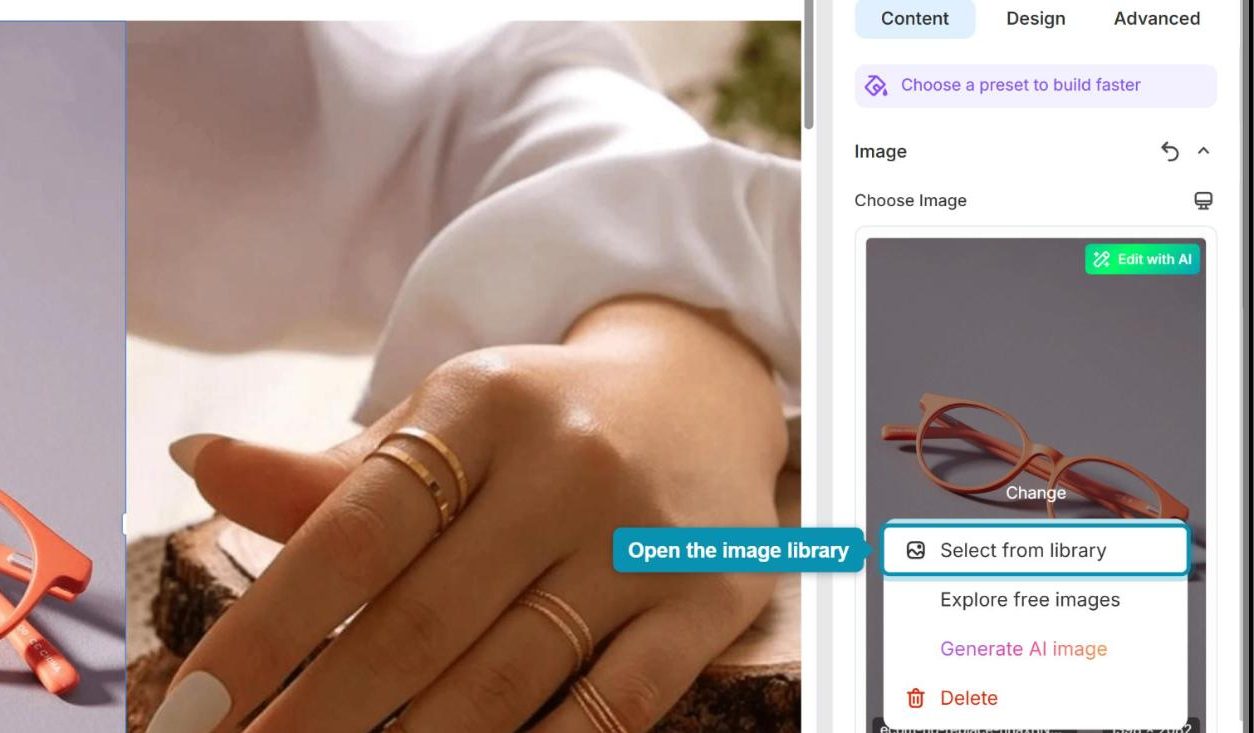
Step 1: Select the image or banner element on your page. In the Content tab, click the image preview under Choose image, then pick Select from library.
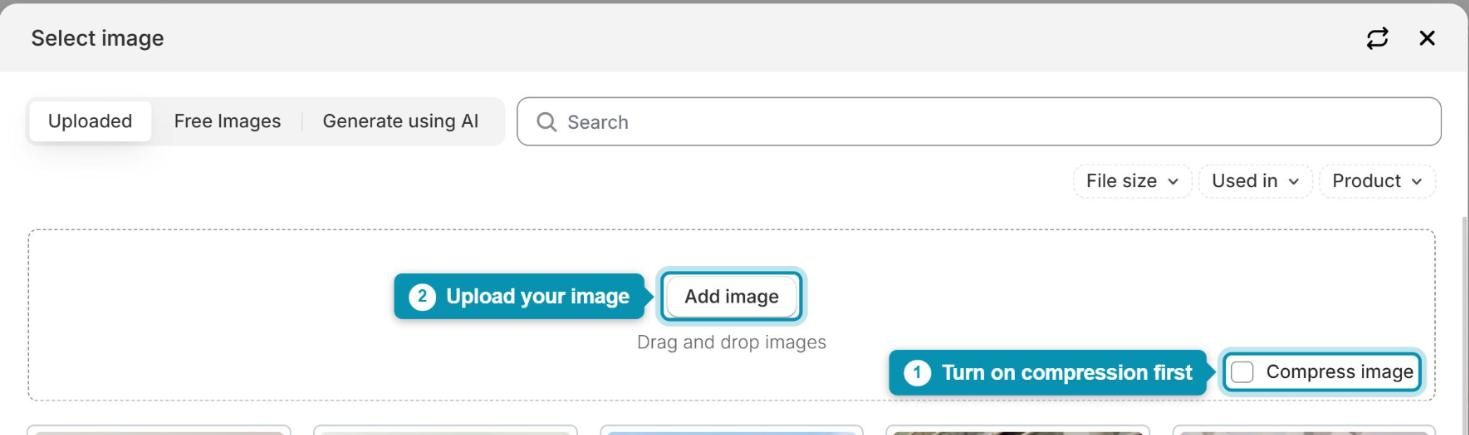
Step 2: In the Select image window, tick Compress image first, then click Add image (or drag and drop your file into the box). EComposer will shrink the file size as it uploads.
Want more control over compression? You can also use our Tinify Compress Image extension to compress images that are already in your store. You can find the details in this document.
3. Upload large images through Shopify Files
If you really need to keep the image at full size, you can upload it to Shopify first. Every image in Shopify Files shows up in EComposer’s image library, so you can pick it from there like any other image.
Step 1: In your Shopify admin, go to Content > Files.
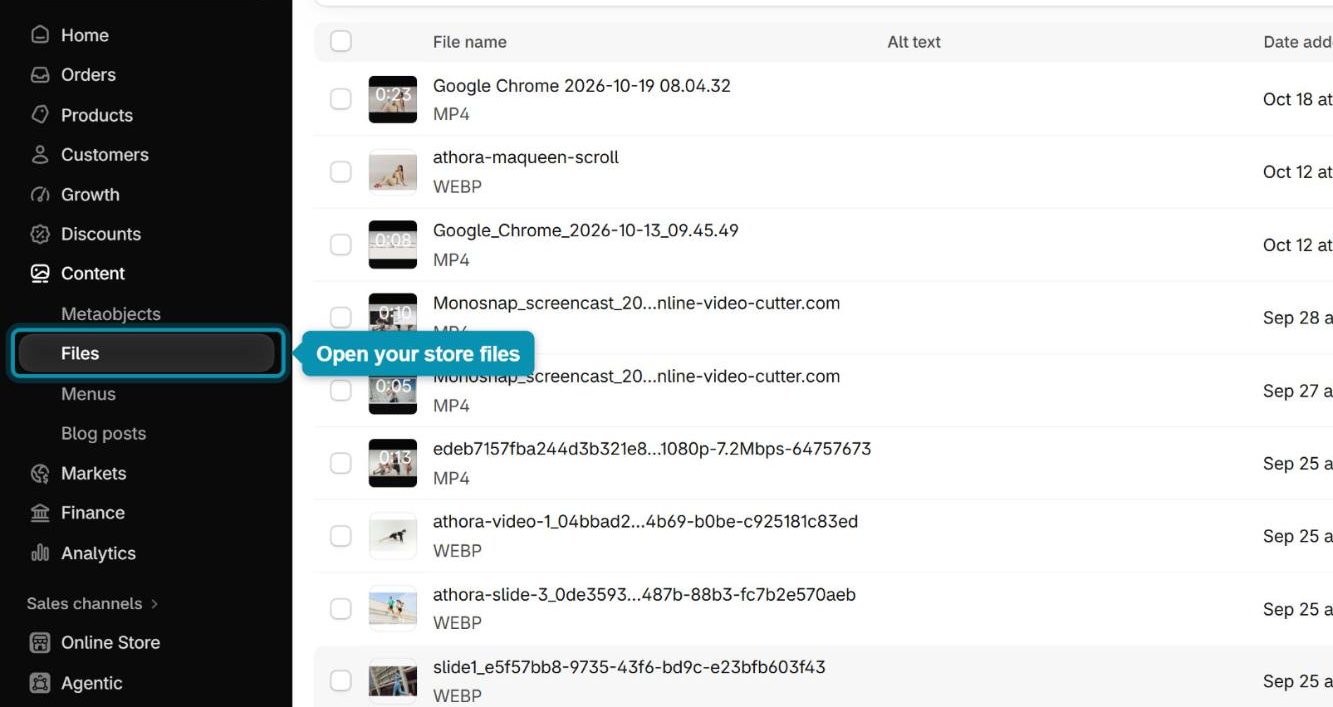
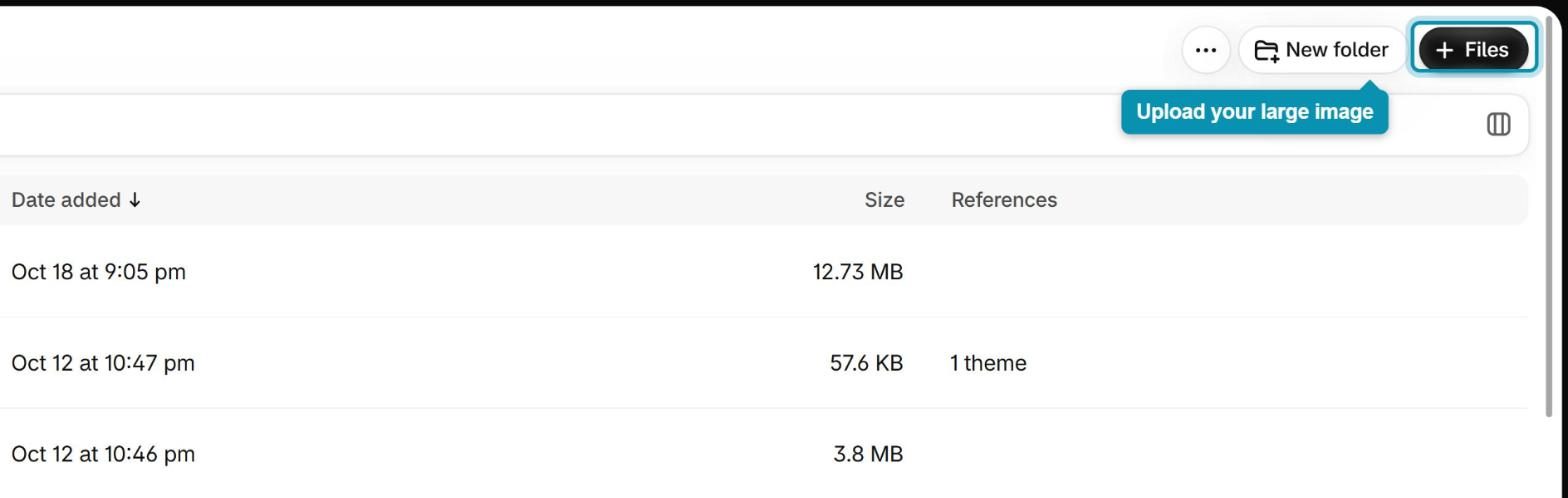
Step 2: Click + Files in the top-right corner and choose your image (you can also drag the image straight onto the Files page). Wait until the upload finishes.
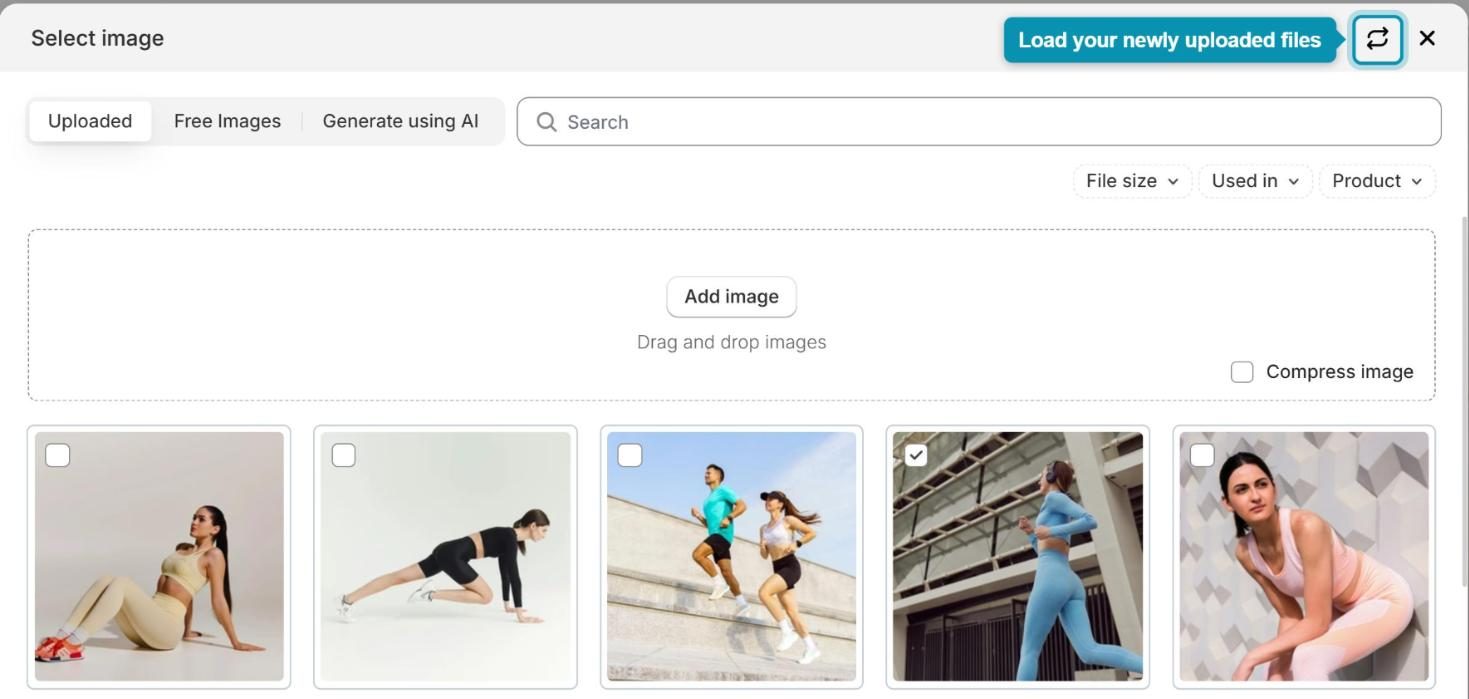
Step 3: Go back to the EComposer editor and open the Select image window again, as in section 2. Then click the Refresh icon (the two arrows next to the X) so the library loads your new file.
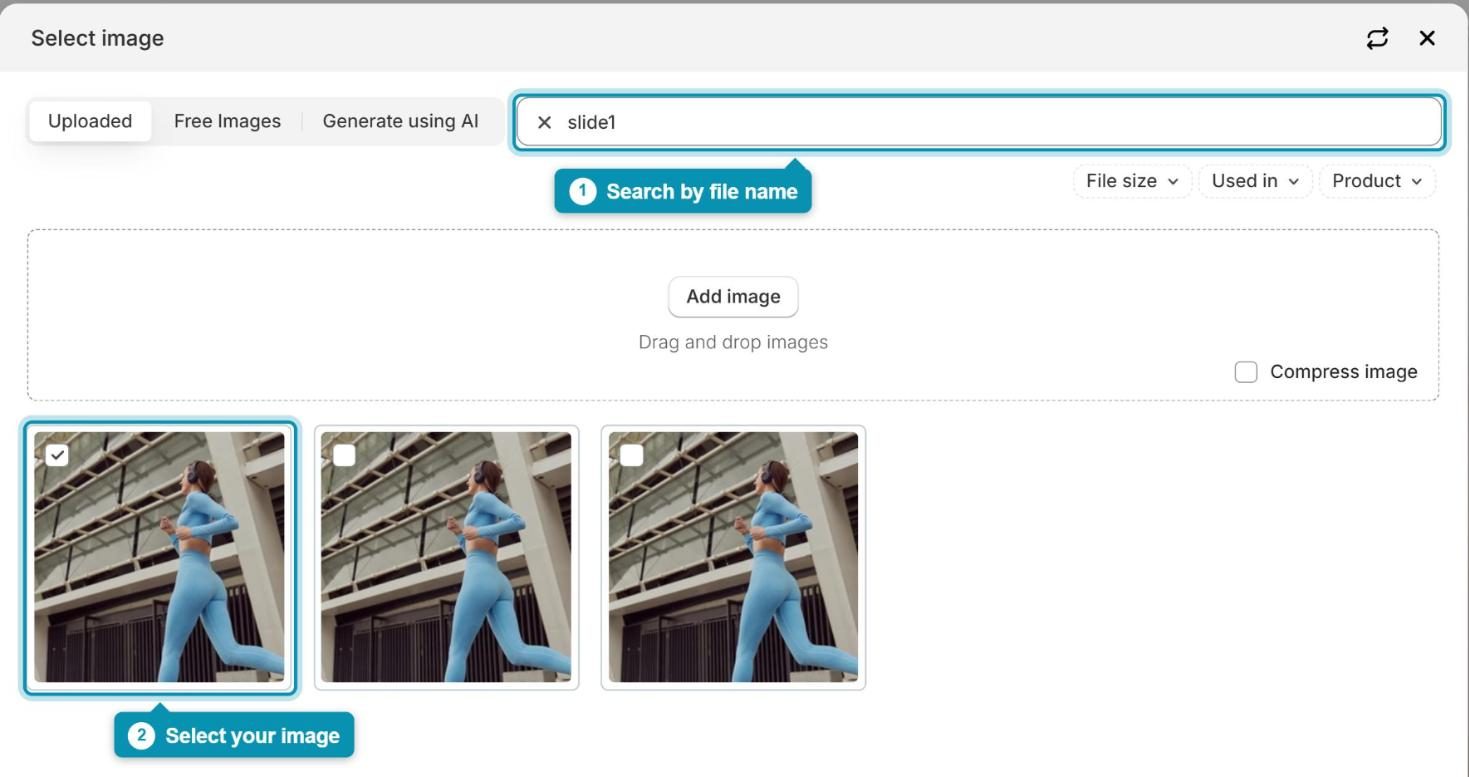
Step 4: On the Uploaded tab, type the file name in the search box to find your image quickly, then click it to select it.
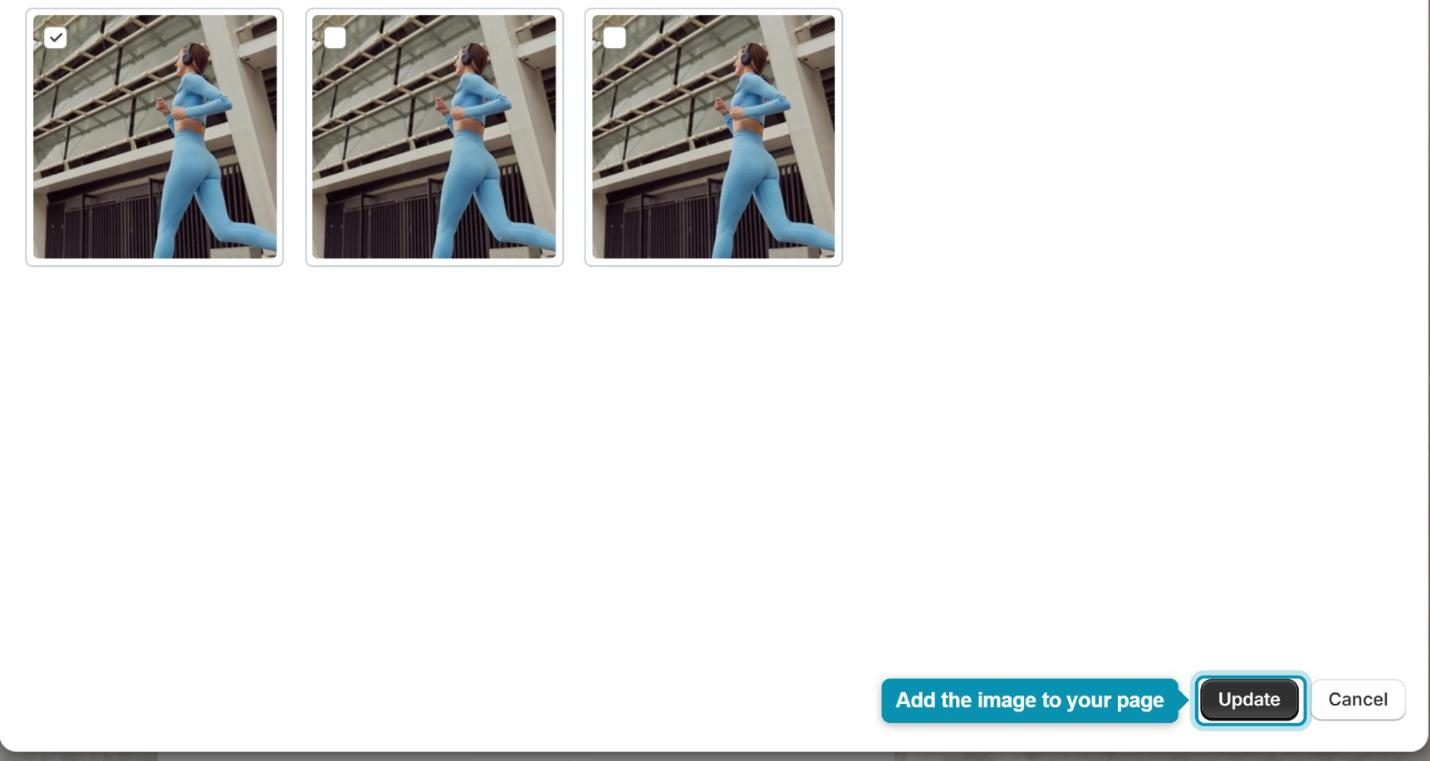
Step 5: Click Update at the bottom of the window. The image is now added to your element, at its full resolution.