What should you do if the demo images are not showing on the frontend?
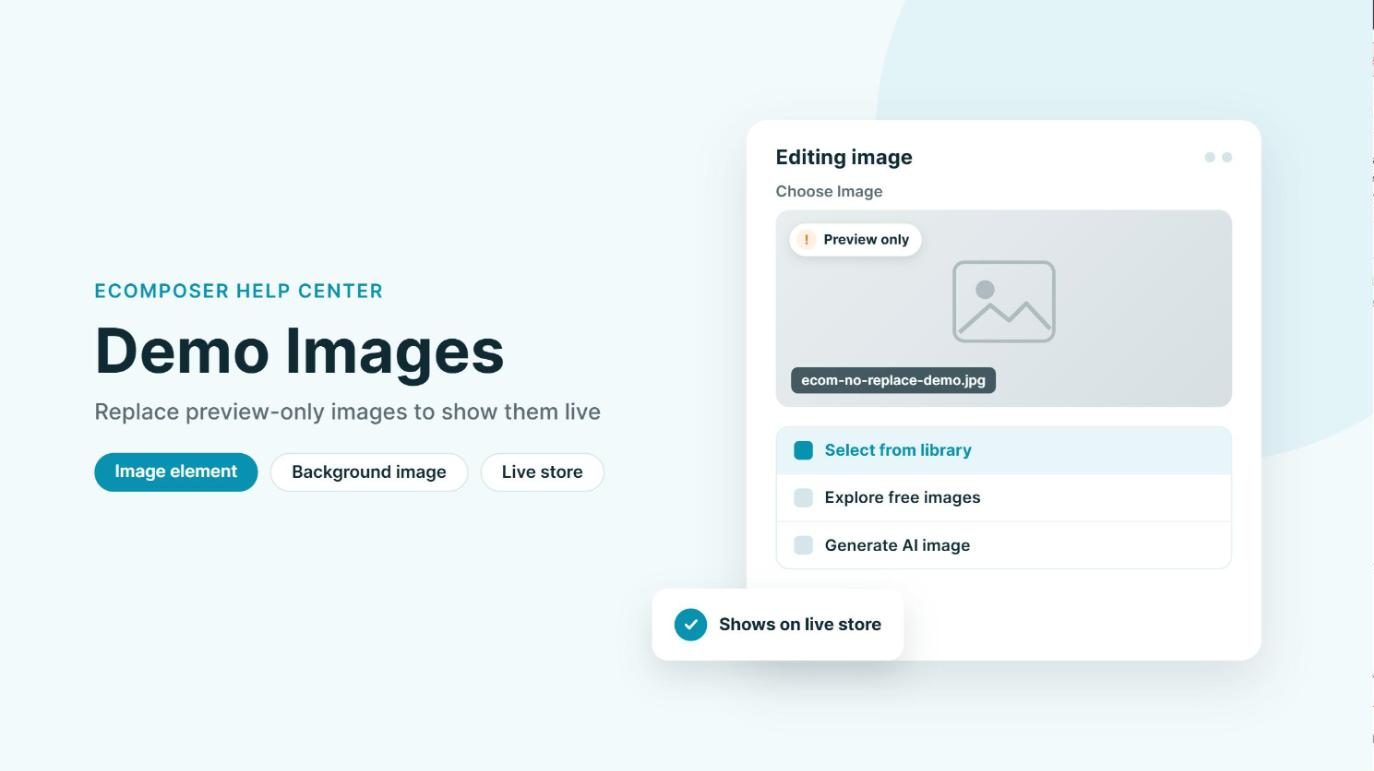
Some images look great in the EComposer editor but don’t show up on your live store? Don’t worry, your page isn’t broken.
These are demo images. They come with EComposer templates and library sections for preview only, so they are hidden on your live store due to copyright restrictions. Replace them with your own images and they will display as expected. This guide shows you how.
1. Why demo images don’t show on your live store
Images in EComposer templates and library sections are placeholders. They help you picture the finished design before you add your own content. EComposer also reminds you of this when you insert a template.
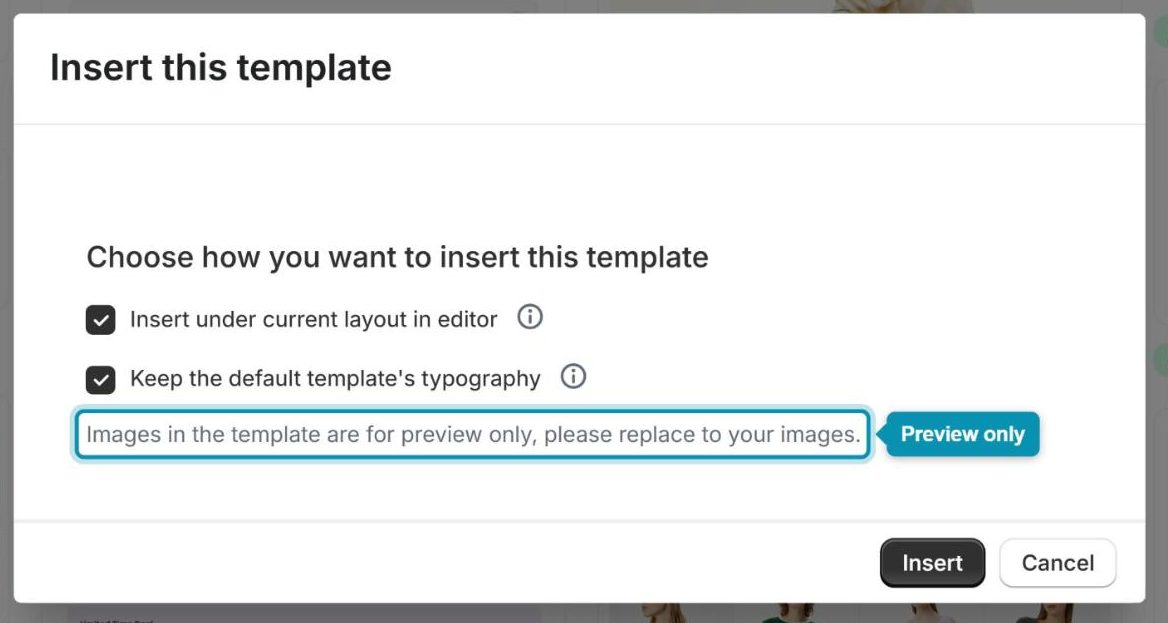
Remember: Demo images only work inside the EComposer editor. To show images on your live store, replace every demo image with an image you own, a free stock image, or an AI-generated image.
2. Replace a demo image in an Image element
Most demo images sit in Image elements, so you can swap them in a few clicks right from the element settings.
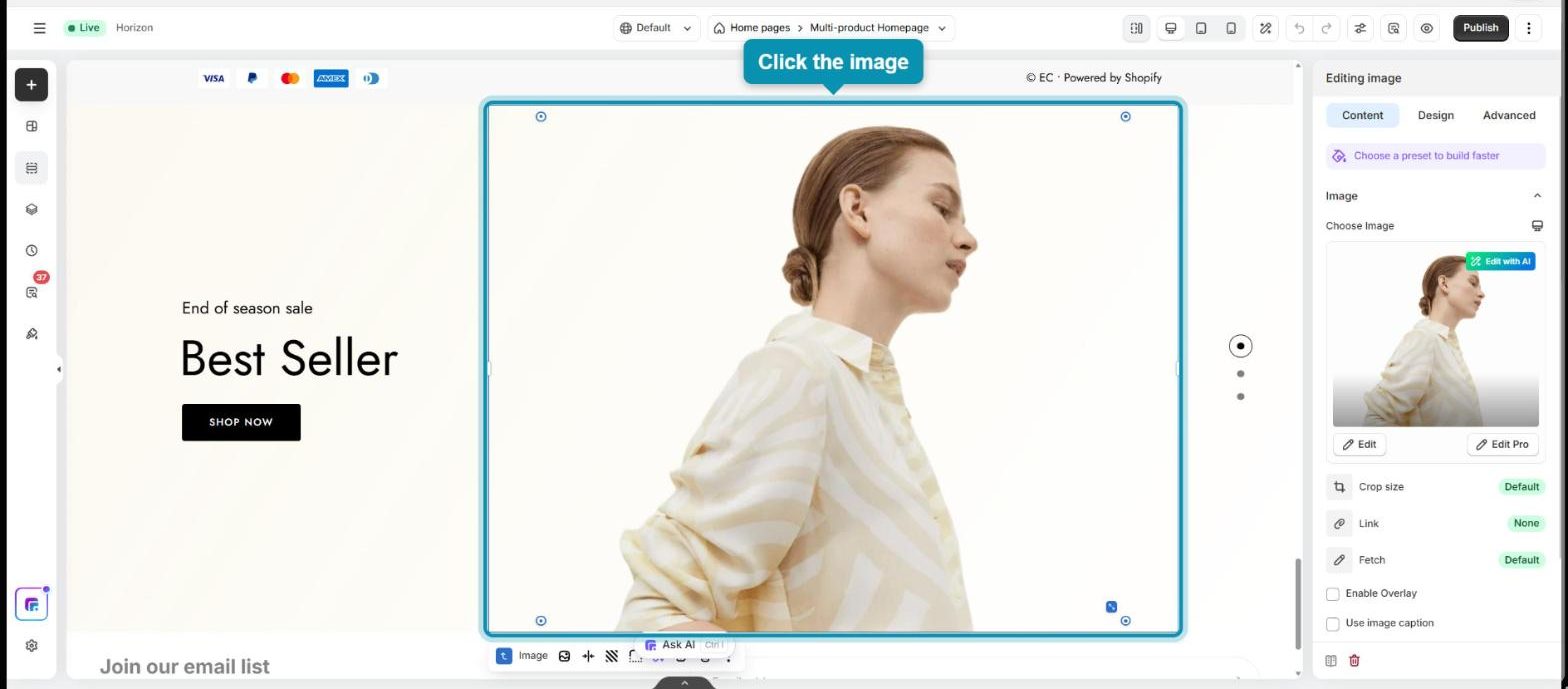
Step 1: Open your page in the EComposer editor and click the image that is missing on your live store to select it.
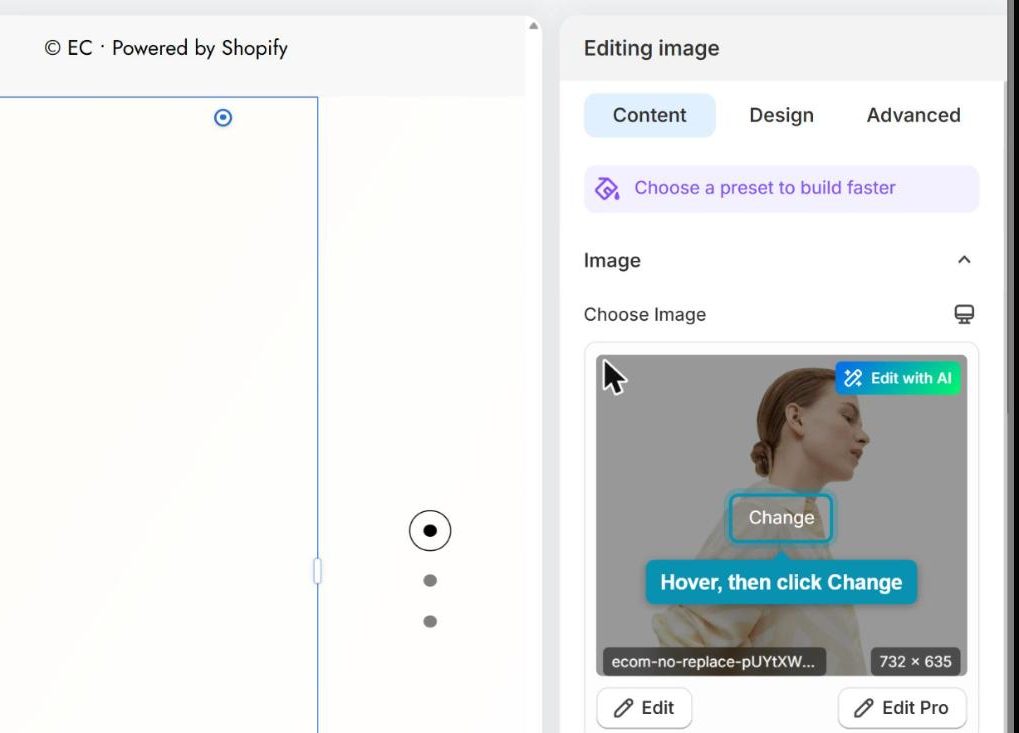
Step 2: In the Editing image panel on the right, hover over the image preview under Choose Image and click Change.
Step 3: Pick where your new image comes from:
- Select from library: upload a new image or reuse one you have uploaded before.
- Explore free images: search and use a free stock image.
- Generate AI image: create a new image with EComposer AI.
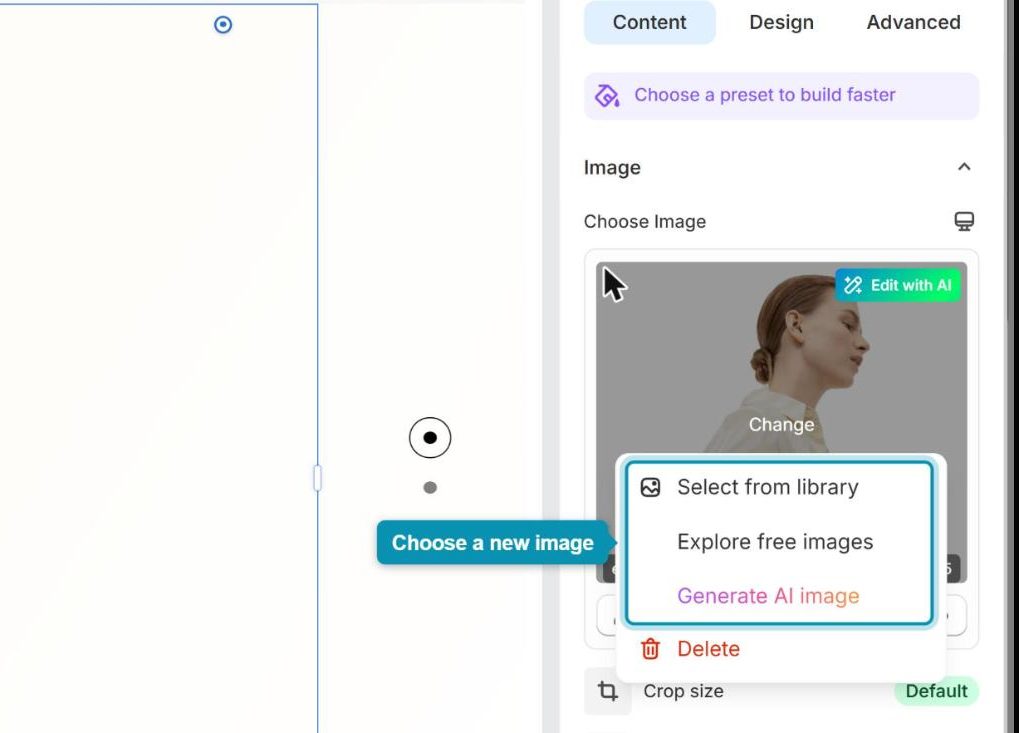
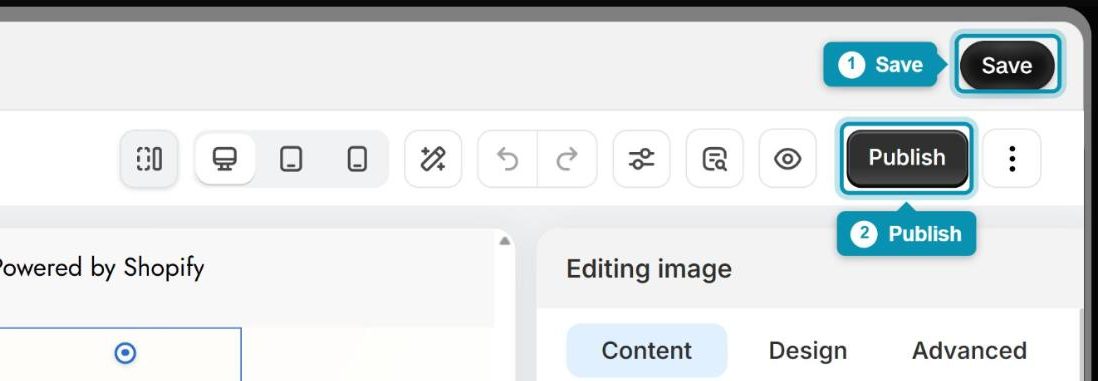
Step 4: Repeat these steps for every demo image on the page. When you’re done, click Save, then Publish, and open your live store to check the result.
Tip: Check that your new image displays correctly in the editor before you publish the page. It’s a quick way to catch an upload that didn’t go through.
3. Replace a demo background image
Some demo images are used as the background of a section, row or column rather than in an Image element. You can’t click them like a normal image, so you’ll replace them in the Design settings of that layout instead.
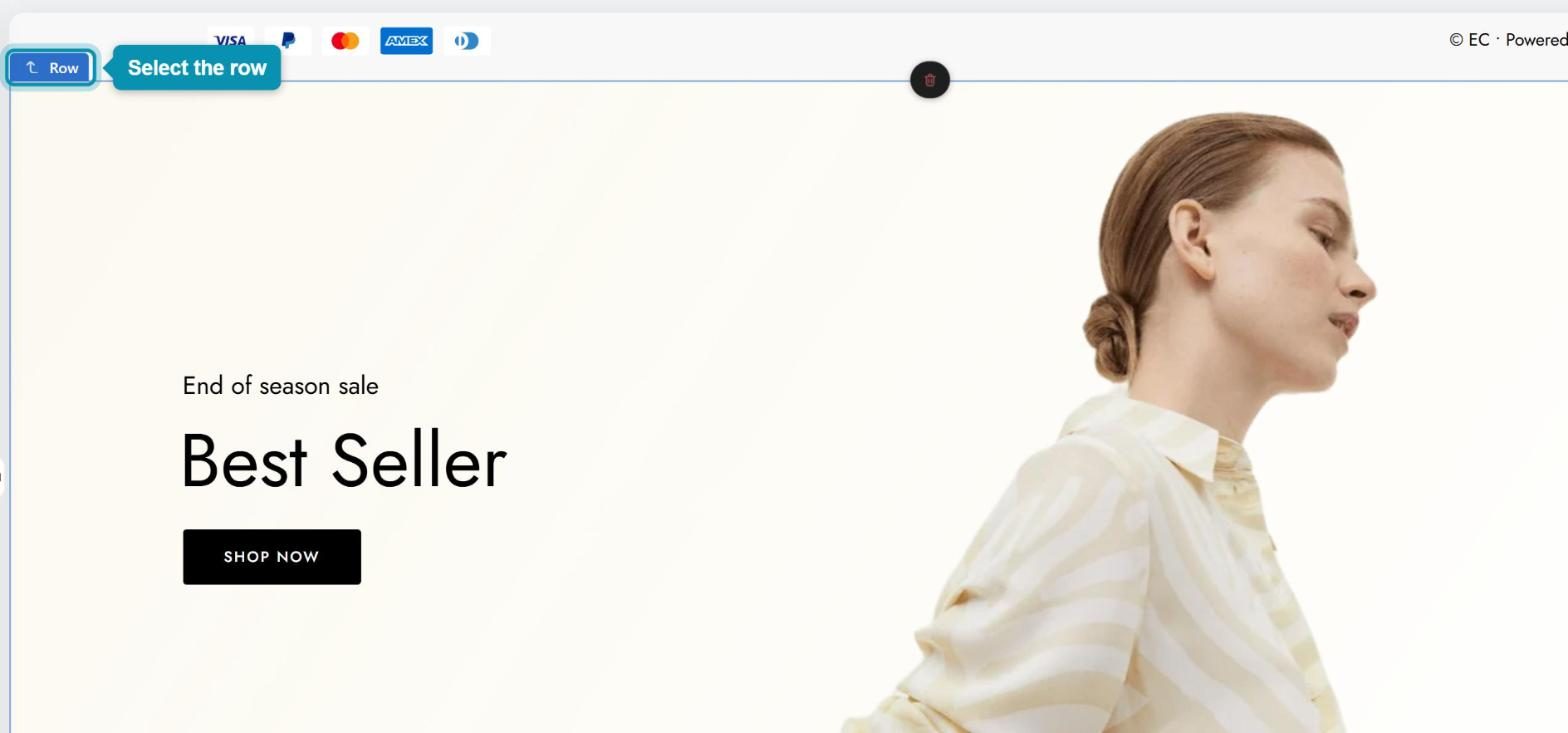
Step 1: Click the section, row or column that uses the demo image as its background. Check the label at its top-left corner to make sure you’ve selected the right layout.
Step 2: In the settings panel on the right, open the Design tab.
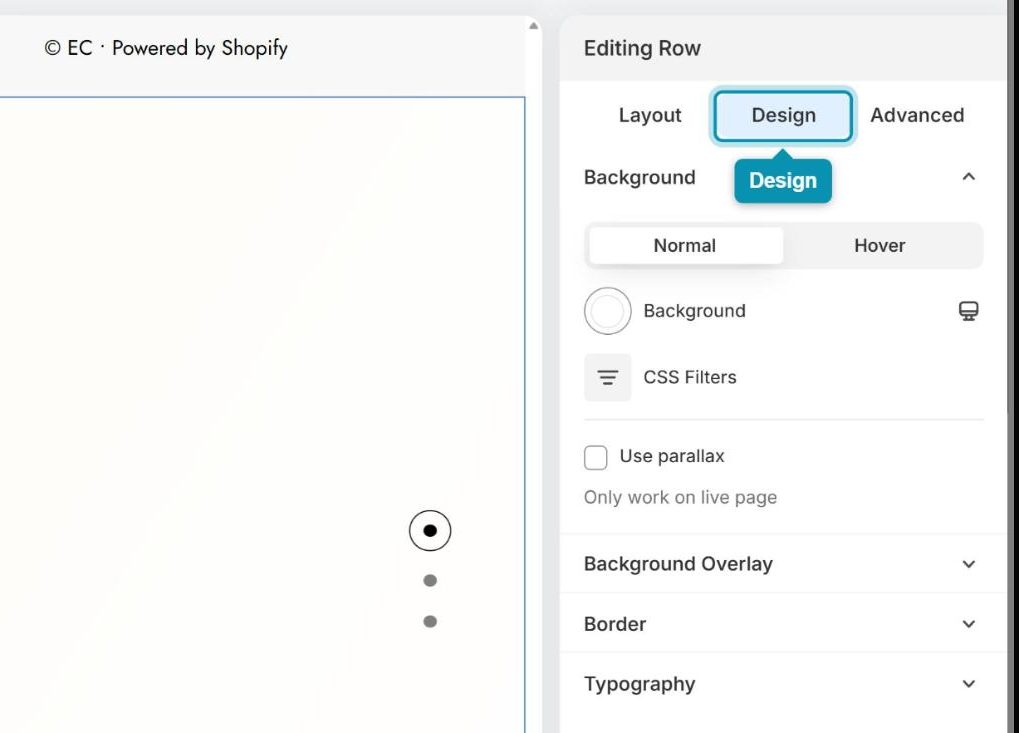
Step 3: Under Background, click the Background swatch to open the background settings.
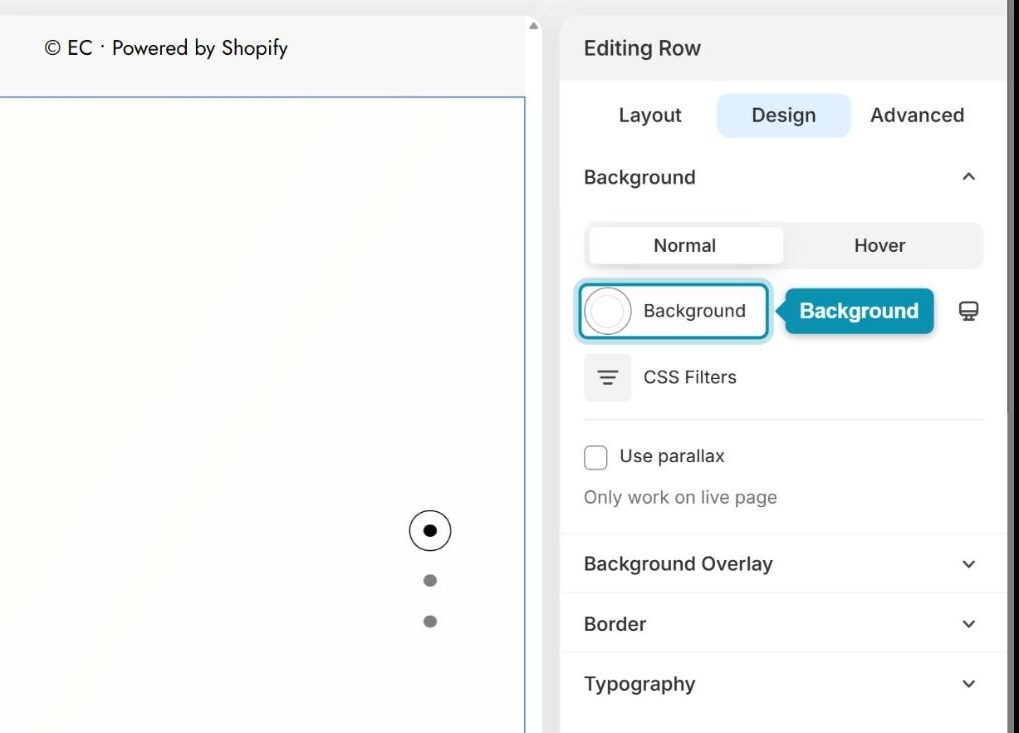
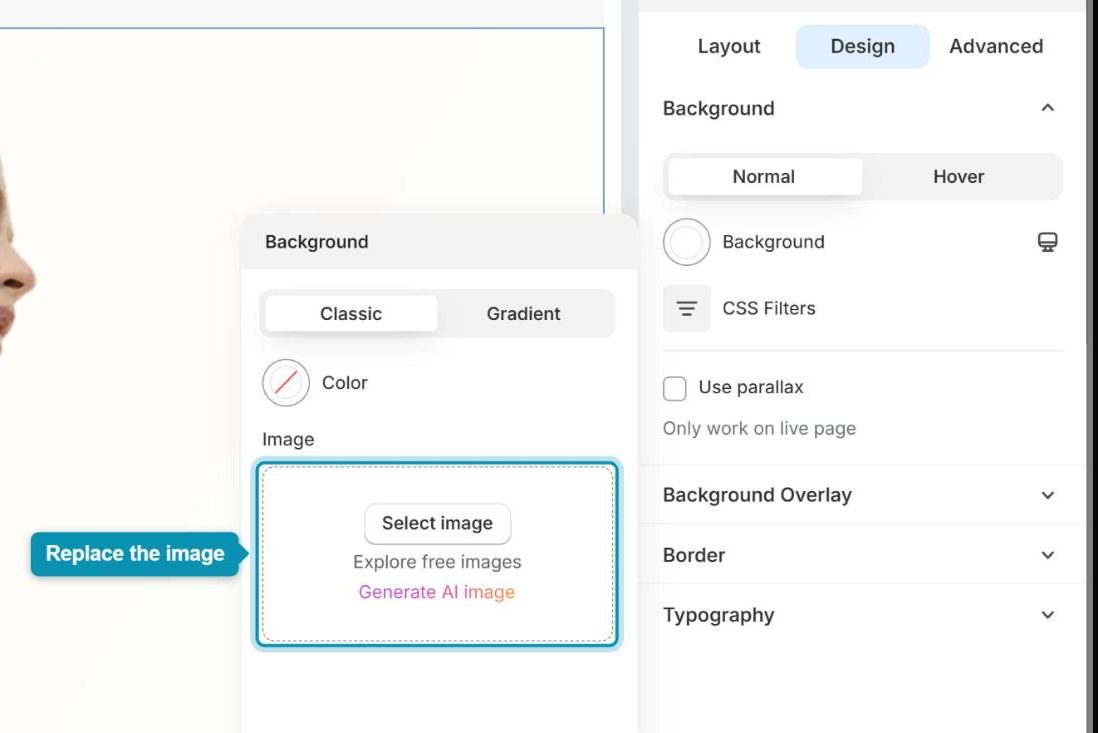
Step 4: In the Image area, replace the demo image with your own: Select image from your library, Explore free images, or Generate AI image. Then click Save and Publish.
Can’t tell which layout holds the background image? Open the Navigator to see the full page structure, then select each section, row and column to check its background.
4. Still need help?
Replaced all demo images but some still don’t appear on your live store? Our support team is happy to take a look. Contact us via Live Chat and we’ll help you sort it out.