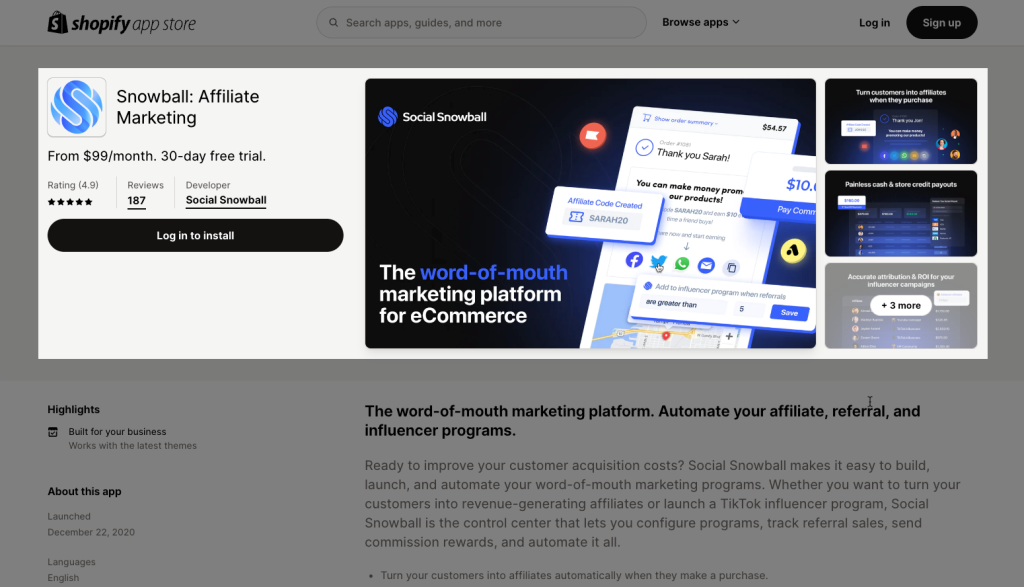
Snowball: Affiliate Marketing
Snowball is an affiliate marketing app designed specifically for Shopify stores. It enables merchants to create their own affiliate programs, allowing influencers, bloggers, and other marketers to promote their products in exchange for a commission on sales generated through their referral links.
- Turn your customers into affiliates automatically when they make a purchase.
- Bulk sends instant cash or gift card payouts to your affiliates with 2 clicks.
- Unlock accurate attribution & ROI for your influencer marketing campaigns.
- Eliminate affiliate code leaks & coupon abuse.
- Create sign-up forms and manually add affiliates with just a click.
1. How to install Snowball: Affiliate Marketing extension?
To use this extension, please install the Snowball: Affiliate Marketing app from your Shopify store first.
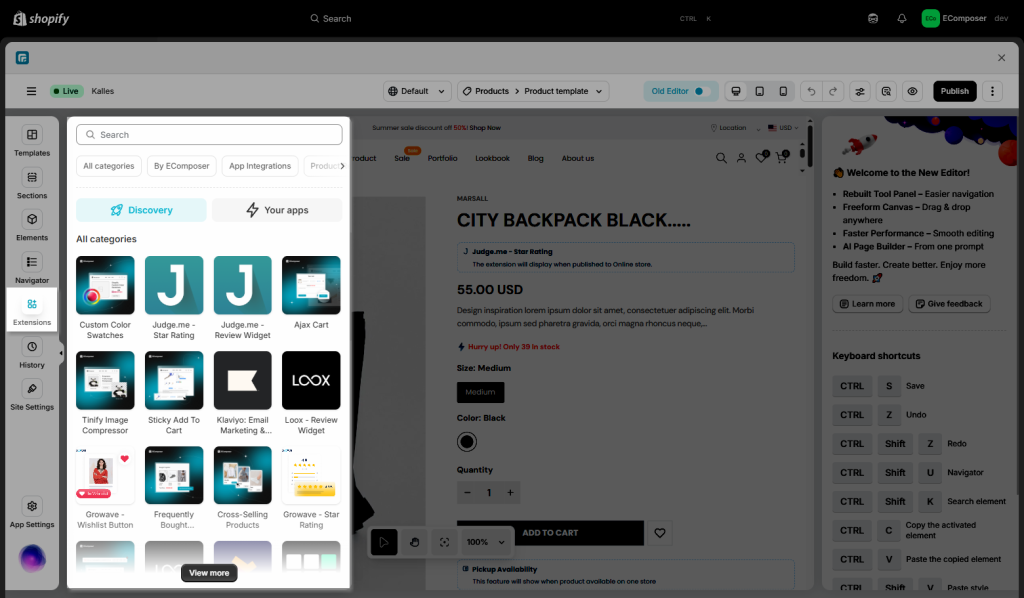
To open the Extension popup: From the left sidebar, go to Extensions → search for the extension name and click to install, or click View more to browse all available extensions in the app.
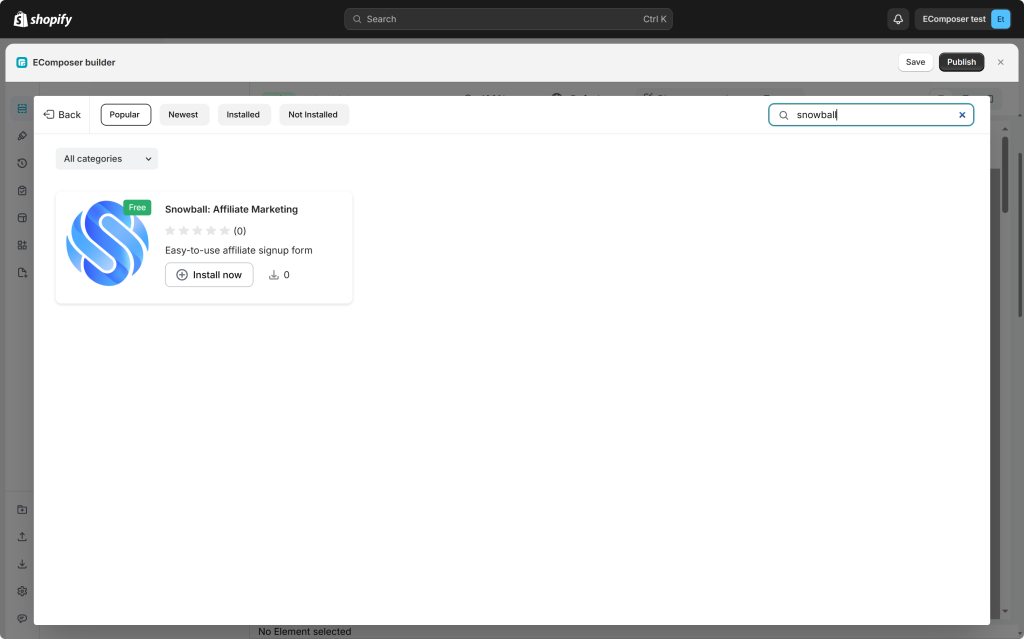
In the last stage that we have to do to complete all the adding steps, now you can search the Snow –> click on the “Install now” button to install it
2. How to create and get a Sign-up Form ID?
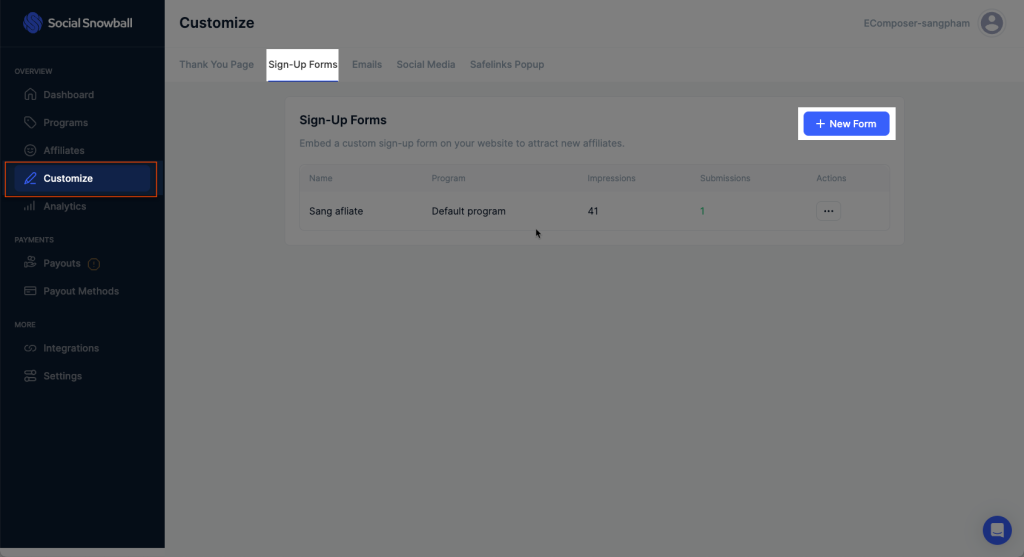
After you have installed the extension successfully, please go to Shopify Admin -> open Snowball App -> Customize -> add New Form.
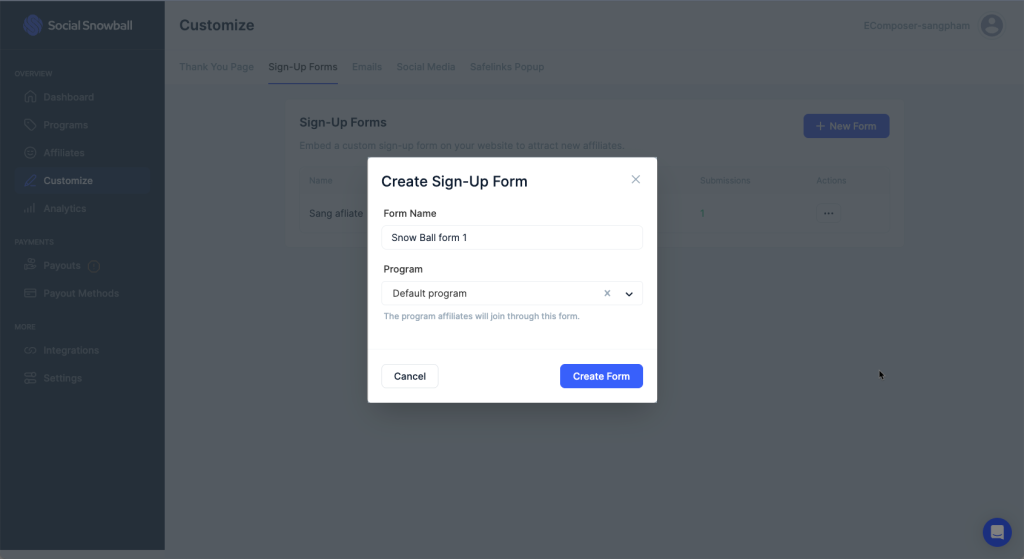
Put any Names for this form -> click Create Form.
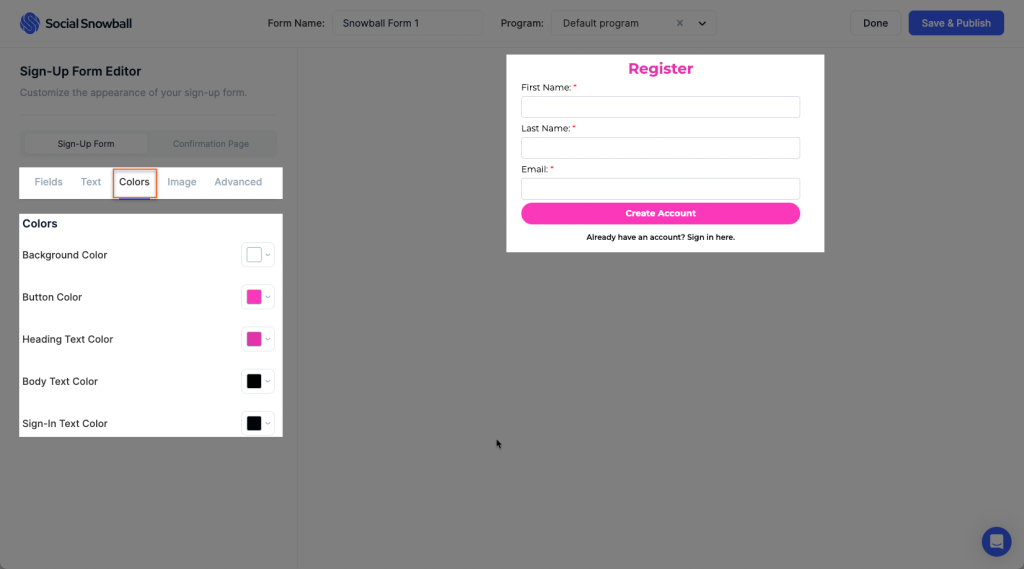
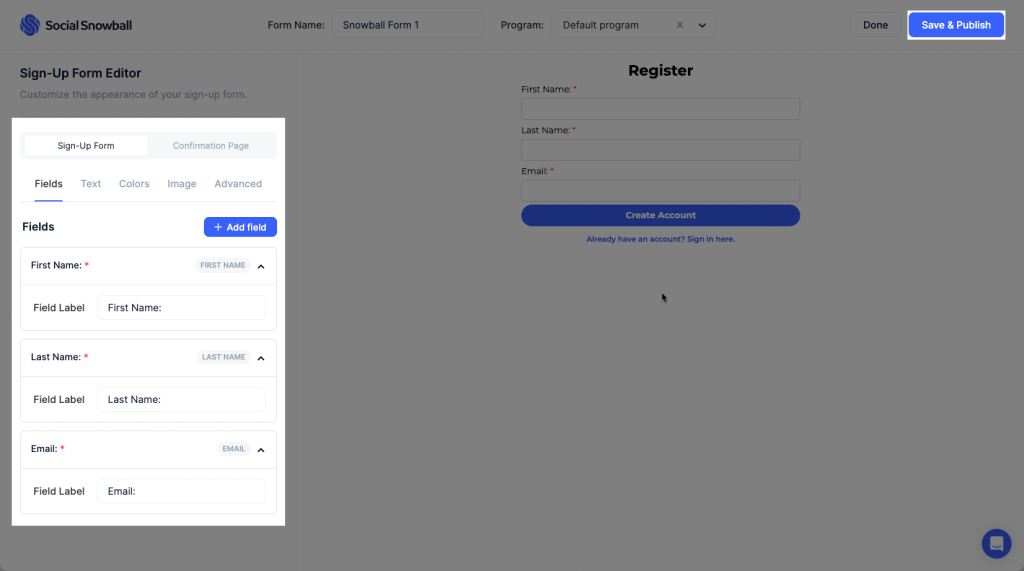
Here, you can edit all of the text, color, and styling of the sign-up form, as well as add an image and even edit the form’s CSS -> make sure to press the Save & Publish button.
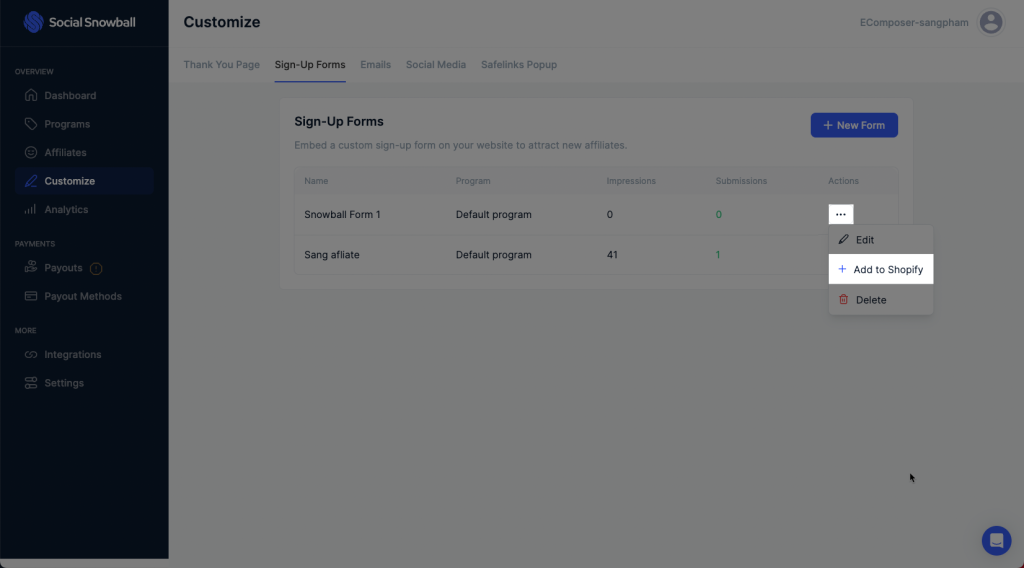
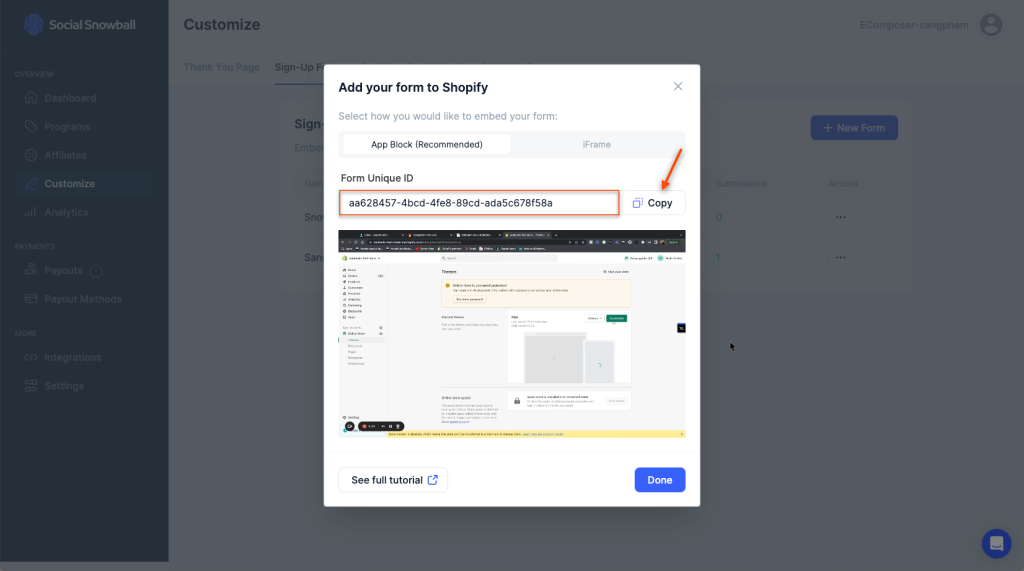
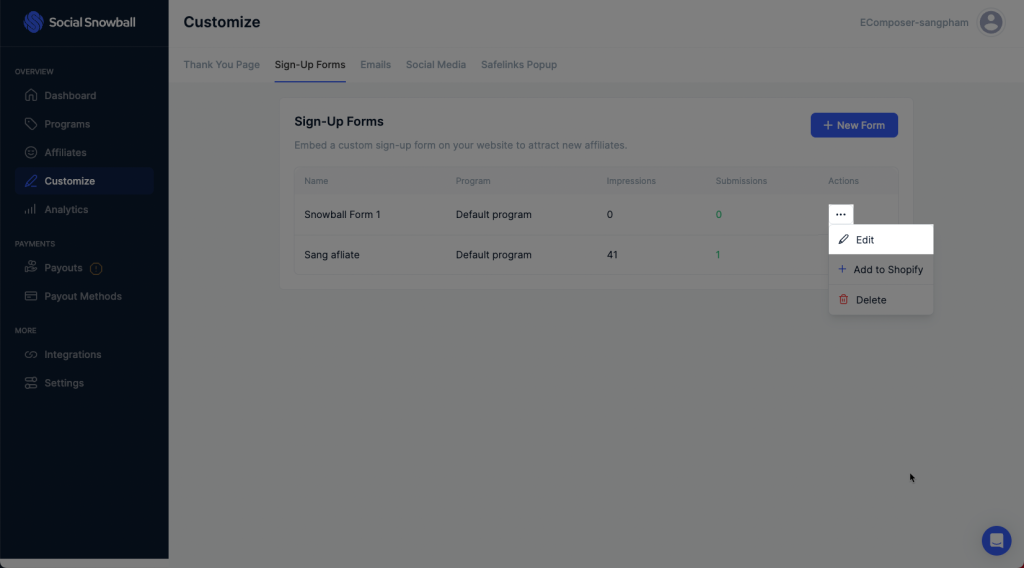
The 1st form is generated now, You click Add to Shopify.
You’ll now be able to add the sign-up form to your website with this ID, please Copy it and follow #3 below.
3. How to add & show Snowball: Affiliate Marketing extension in EComposer?
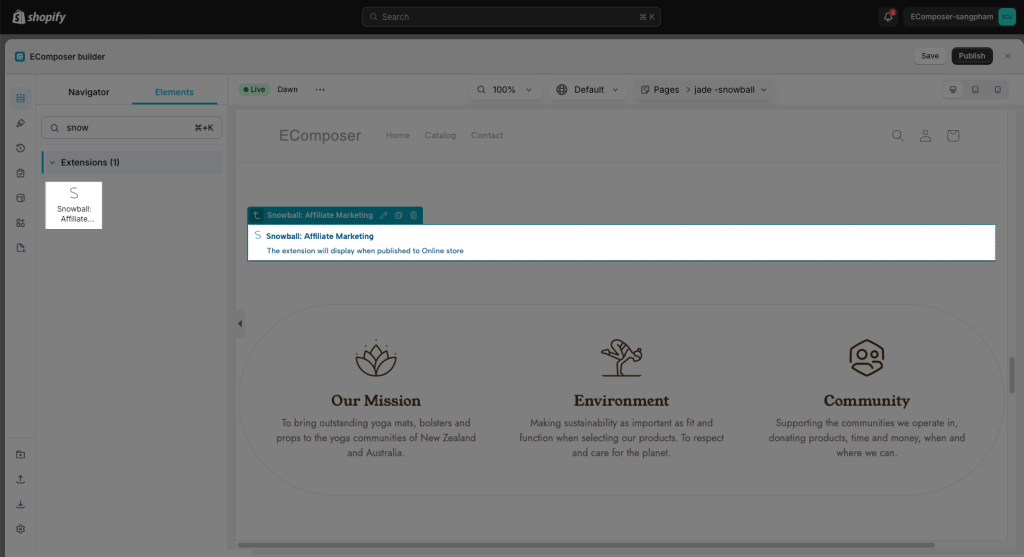
Please open EComposer app -> Edit your page. All you need to do is open the Elements tab -> Extensions and drag & drop the extension into the position you want! It can be added to any position at any EComposer page.
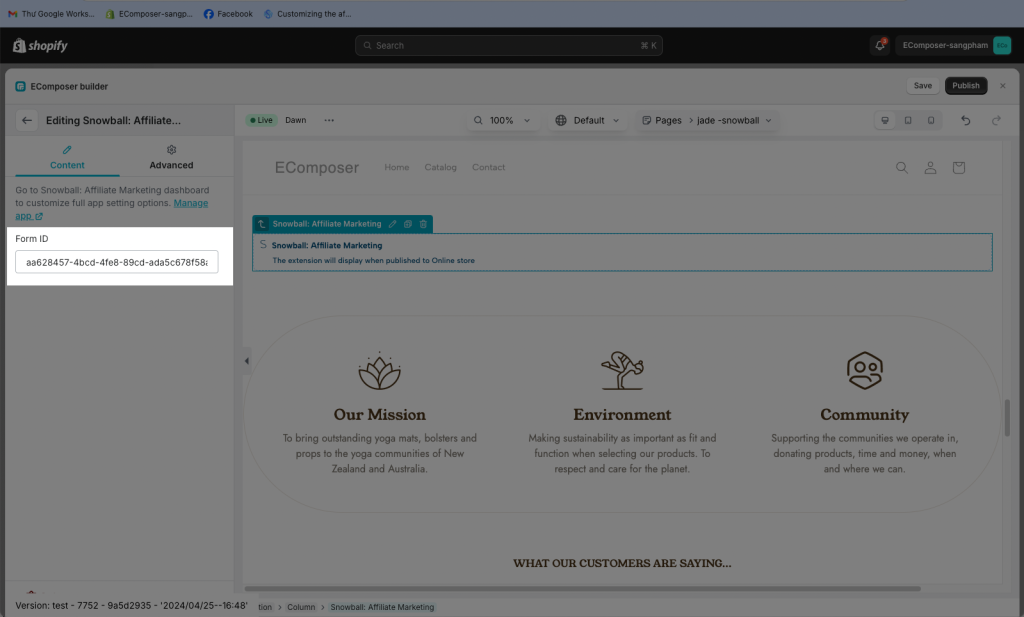
Finally, you paste it to the Form ID option of the extension in the editor -> Save and Publish in the Editor.
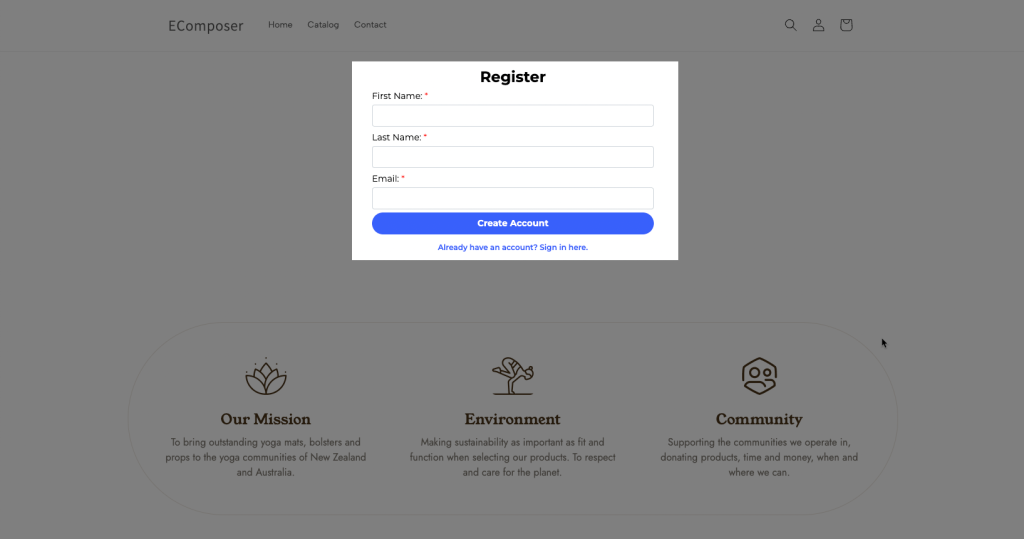
Result: The tracking form is only showing on the live/published page.
4. How to configure the Sign-up form?
Notice: If you want to change the style or edit the text of this form, please do that in the Snowball app dashboard. It can not be done in Ecomposer, there are no setting options in EComposer app.
Click Edit form from the dropdown adjacent to the form you wish to customize.
The changes are reflected promptly on the right side which helps you easily configure the look and feel of the form.