Age Verification
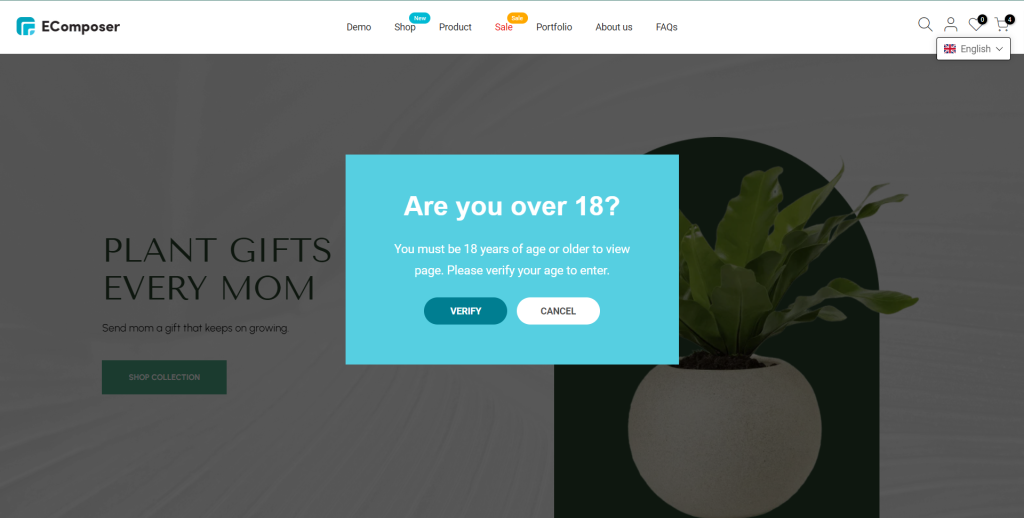
When talking about the “Age verification” addon is just for those who wish to make sure a viewer is of legal age before they enter your store.
Most of starting a business with sensual items, we will need to address the age range that the product you are offering is suitable for.
1. How to install the Age Verification Extension?
Note: When you finish installing the Age verification extension, it will automatically show when you publish and only work on the live page.
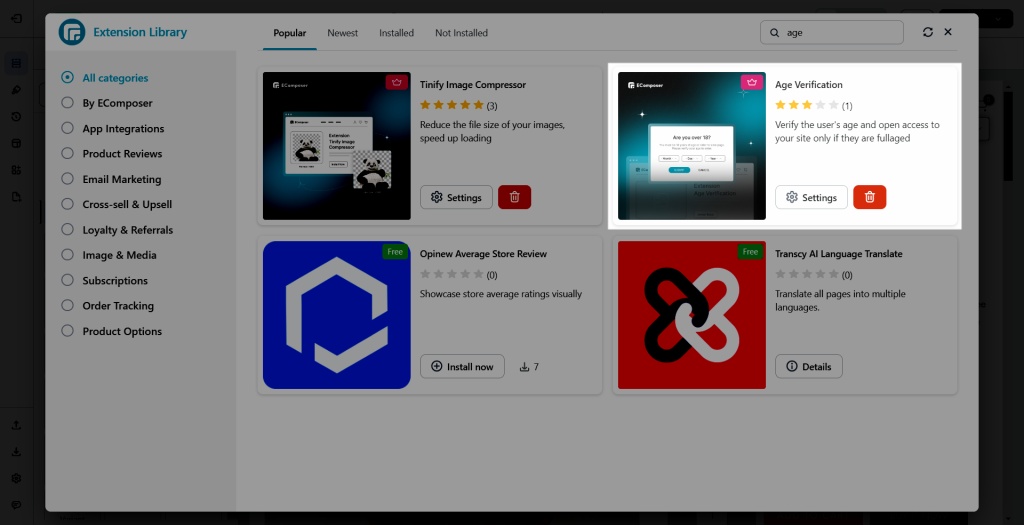
To open the Extension popup, you have two ways:
- Click on the Extension icon at the top left corner.
- Under the Extension tab, click Add more.

Below is the way to install the Age Verification Extension:
2. How to set the Age Verification extension?
General Settings
- Enable: You can enable/disable it without removing the extension.
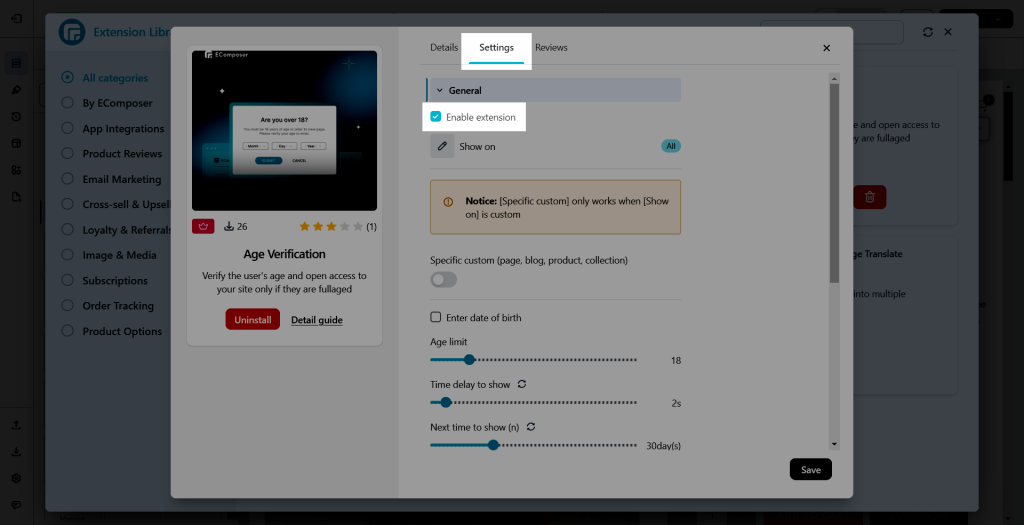
- Show on: Give you the option to All or Custom to display the Age Verification Extension.
- All: Let the Age Verification Extension apply to all the pages that you are having.
- Custom: Allows you to choose the page type to work on.
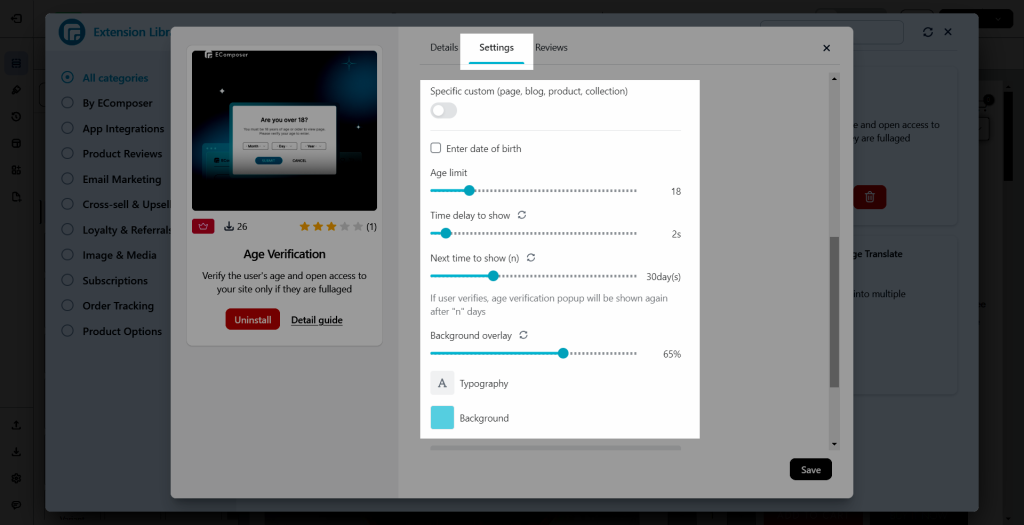
- Specific custom: Let you choose the specific page that you want to apply.
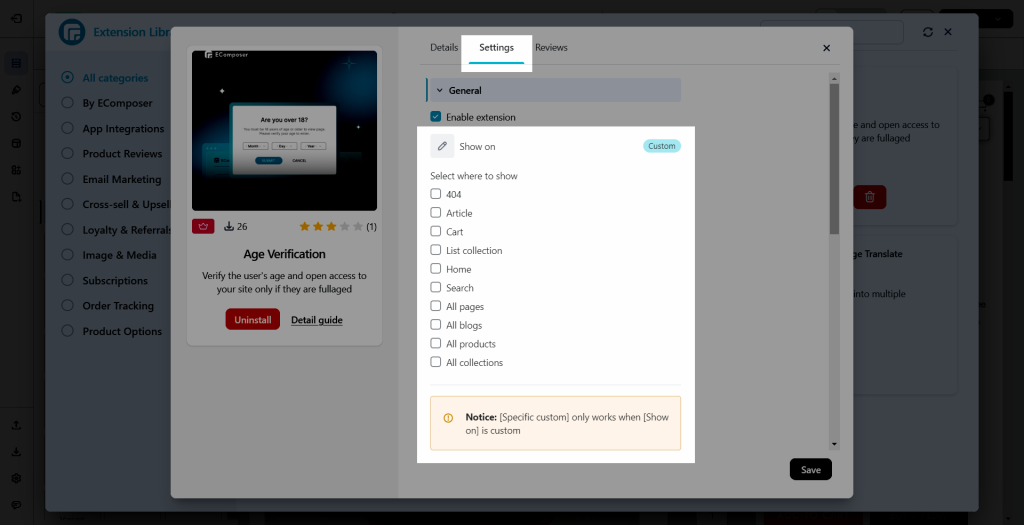
- Enter Date of Birth: You might need to select one of the alternatives, such as Year, Month & Year, Day/ Month & Year to set in the form.
- Age Limit: You can decide at what age a user can read the page’s details. As an example, 18 years old will be the minimum age to see it.
- Time delay to show: You may define when the form will appear when visitors arrive at your store.
- Next time to show (n): which will show again after “n” days if the user confirms.”
- Also, you can set it up with some of the basic designs such as Background Overlay/ Typography/ Background.
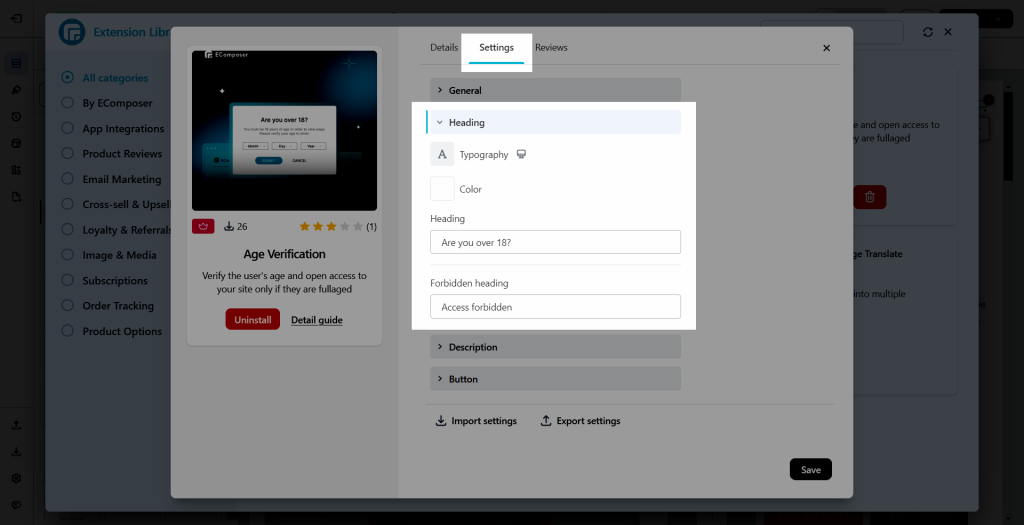
Heading
- Typography and the Color: Provide you with the option to alter elements of the heading’s fundamental look.
- Heading “Question” and Forbidden heading: Moreover, you can customize the question and the unsuccessful notification.
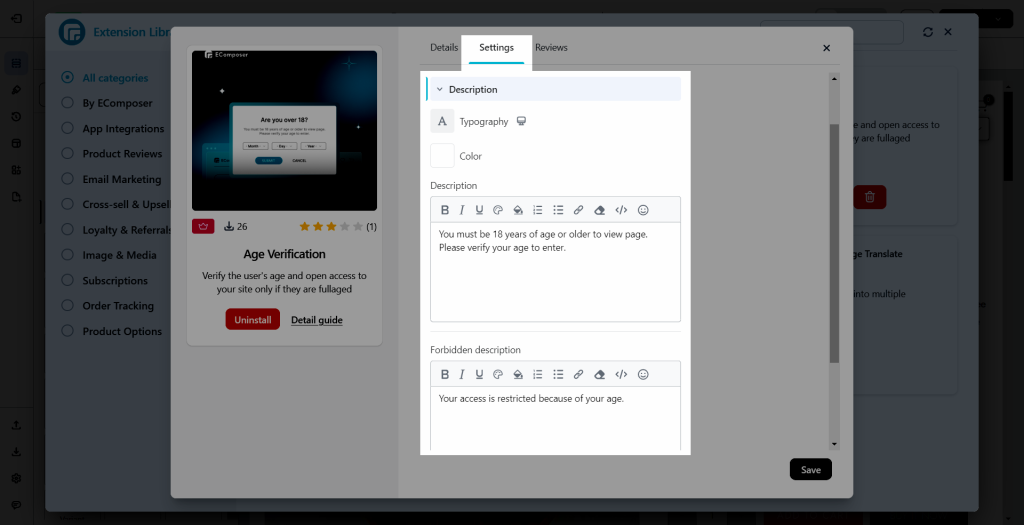
Description
- Typography and the Color: Give you the ability to change certain components of the heading’s basic appearance.
- You can add more information for the Heading “Question” and “Forbidden” Headings by filling out the body details as the Description.
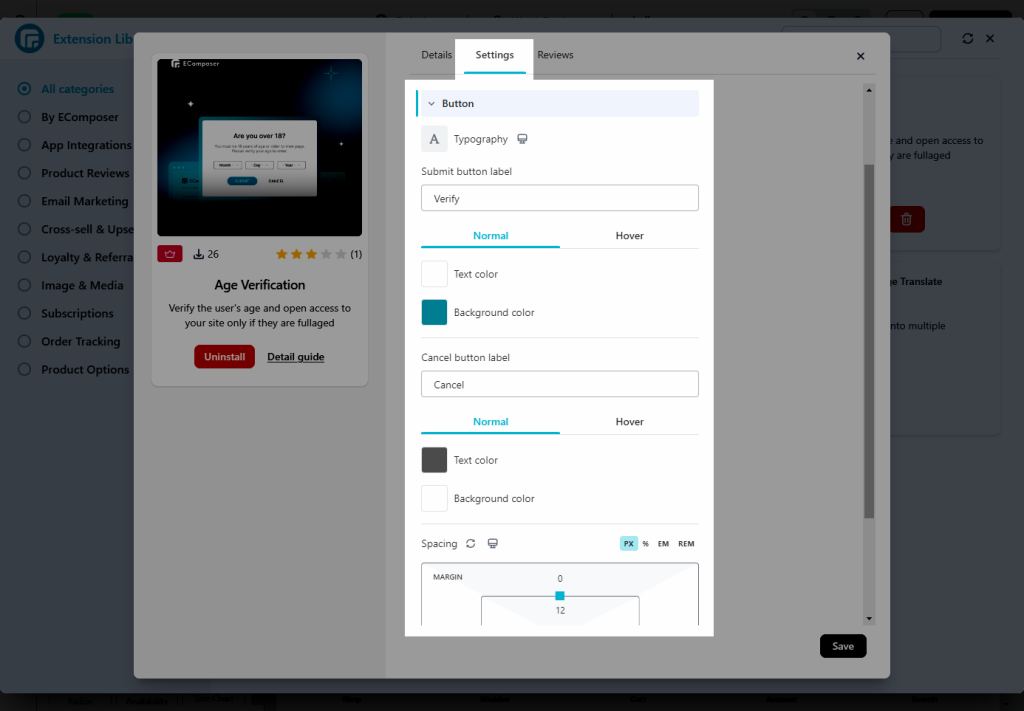
Button
- You can configure the Submit/Cancel button label in the button design. Moreover, you will have the option to modify the Font and Text/Background Color (Including the Hover effect in the settings)
After setting everything up, you can view the result on the live page

