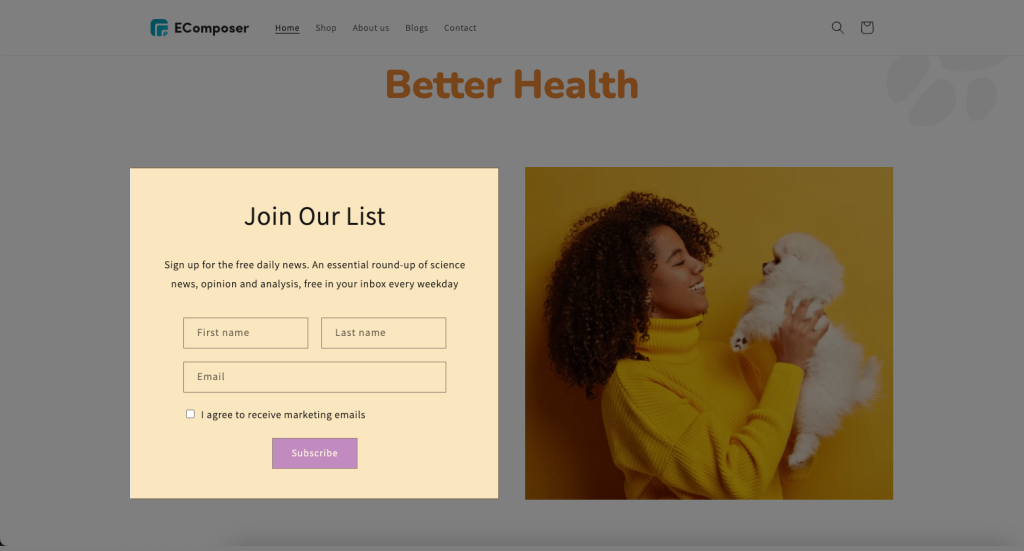
Seguno Email Marketing
Seguno Email Marketing is a Shopify app that helps you turn visitors into loyal customers.
With this app, you can easily create high-performing pop ups, email inline-form to collect customer emails and track your success from one convenient place inside the Shopify platform
Note: This extension is free to use and available on Free plan
1. How to add Seguno Email Marketing Intent extension?
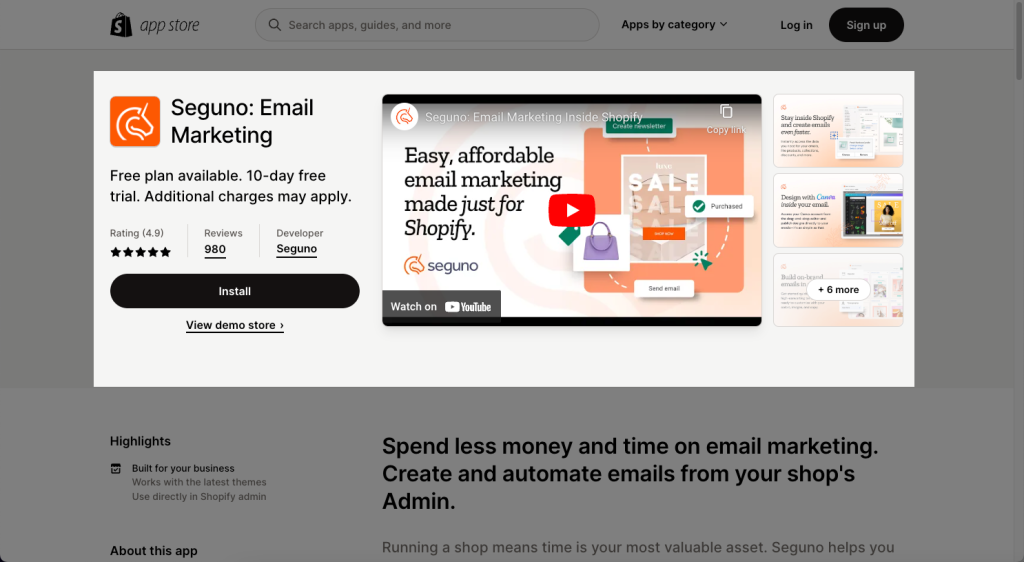
- Firstly, please install the Seguno: Email Marketing app from the Shopify App store first.
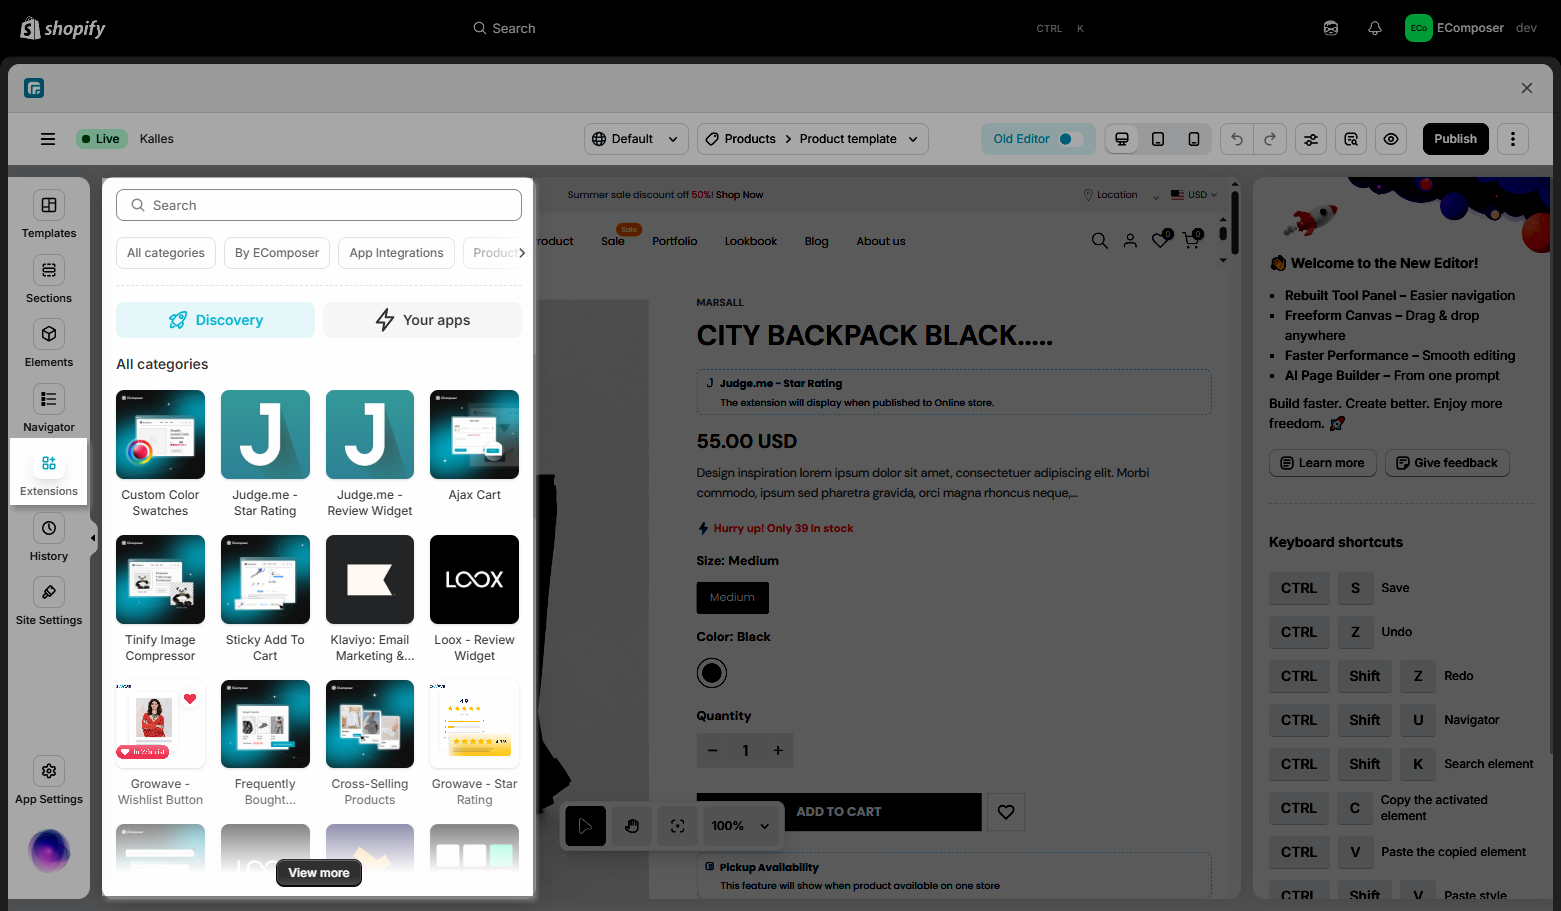
To open the Extension popup: From the left sidebar, go to Extensions → search for the extension name and click to install, or click View more to browse all available extensions in the app.
Using Seguno keyword to find it out
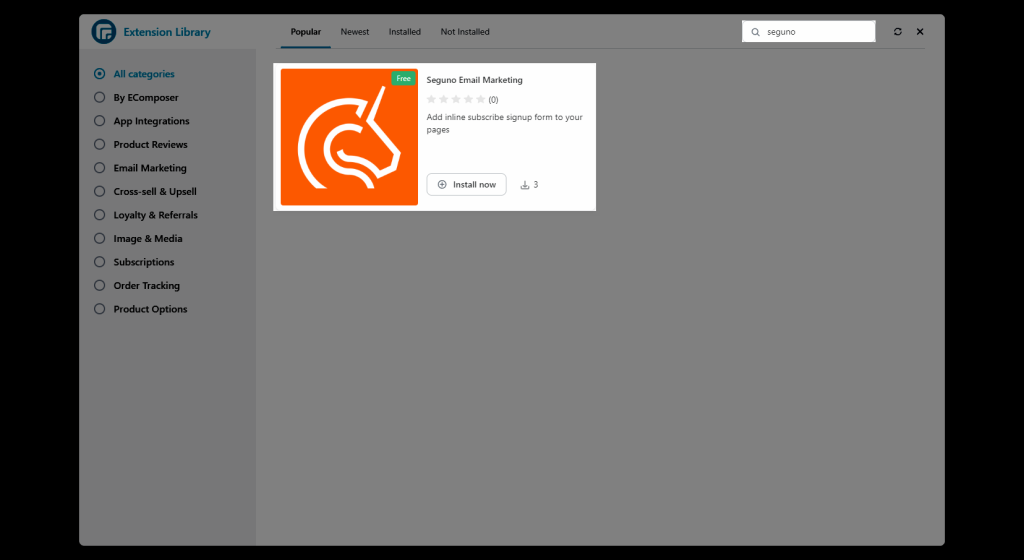
Click the Install button then you now have it integrated with Ecomposer and displayed in the Extension list
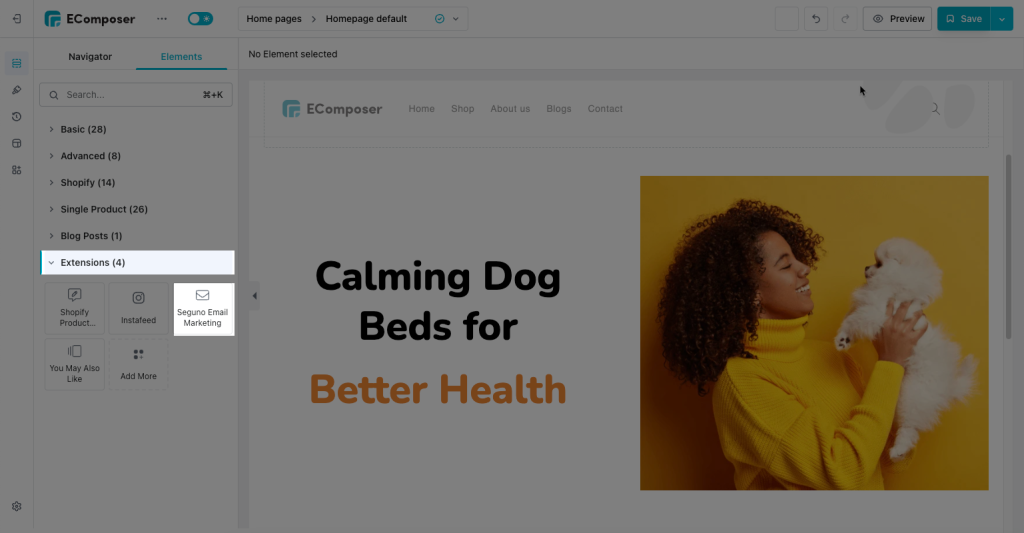
The last step is Drag this Seguno extension to any places of your page to show the inline email form
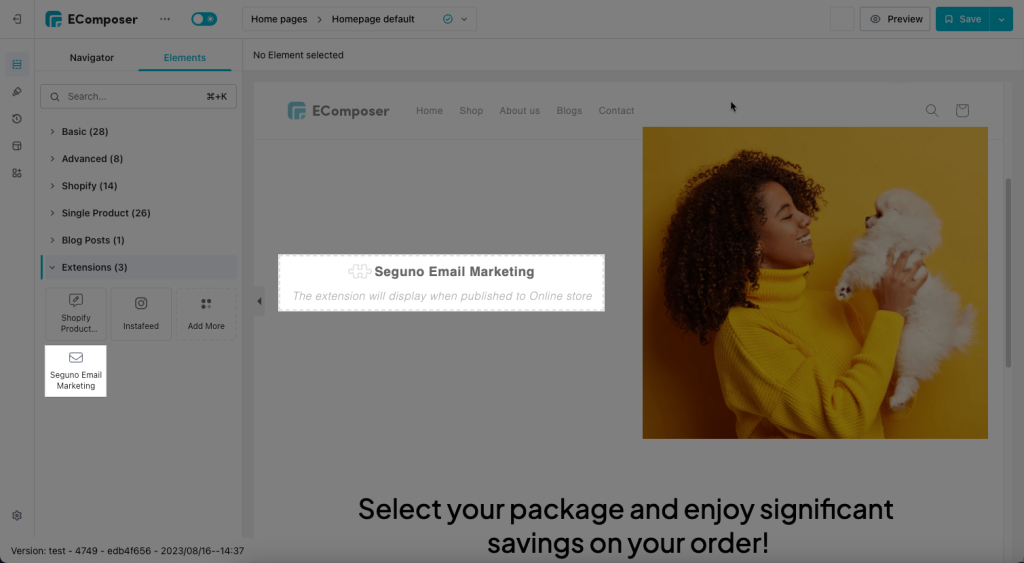
Note: the review form is only showing properly on the live page
Your form is now ready to be launched on Ecomposer, with no coding steps!

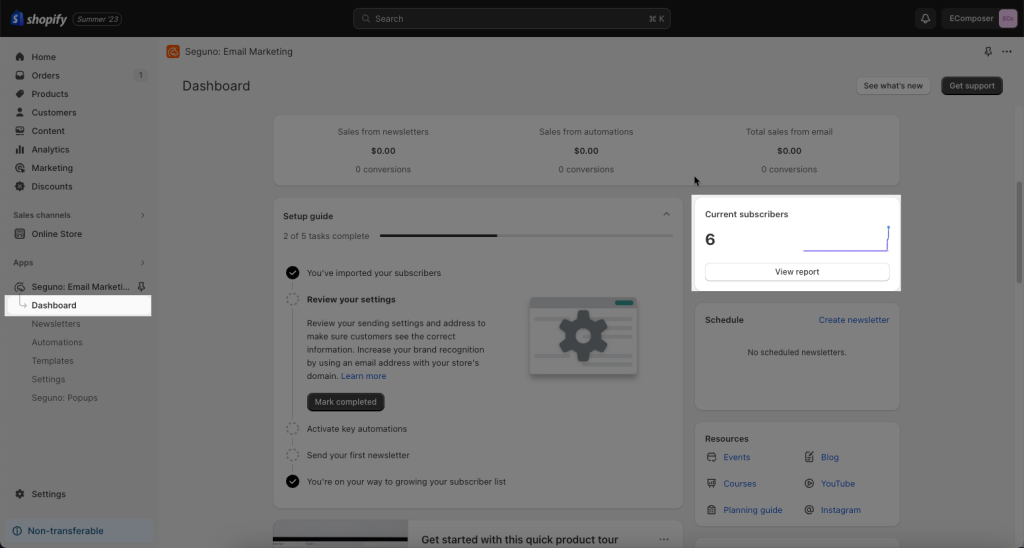
When your customer fills out this form, the email data goes to Seguno app interface, not to Ecomposer app
From the Seguno App Dashboard -> Click View report
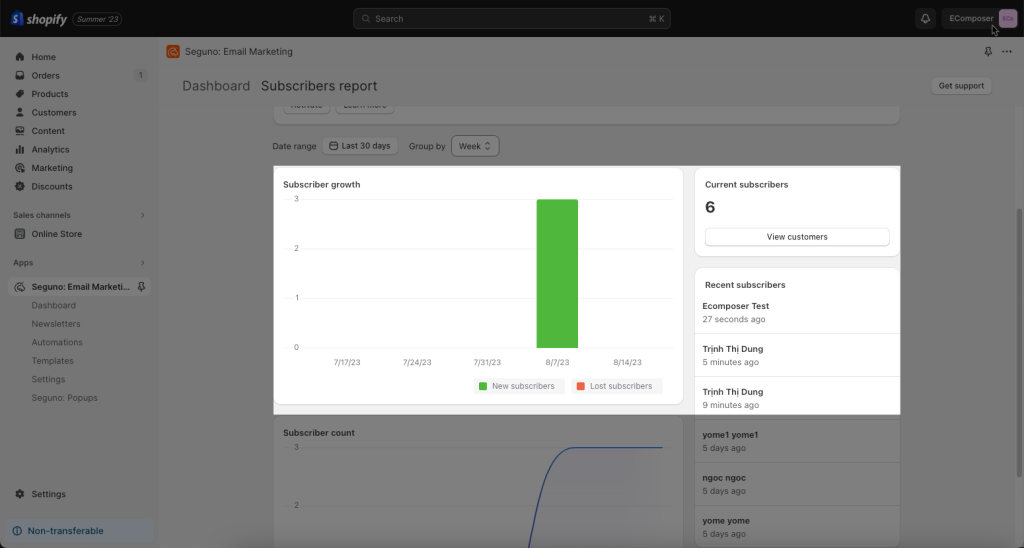
Here you can view customer email list, recent subscribers and the amount of collected emails,….etc
2. How to Design this Seguno Email Form
2.1. Change the wording of the form
- Heading and Subheading texts
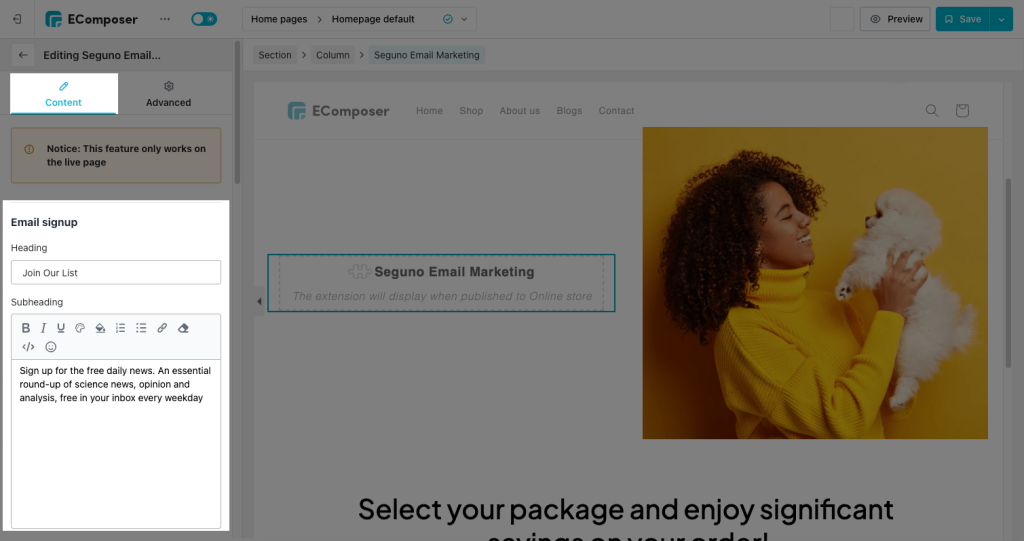
This is the result when you change your Heading and Subheading texts:

- Show first name, Show last name, Show permission checkbox: to get more details about your customer information, you can add variables to your email form.
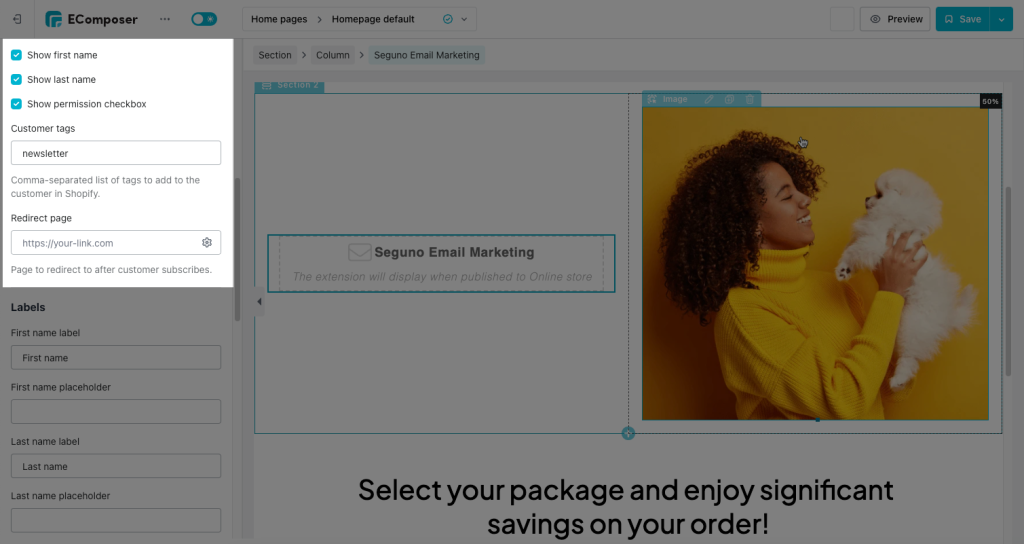
Result: additional variables are added

- Changing the labels of these variables Email with Labels settings
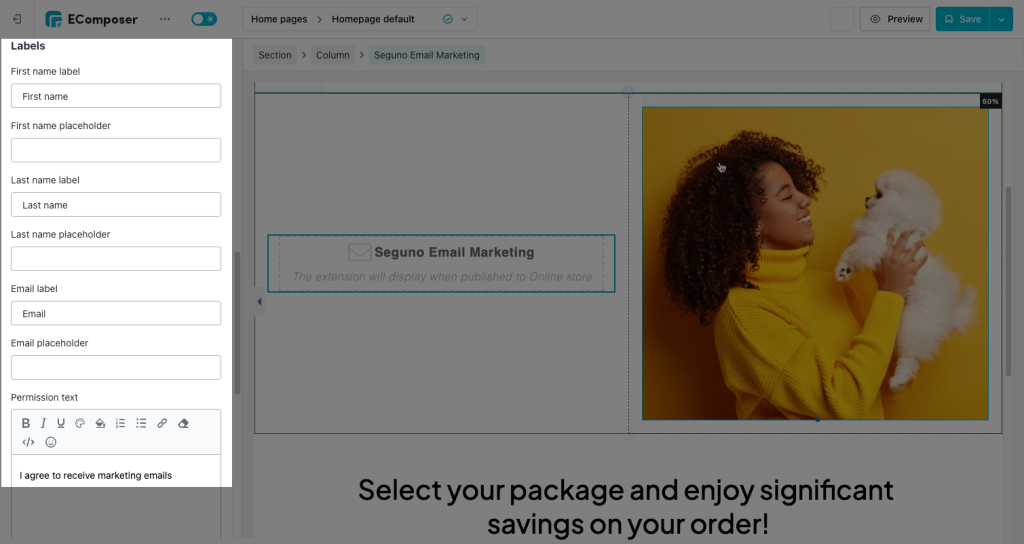
2.3. Change the design of the form
Once you’ve configured the primary content of the form through the options, navigate to the Color setting part right below and select the color you’d like to apply to the form
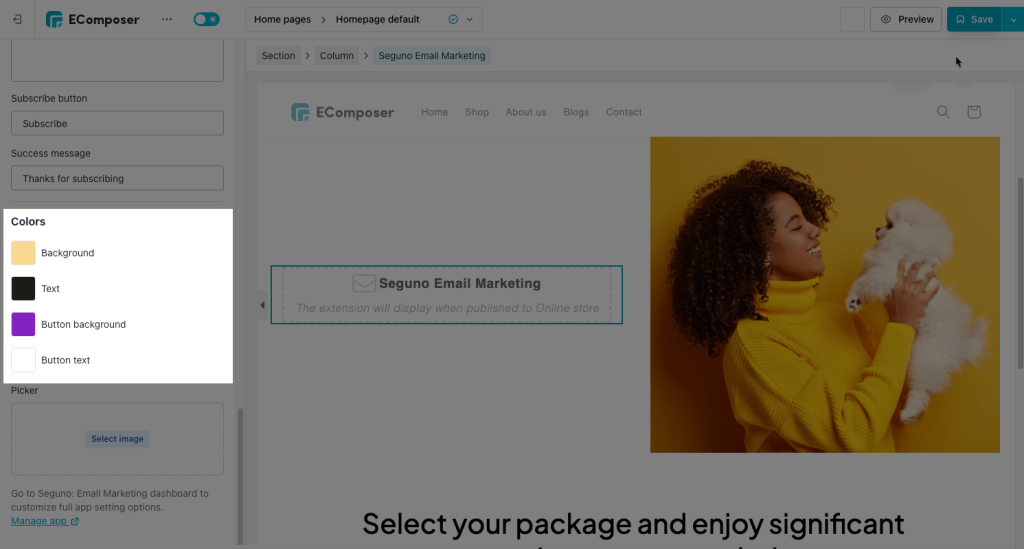
- Background: adjust the color of the entire form
- Text: to change the color of all labels you’re setting up in the form
- Button background: change the background color of the button only
- Button text: manage the text color of the button