The Instagram element is designed to integrate the social network into your page to increase your conversion rate. You can use this element to add social proof for your store and products, or simply introduce the social media pages of your brand to your visitors. It will help you to keep customers up to date and generate new followers.
To add an Instagram element to your page, please go to the edit page, you can see it under the Basic tab. Simply drag and drop it to your page.
1. Content
1.1. General
First, to show your images from Instagram, you must connect your Instagram account with EComposer. Please follow the below video:
Once connected, EComposer will display the images from your Instagram. You can keep going through the available settings to make the Instagram element look better.
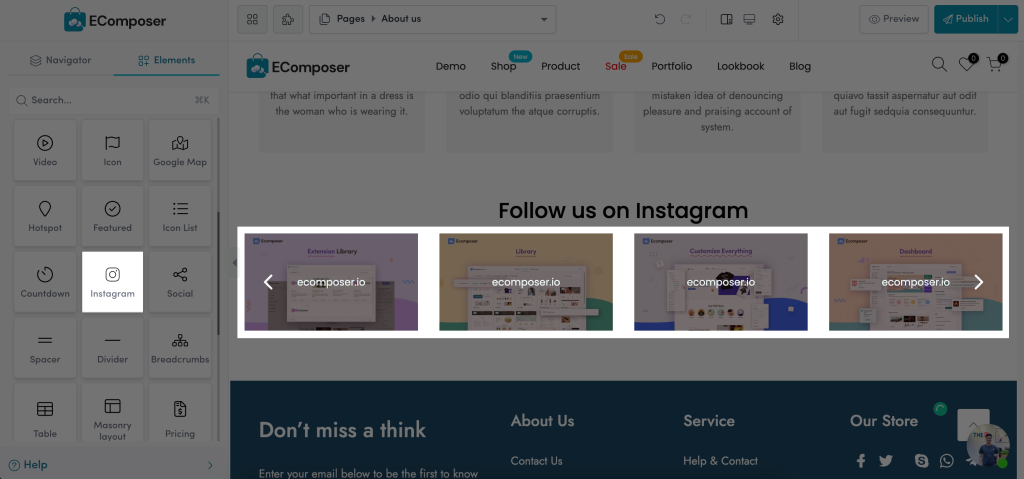
- Layout: You can choose the Grid or Slider layout. When you choose a layout, you will see the corresponding options of that layout displayed below.
- Image Link: Here you can choose to have the link for your images or not.
+ None: There is no link to your images.
+ Media link: You can click on each image to view the full image.
+ Instagram post: You will be redirected to the same post on Instagram. - Maximum items to show: You can change the maximum number of images to show. It will show the latest images.
- Overlay: You can enable the overlay background color on your images. Also, you can choose to show the title source on your images.
1.2. Slider settings
If you choose the Slider layout on the General tab, you will see the Slider settings tab shown right below. In this tab there are many options to configure your slider, the option names are easy to understand so you don’t need to worry about them.
- Infinite Loop: Enable this option to loop your slider again upon reaching the final slide.
- Autoplay: Enable this option to make your slides automatically advance to the next one. Autoplay works best in conjunction with the Infinite Loop feature. When both functions are enabled, your slides will automatically advance and then loop back to the first slide.
- Speed (ms): Set a time limit for the Autoplay in milliseconds.
- Items per row: You can set the number of items per row.
- Column gap/Row gap: Set the space between the column or row. These options only work when your slider has more than two columns/rows.
- Navigation: Here you can select the layout and position for the navigation.
- Transition duration: It is the transition time between slides.
2. Design
EComposer gives you full options so you can design everything on your element. This may be difficult for you to find in other page builder apps.
2.1. Image
The image options allow you to change the width, height, opacity, border radius… Watch the below video for the details.
2.2. Overlay
It’s the background overlay that covers the image. You can change the typography, color for the title, opacity, and background.
2.3. Navigation and pagination
Very flexible, you can change the size, color, background color, border, border radius and spacing for the Navigation and Pagination.