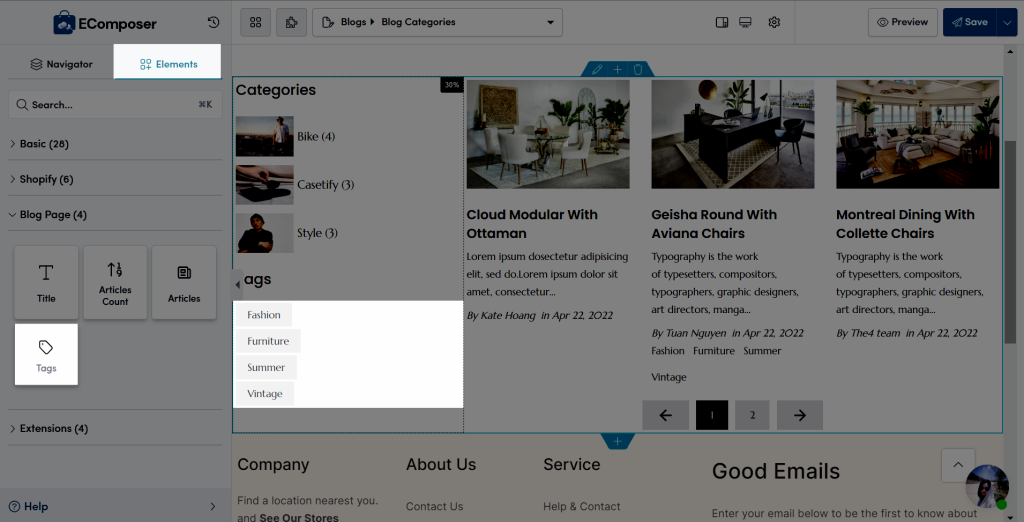
Tags
What do you know about the Tags element? Let’s go to find it out with EComposer App.
Note: In the EComposer App, you can’t directly edit the Content. It depends on what you add to Shopify. You can go to edit your blog in Shopify admin to edit the articles.
1. Adding Tags Element
- Click into Elements –> Blog Page –> Tags
- Drag the Tags element from the left sidebar and Drop it wherever you want it to stay.

2. Configure Tags Element
2.1. Content
- Preview: This function will let you view any blog that you select.
- Layout: This allows you to change the direction such as Column or Row by another call like Vertical or Horizontal for the Blog tags.
- Maximum tags to show: This one will help you choose the maximum number of tags you would like to show.
- Collum gap: This function lets you change the adjust the space vertically between each tag.
- Row gap: The same with an effect like Column gap, this function may help you set the adjust the space horizontally between each tag.
Note: Collumn gap option is only appeared when layout is Row.
2.2. Design
- General: As you can see from the description video below, this tab allows you to change the Alignment, Background, Box Shadow Border, Border Radius, and Spacing.
- Tag: This tab allows you to change the Typography, Text Shadow, and Box Shadow. These options will be changed on both NORMAL and HOVER mode: Width, Height, Text Color, Background, Border, Border Radius, Spacing, etc.


2 Comments
Tamarin
Hello,
Is there any option to change the number of blog tags shown from 20 to 100
Thank you
Henry Pham
Yes but we afraid 100 tags is a lots