Quantity
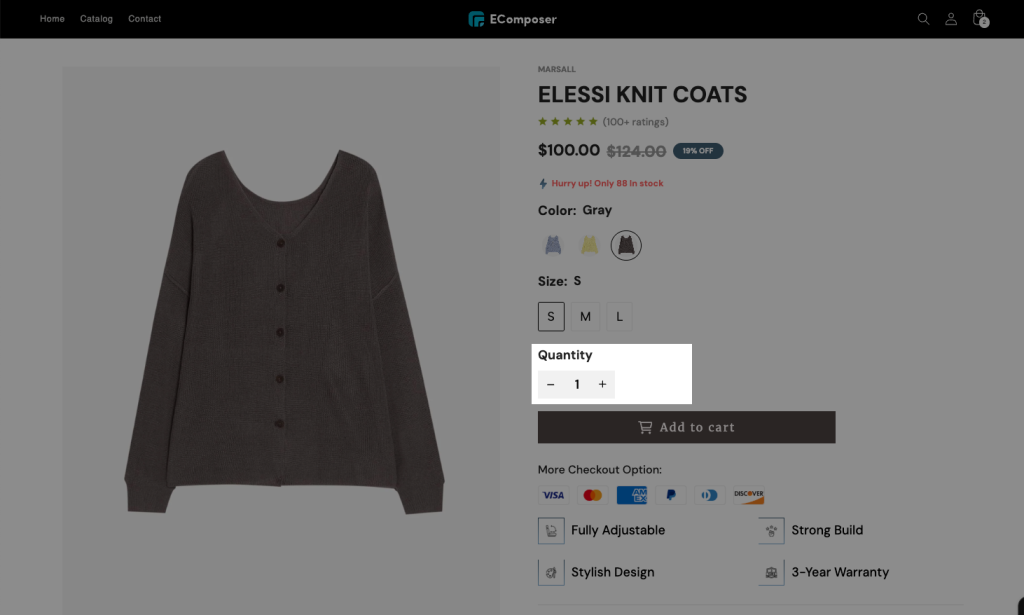
The Quantity element is a very important element on your product page, as it helps your customers to add the number of products to the cart.
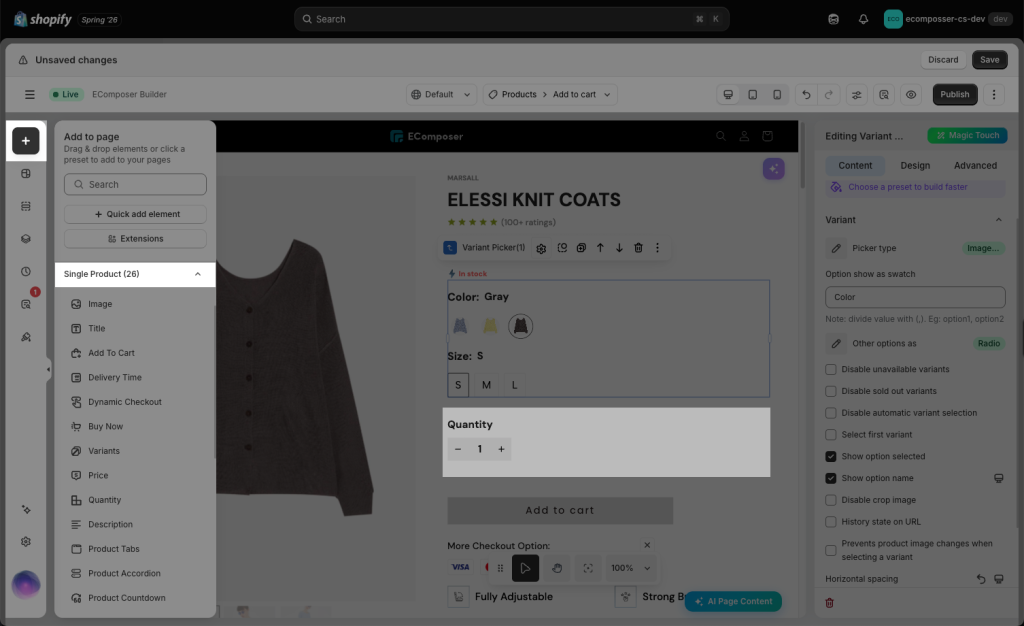
From the Single Product tab, you can drag and drop the Quantity element anywhere that you want to add the Element.
1. Configure the Content of Quantity
In the Content tab, you can change the type, title, choose plus and minus icons, set the min/max quantity, and change the layout, spacing, and alignment for the element.
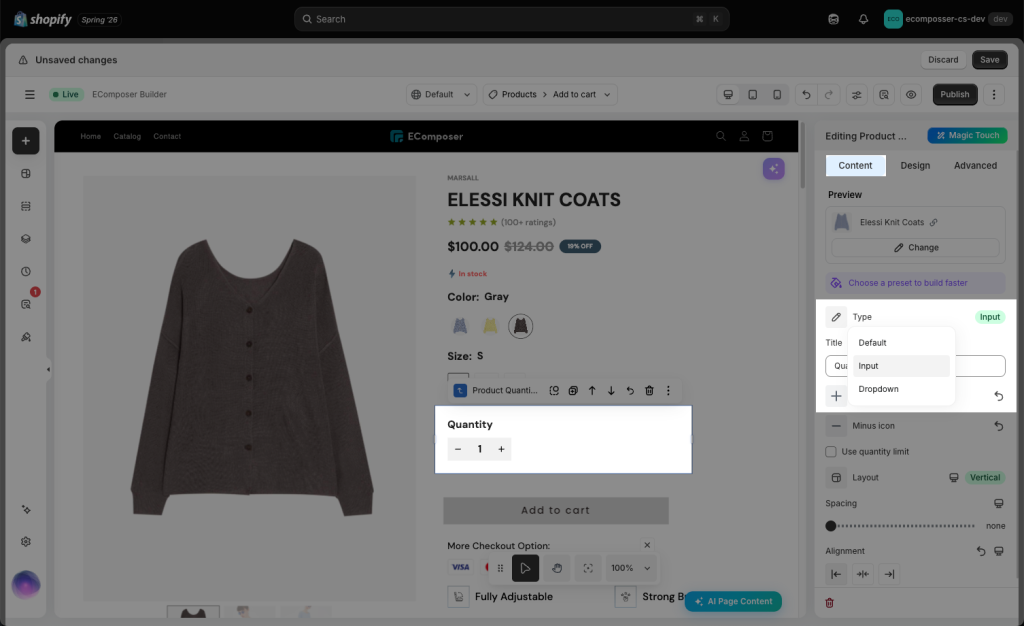
Type: There are 2 types for Quantity:
- Input: The Input type displays a quantity box where customers can manually enter the desired number. Customers can also increase or decrease the quantity using the plus/minus buttons if they are available in the theme layout. This type is suitable when you want customers to freely enter any quantity based on their needs.
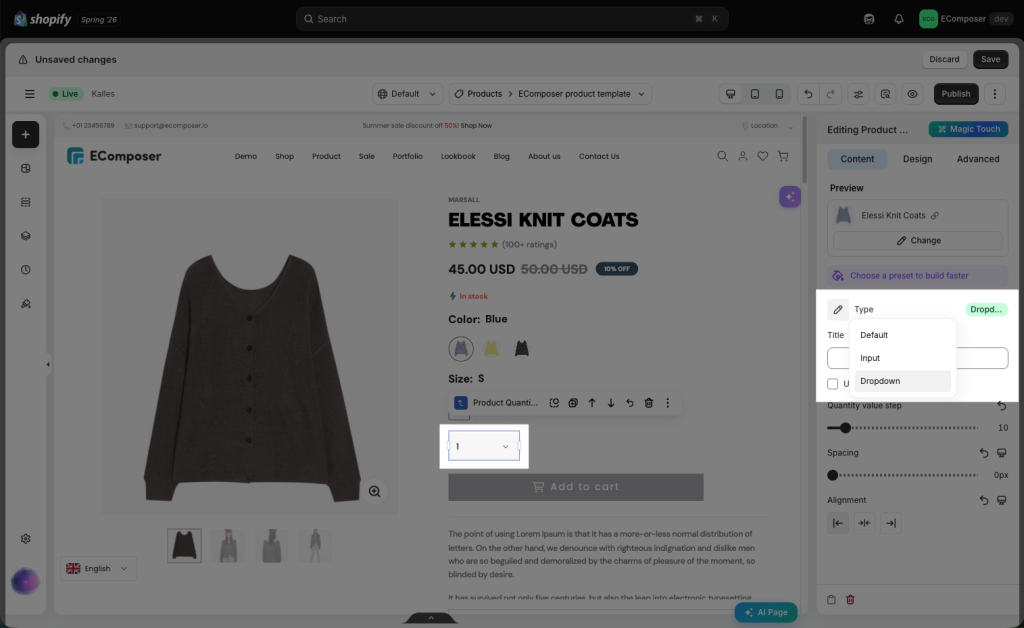
- Dropdown: The Dropdown type displays quantity options in a dropdown list. Customers can select the quantity from predefined values instead of typing the number manually. This type is suitable when you want to limit or guide customers to choose from specific quantity options.
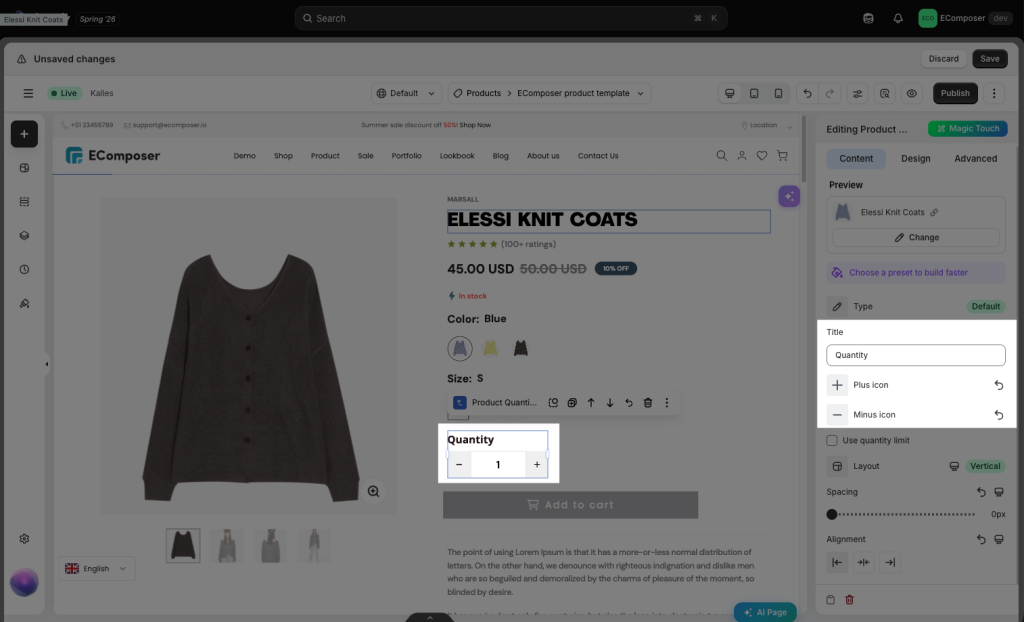
- Title: Help you display the name of the quantity button.
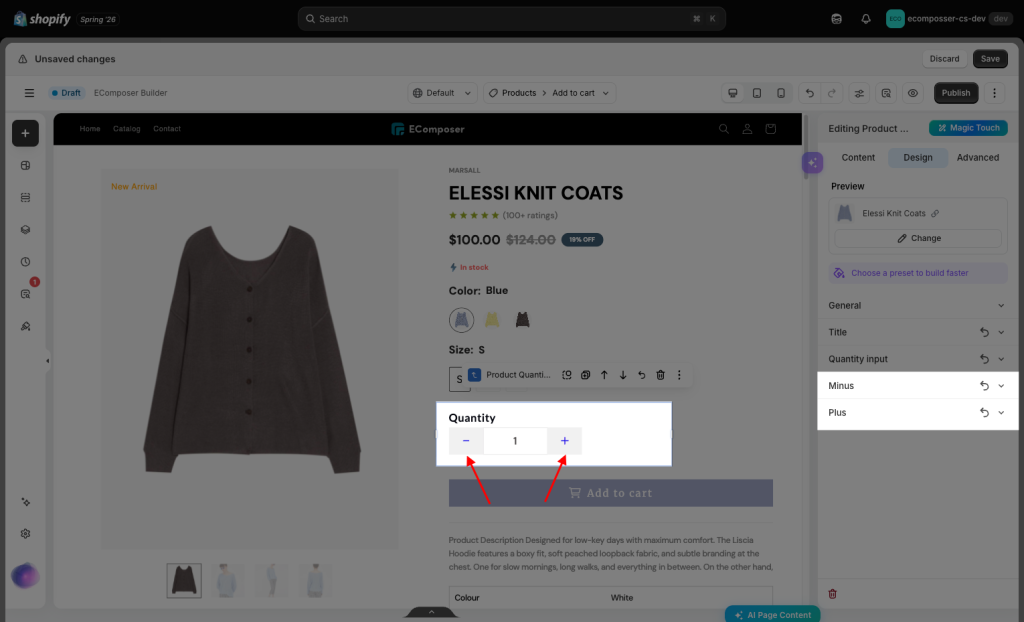
- Plus/Minus icon: You can select the icon to increase or decrease the quantity
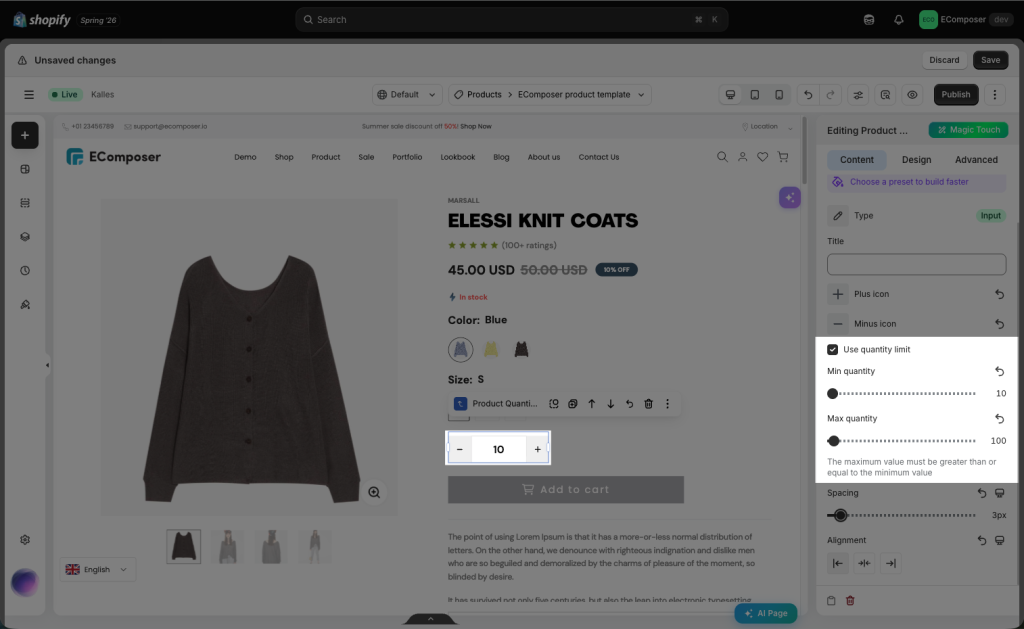
- Use quantity limit: The Use quantity limit option allows you to set the minimum and maximum number of products that customers can add to the cart. When this option is enabled, customers can only select a quantity within the allowed range.
- Min quantity: The Min quantity setting defines the minimum number of products that customers must add to the cart.
- Max quantity: The Max quantity setting defines the maximum number of products that customers can add to the cart.
- Quantity Value Step: You can set the step counter, which means it will start from the minimum quantity and skip multiples of the number declared by this option until it reaches the maximum quantity.
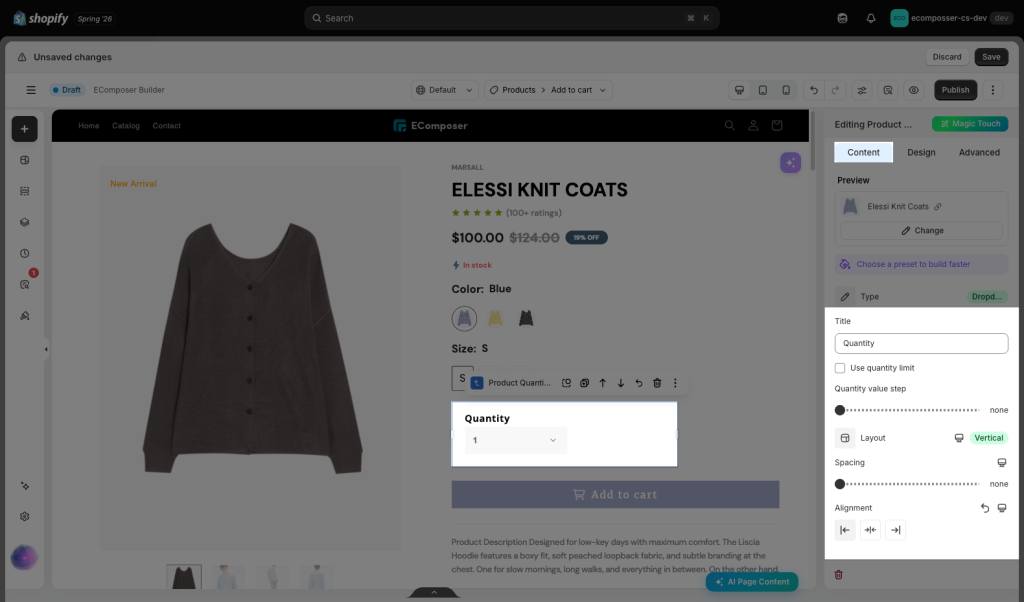
Layout: You can choose the display style for the title in 2 styles:
- Vertical: the title is above the quantity selector
- Horizontal: the title is next to the quantity selector
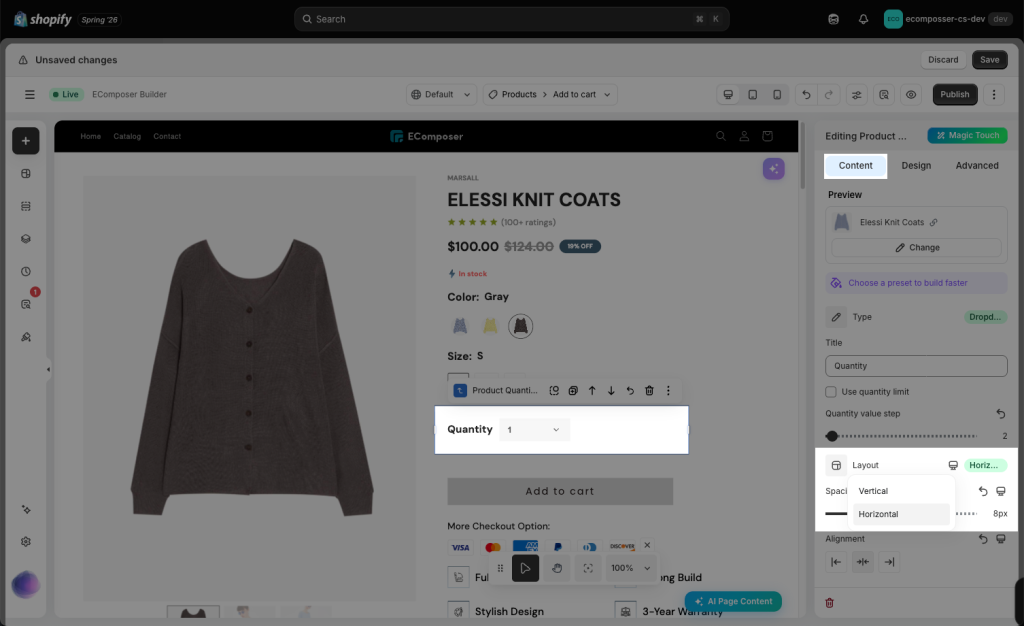
Spacing: You can set the space below the Title.
Alignment: You can change the position of the text to the left, right, or center.
2. Configure the Design of Quantity
The Design tab will have so many options for you to style your element. Here you can change the size, typography, color, spacing,…
- General: This tab will help you to configure the element’s height.
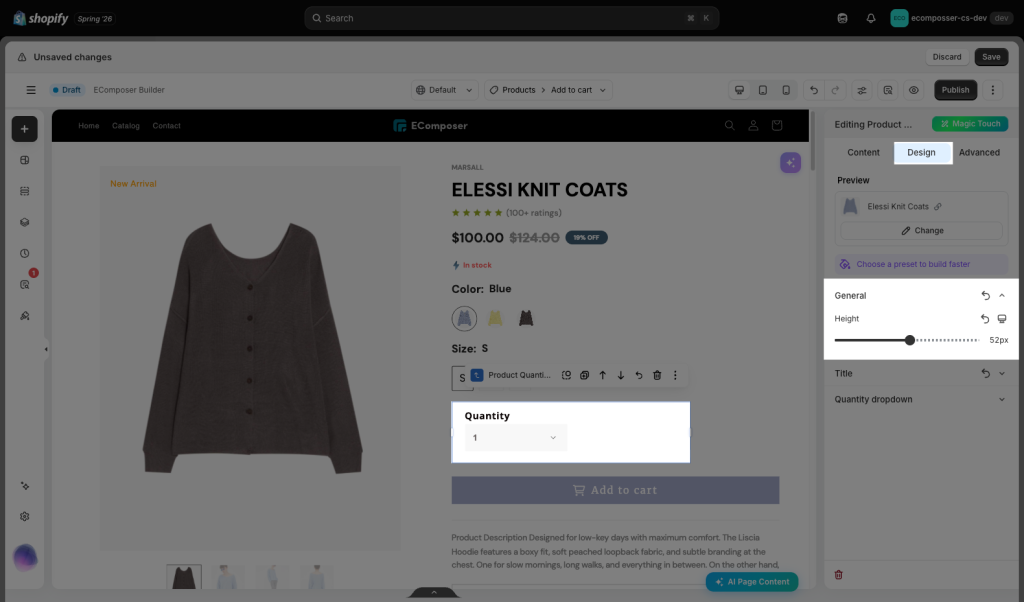
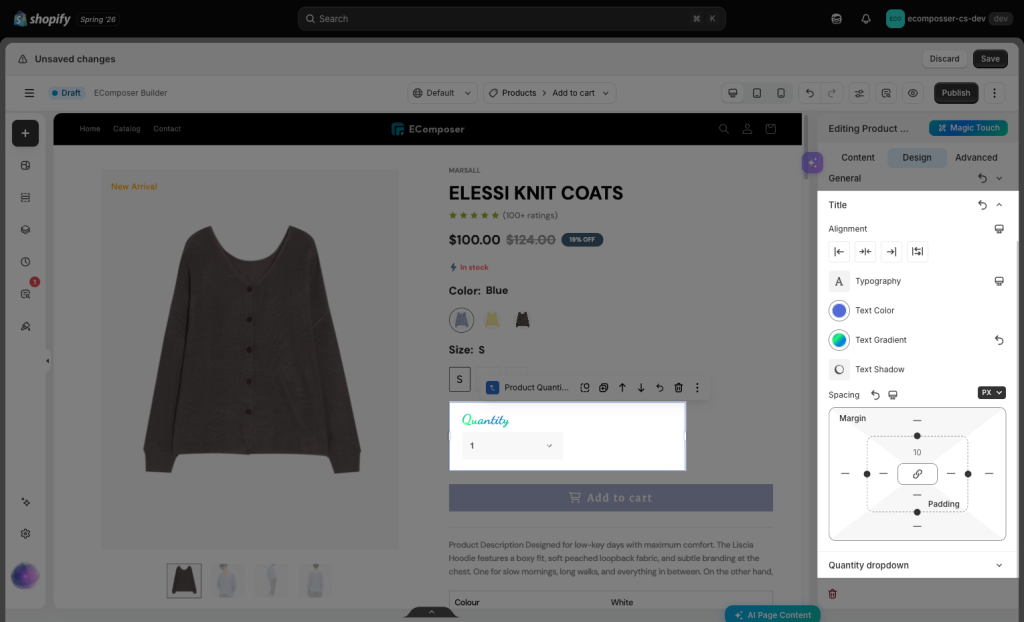
Title: This changes the style of the label of quantity.
- Alignment: Set the horizontal alignment of the label. It can be left, right-aligned or centered…
- Typography: Set the typography options for the label.
- Text Color: Select the color of the label.
- Text Shadow: Add a shadow and blur to the label.
- Spacing: Adjust the space between the icons.
Quantity input: There are two commonly used style options to customize the style of the input area:
- Width: Allows you to increase or decrease the width of the quantity input.
- Color: Change the color of the input number.
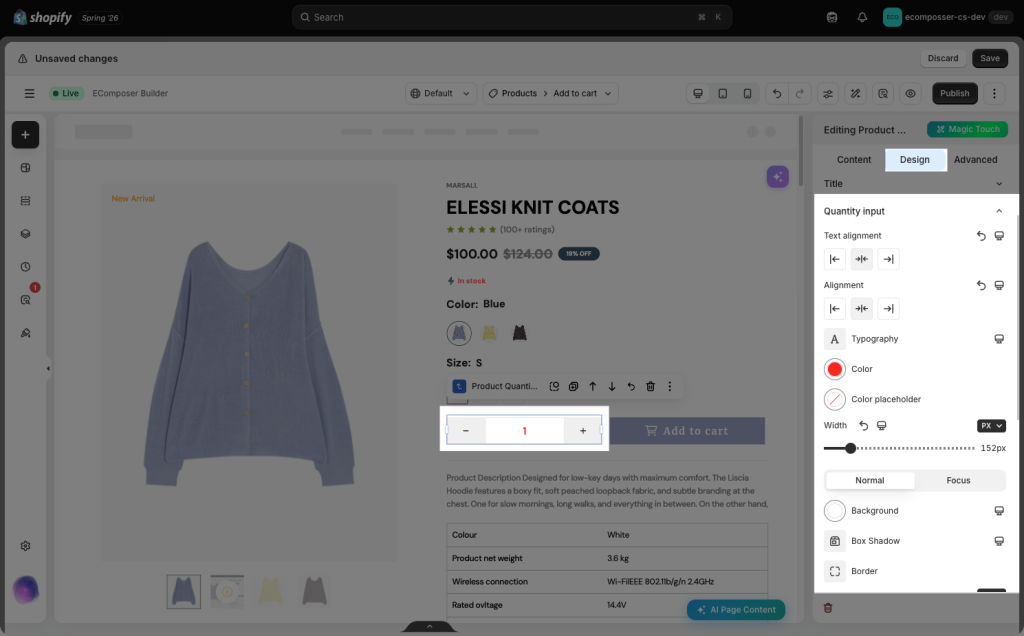
The Minus and Plus settings allow you to customize the style of the quantity buttons. You can adjust the following options: Text color, Background, Border, and Width. You can also apply separate styles when customers hover over the icons, including Hover Style and Hover Animation.