Social
The Social element is represented by interactive digital channels that facilitate the creation and sharing of information, ideas, interests, and other forms of expression through virtual networks. For instance, you can see Facebook, Instagram, Twitter, and even your store’s email address on your retail website. This entails allowing your customers to click on it and be lifted straight to your shop. Also, this feature will provide your customers with additional information about your shop. Follow the steps outlined below with the EComposer App.
1. Adding Social To Your Page
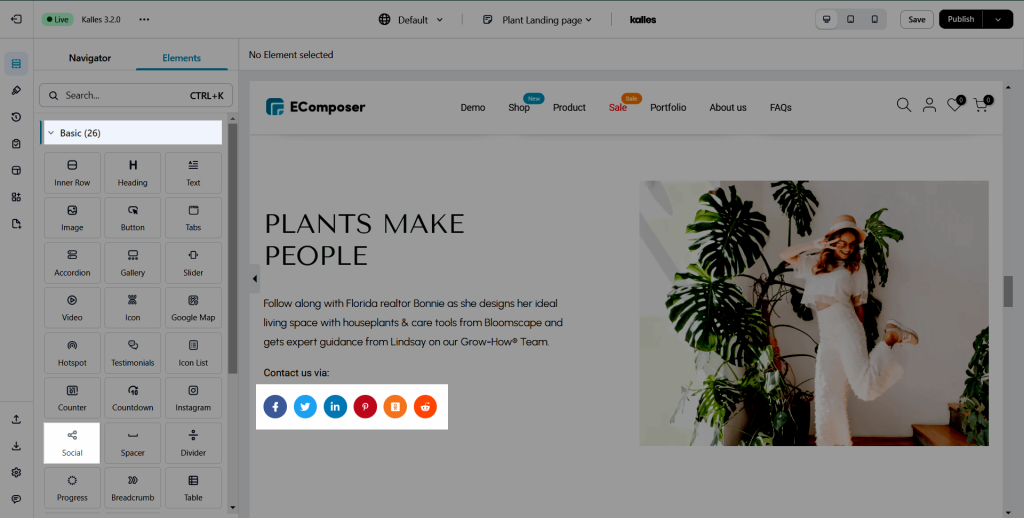
- Click into Elements –> Basic –> Social
- Drag the icon element from the left sidebar and Drop it wherever you want it to stay.
2. Configure Social
2.1. Changing Social with “Content”
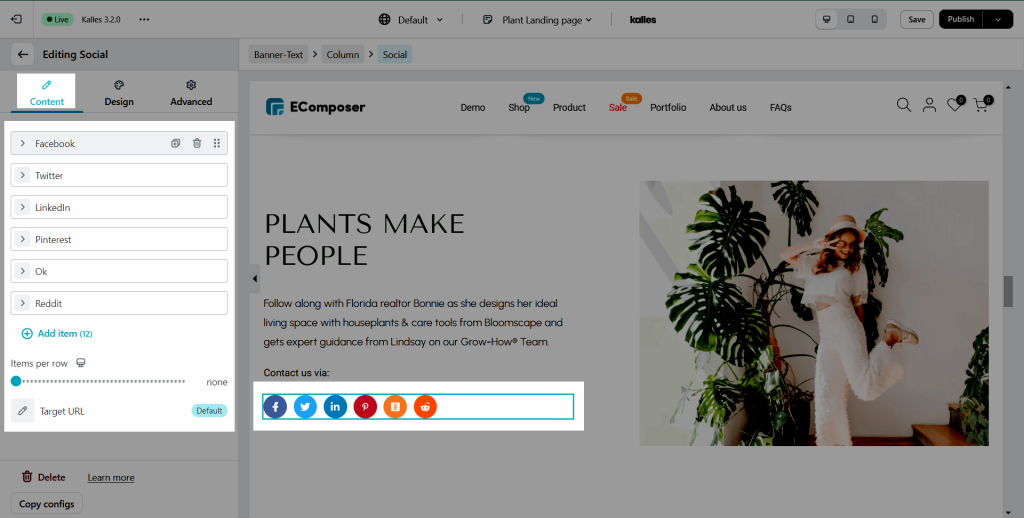
Whenever you want to change the Social Element to be another better view for your store, including lots of interesting functions such as Items per row/ Spacing between/… for you to custom your label.
2.1.1 Social with sharing function
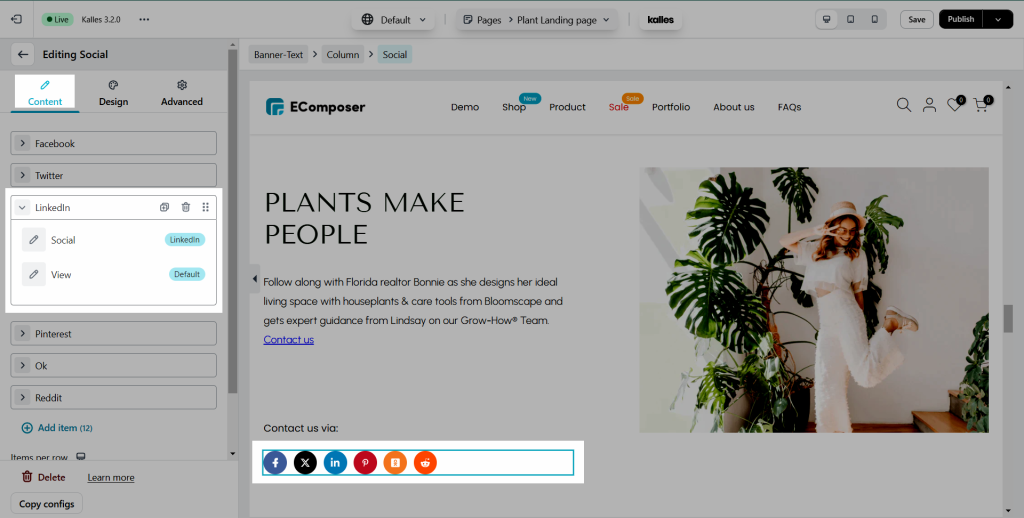
- Go on the social media as LinkedIn from the left sidebar
- Then click on Social to choose the one you like in the list to share
- View to change the style of the Social icon.
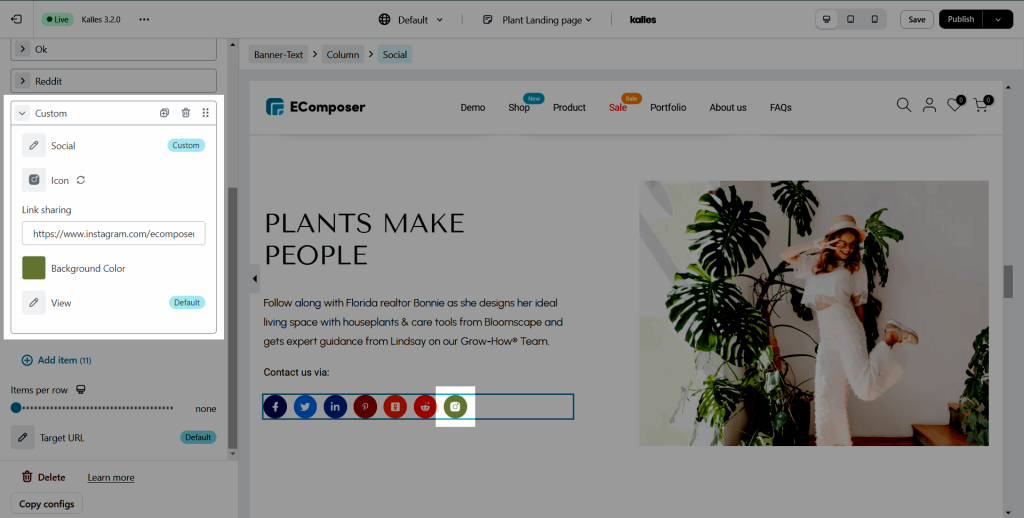
2.1.2 Social with Custom Link
Note: Instagram does not have a sharing function like Facebook or other social media. You can set it as custom and paste your link insta to it. You can also use this Custom link to link your customer to your other social media.
2.2. Change things with “Design”
As you can see from the video below that shows some specific functions, such as:
- General settings allow you to change the Background Color, Box Shadow.
- The Icon settings may help you flexible fix the Size, Rotate, and Normal color, including changes in the color or background color when you hover over the Social icon.

