Section Overview
Let’s discuss how to add, style and customize rows within your pages and layouts.
Section is the largest block, It contains columns and other elements.
1. Adjust section with Navigator
Expand/Collab: See groups of elements by clicking on the triangle icon
Visibility: Show or Hide your column via this option.
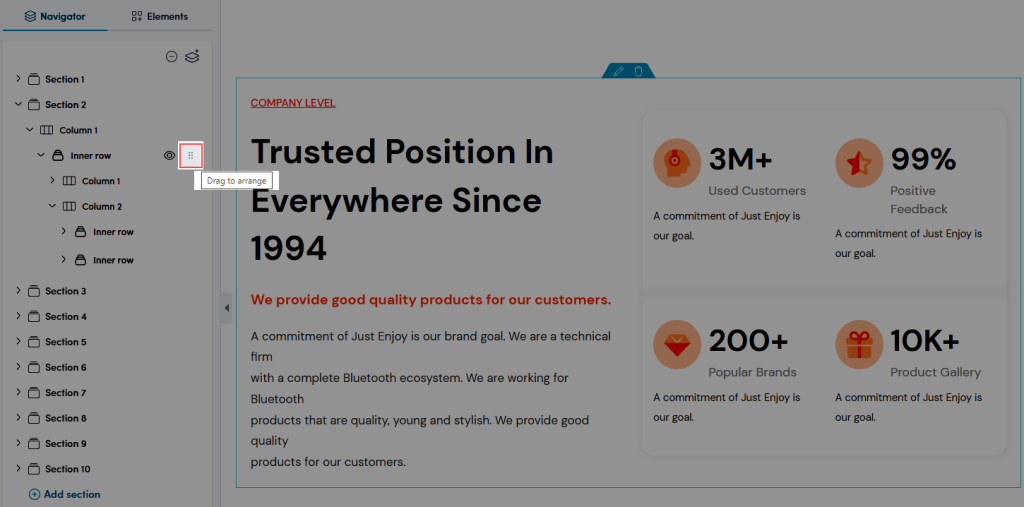
Drag to arrange: You can drag and drop an item by hovering your mouse over it.
Right-mouse Click: Some options on this popup will allow you to do some fast actions.
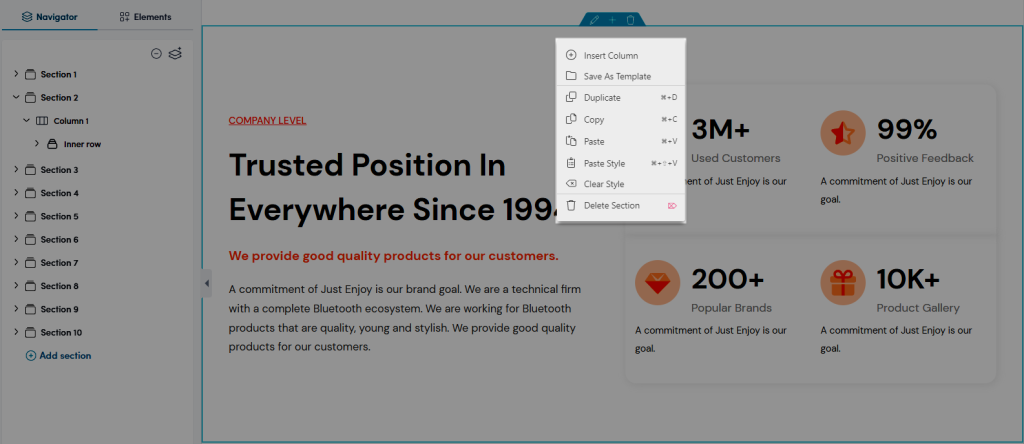
- Insert Column: You can feel free to insert a new column for the section.
- Save as Template: This option allows you to save the newly configured section as a template. Then you can use it on another page by importing it.
- Duplicate: This option allows you to duplicate the section that you just created.
- Copy/ Paste: This option allows you to copy/ paste the section that you just created.
- Paste Style: This option allows you to paste the style of the section that you just copied. You can view the video below to see how this option works.
- Clear Style: This option allows you to clear the style of the section.
- Delete Column: This option allows you to clear the column in the section.
You can watch the video below to learn how to save the section as a template and then import it into another page:
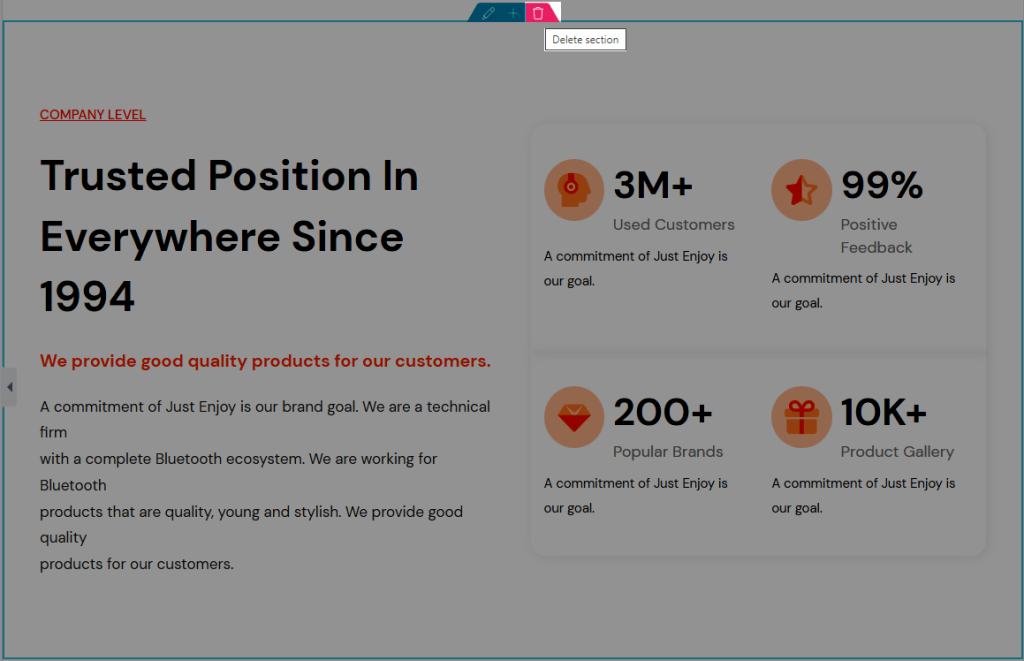
Edit icon: Allow you to edit the style of the section when hovering over it.
![]()
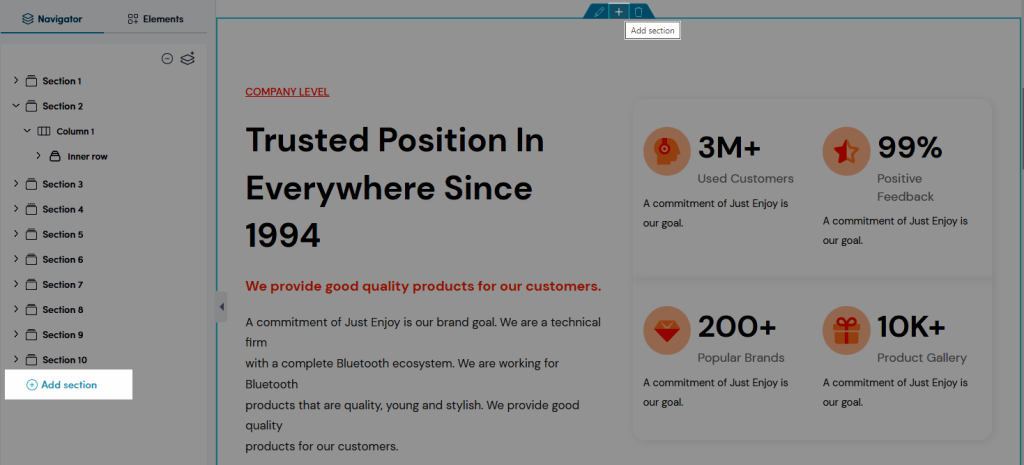
Add Section: This option allows you to add a new section above the current section. You also can add a new section on the Navigator option.
Rename Section: This option allows you to rename for the section you just added.
Delete Section: This option allows you to delete current section.
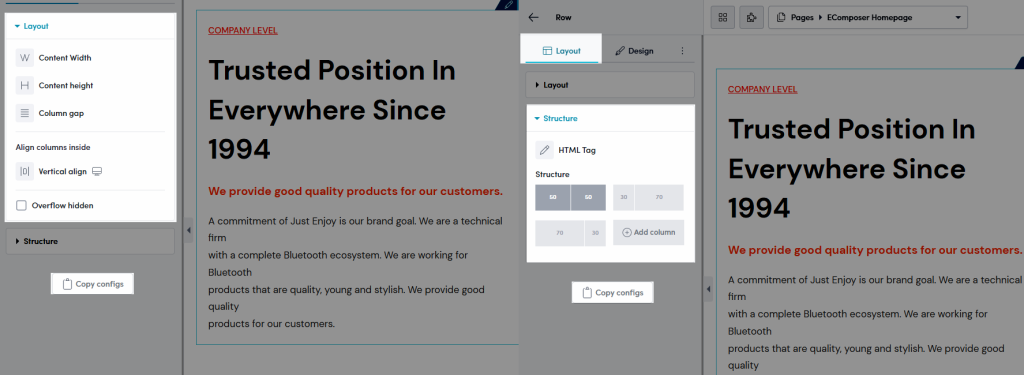
2. Layout Option
- Content Width: Set your content width. There are 3 option Default, Boxed and Full width.
- Content Height: Set your content height. There are 3 option Default, Fixed to Screen and Min height.
- Column Gap: Set the space between each column of variant. This option allow you to change different value from desktop, tablet and mobile.
- Vertical Align: Set the content vertical align. There are 6 options Default, Top, Middle, Bottom, Space Between, Space Around and Space Evenly.
- Overflow Hidden: Select this option will help to hide any content that flow outside of the section.
- HTML Tag: Set an HTML Tag for your section. Choose the tag that you want to use.
- Structure: This option allows you to set the structure of the section.
- Copy configs: Click this button to copy all your configurations.
3. Design option
You can use different background and border for section between normal and hover state.
3.1. Background
- Background: Choose between Classic (a single color background), Gradient (gradient background mixed by 2 colors) or an image. Available for desktop, tablet, and mobile devices.
- CSS Filters: Adjust only section’s background Blur, Brightness, Contrast, Saturation, Hue.
- Transition Duration: Set the time for the background to change from the Normal background to the Hover background.
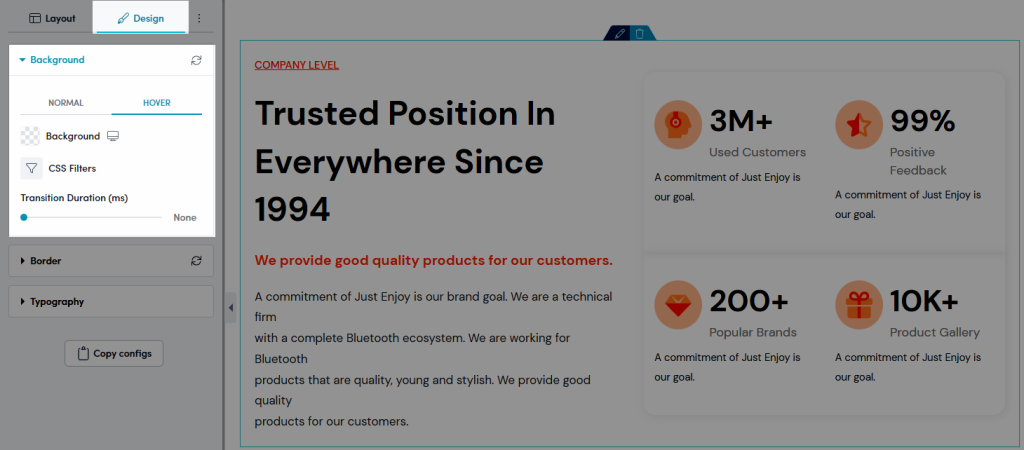
You can set Background with Normal and Hover mode.
3.2. Border
- Border: Choose a border style for your section.
- Box Shadow: Choose a color and adjust your section with Horizontal, Vertical, Blur, Spread, and Position changes.
- Border Radius: Set the border radius value for border (available for desktop, tablet, and mobile devices).
- Transition Duration: Set the time for the border to change from the Normal background to the Hover .

You can set the Border with Normal and Hover mode.
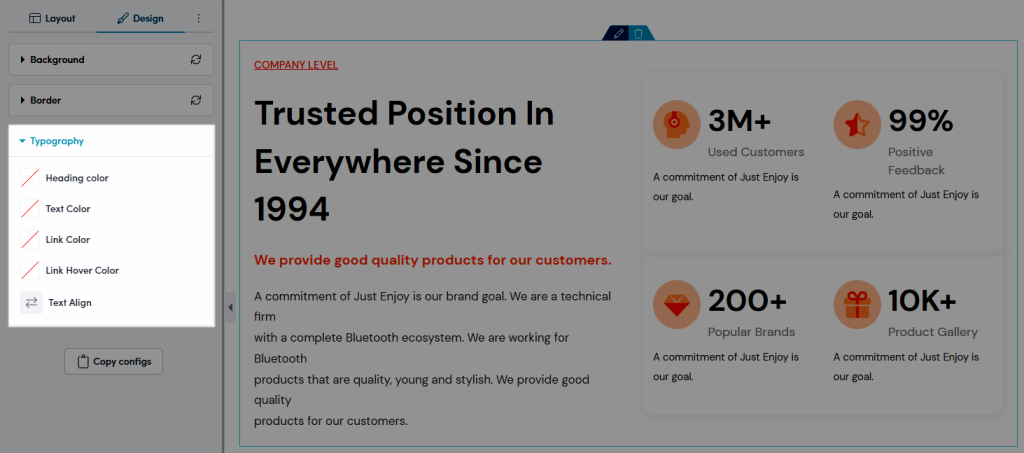
3.3. Typography
- Heading color: Configure the color for Heading in this option. You can pick your color or use Global colors in the Global tab.
- Text Color: Configure the color for text here.
- Link Color: This option allows you to set colors for the link.
- Link Hover Color: This option allows you to set the color for the link in Hover mode.
- Text Align: Choose an alignment for your text here.
Now, if you’re ready, let’s deep dive right in how to build sale-boosting Shopify Section by EComposer: