

Blog Title
The Blog Title element is designed to display the titles of your Shopify blog on your page to increase your conversion rate. In this article, we will guide you to customize the Blog Title.
1. Content
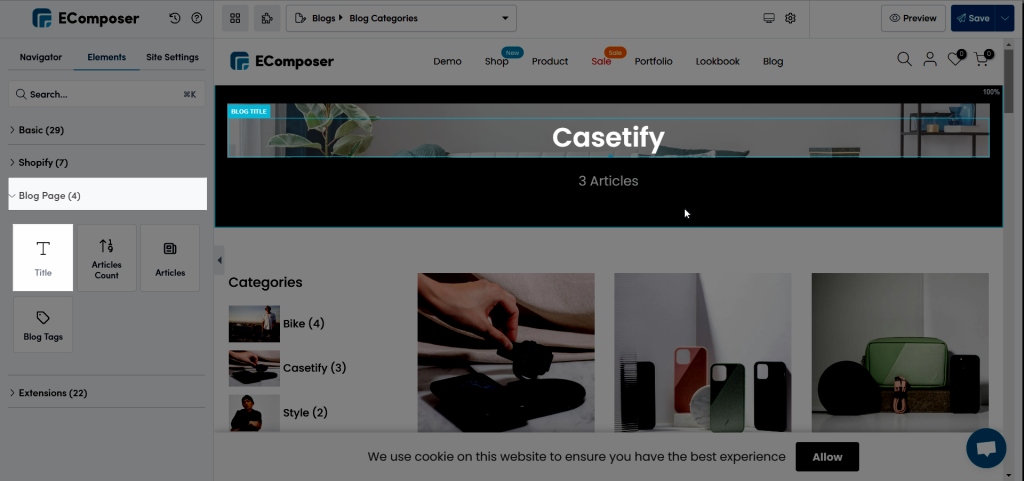
Under the blog page tab, drag and drop the Title element to the position that you want to show.
- Preview: You can choose a specific blog to preview.
- HTML tag: You can choose the HTML heading tag for the blog title, the EComposer supports using basic tags like H1 to H6 and Link. Usually, the blog title will be selected as the H1 tag to be optimized for SEO, but you can change it to other tags if you want.
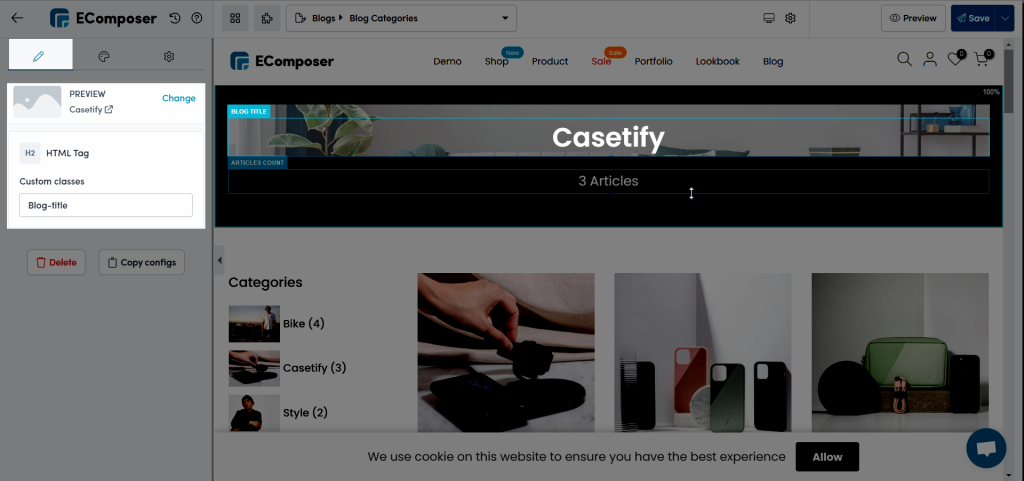
- Custom Classes: This option allows you to add HTML classes to the Blog title. If you want more style for the title, you can add Custom classes here and go to Save -> Custom CSS/JS. Moreover, you can only see the classes when inspecting Dev tools. If you don’t know CSS and don’t need any styling, you can skip it. We have enough options to style your blog title.
2. Design
- Alignment: Allow you to change the horizontal alignment of the Title, such as left, center, or right.
- Typography: Allow you to design the title with options for font family, font size, font weight, text-transform, text style, text decoration, line height, and letter spacing. You can customize it on many devices.
- Text Color: Choose a color for the title of the product here.
- Text Shadow: This option allows you to add a shadow to the Title by changing the Blur, Horizontal, Vertical, Etc.
- Text Gradient: Allow you to create word gradient color.
- Spacing: This tool is designed to manage text dimensions (padding, margin).
3. Advanced
Get more information about advanced setting via this link.


