Langify – Translate your store
Langify makes it easy to translate and localize your store to reach global customers. It supports manual and automatic translations, integration with third-party apps, and a flexible, customizable interface.
EComposer and Langify can work together seamlessly, users just need to install both apps and configure Langify as normally. To translate all EComposer pages, this article guides you on how to make EComposer and Langify work together.
1. How To Access Langify App
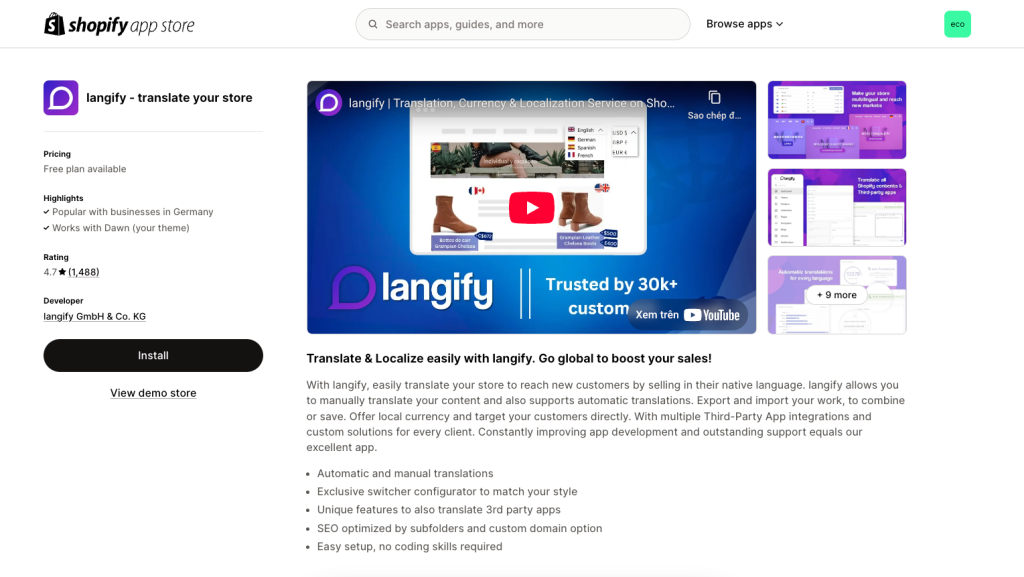
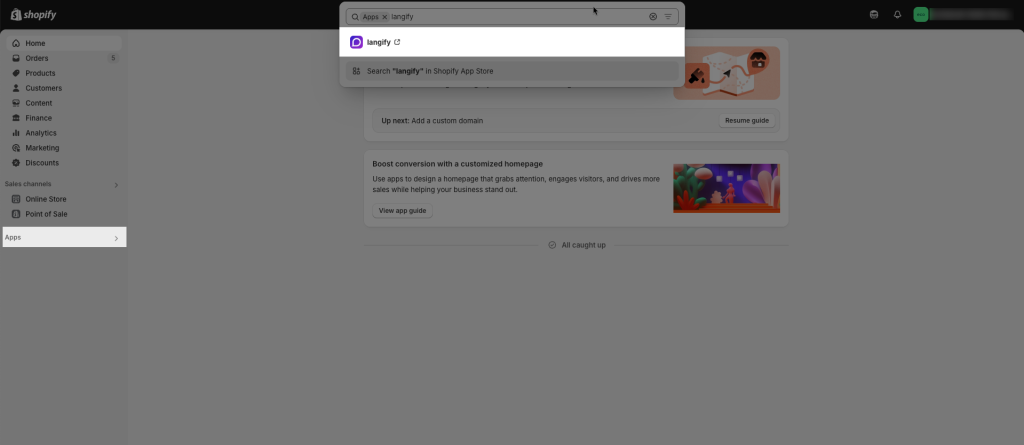
From the main page of Shopify, go to the App section and search for Langify, install the Langify – Translate your store app
2. How To Use Langify To Translate Your Pages
Step 1: Add Language
After installing Langify, open the app in Shopify Admin > App > Langify.
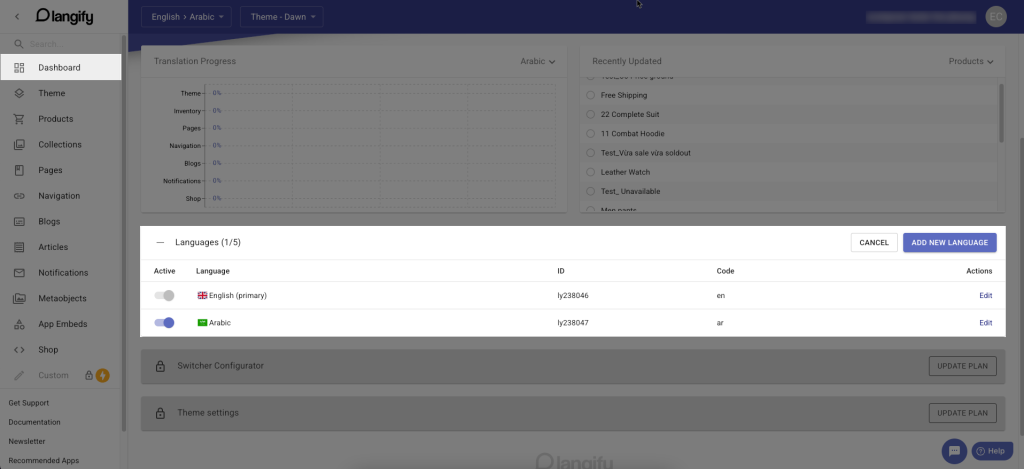
You will be directed to the Langify main dashboard.
First of all, you will need to choose a language in the Languages tab to use other functions of Langify.
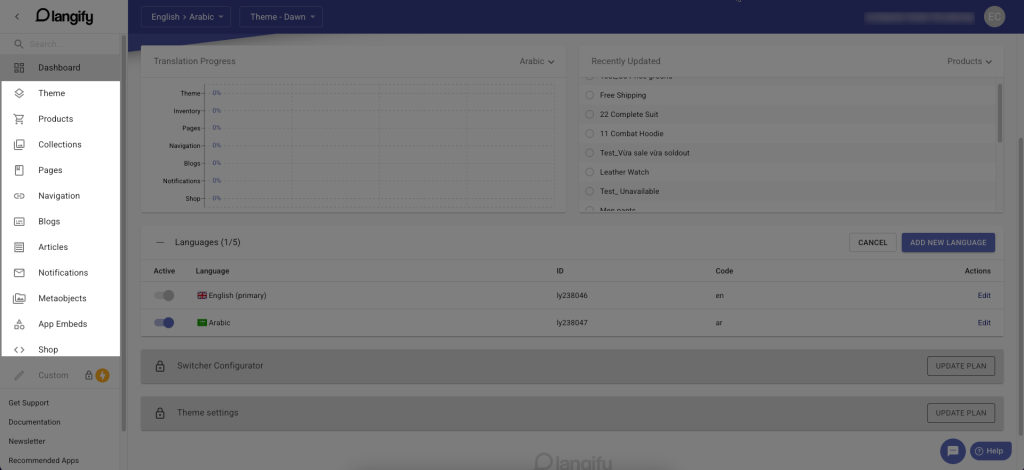
To translate the content of pages created by Ecomposer, head to the respective category & section on the left.
Step 2: Translate Contents
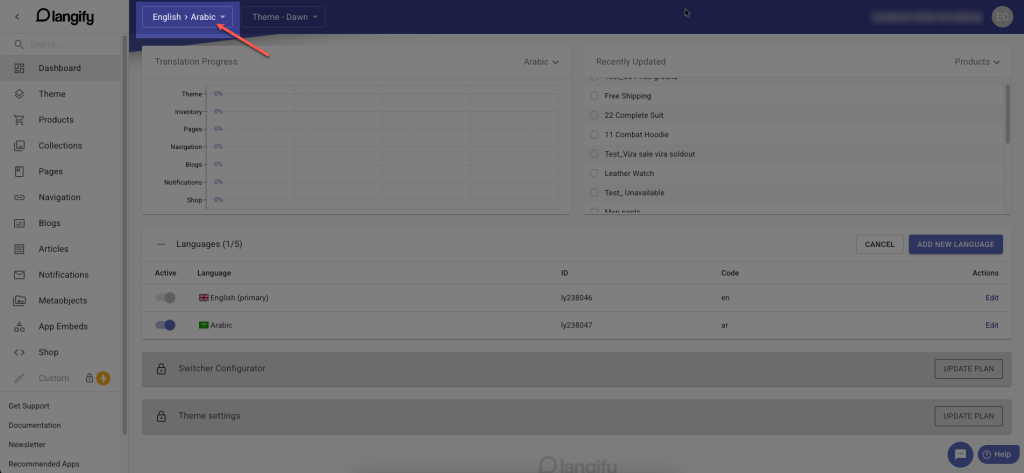
Remember to choose the correct language in the top dropdown menu.
Click on the string on the right then add your translations manually.
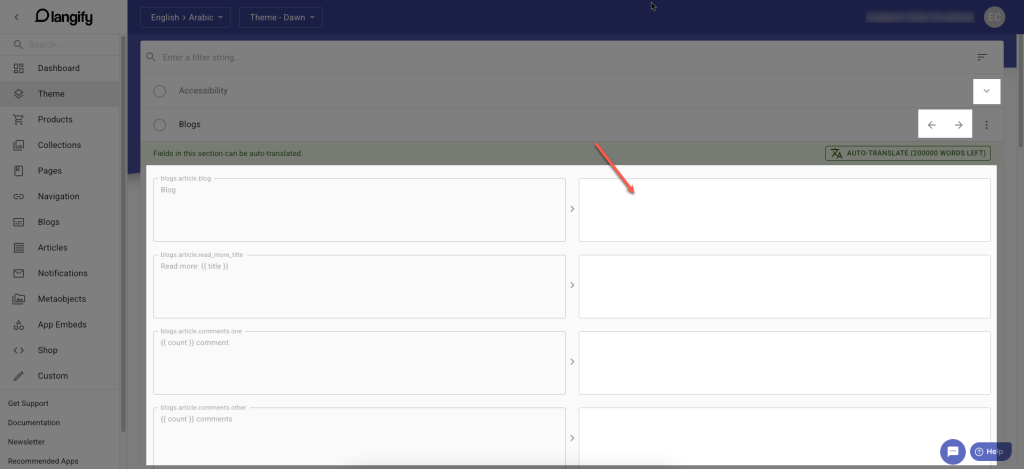
You can translate the content by yourself or using Langify Auto-translate.
3. How to Translate Custom Contents
If you want to add your custom content, click on Custom on the left side.
Click on the corresponding tab in the list.
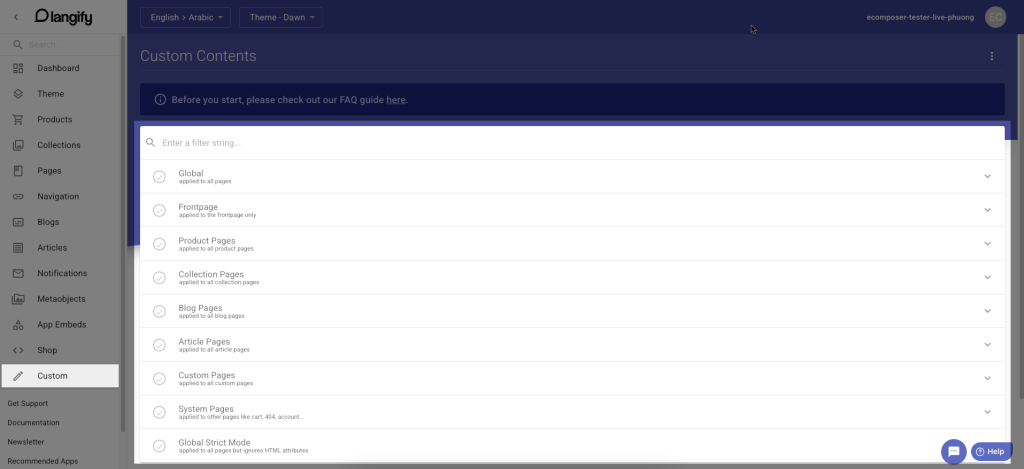
Click the ADD NEW CUSTOM CONTENT button.
Click on your target content string, enter translation in the right box, and use the Langify Auto-translate function. Your translation of the PageFly content will be published.
After successfully creating one custom string, you can create more content as you please.
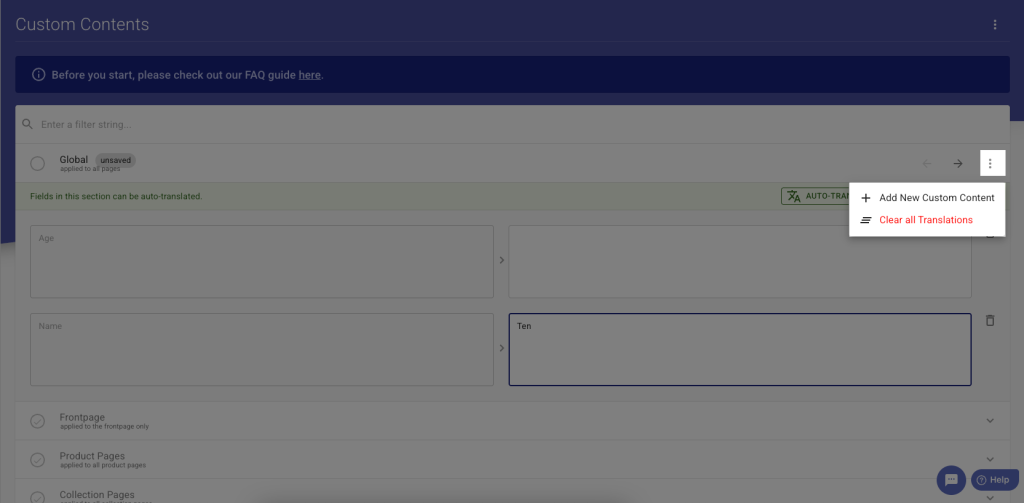
4. How to make EComposer and Langify work together
Ecomposer is seamlessly integrated with Langify so after installation and sign-up, it will automatically translate Ecomposer content, meaning there is no need for you to translate your content manually.
In the customize theme, make sure the embeds Langify app is enabled and click Save on the top right corner.
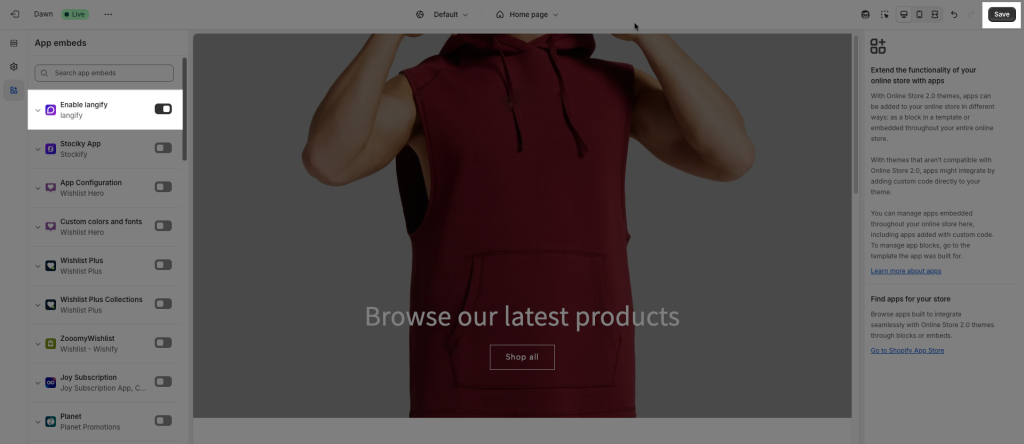
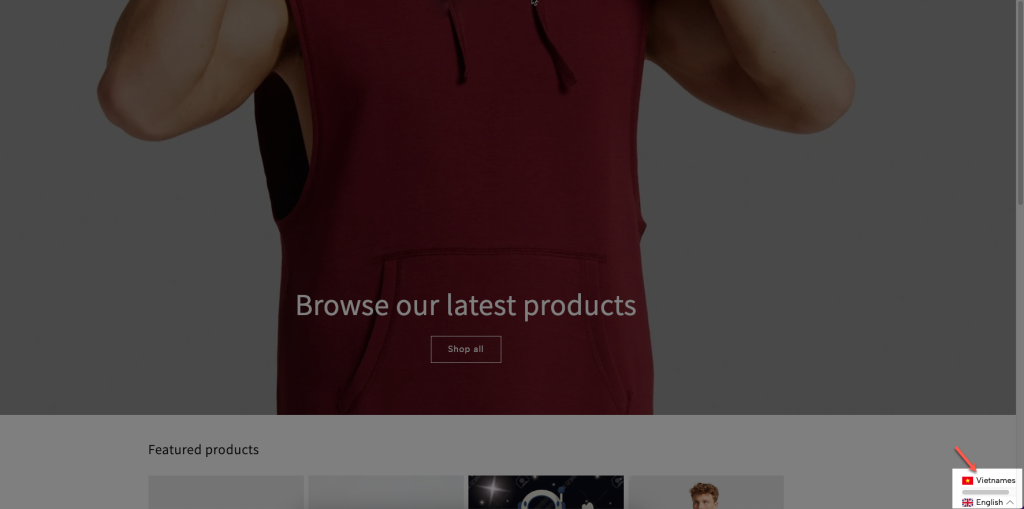
In the live view, you can see a language switcher right away to toggle between languages seamlessly.
