Site Settings
The Site Settings allow you to configure your store’s default color and typography. When you import a template from the library, these colors and fonts will be applied immediately to all of your sections of the page. It aims to assist you in order to ensure that every template you end up creating uses the font and color settings you tend to favor.
First of all, we will come to how to open the Site settings to change lots of fun things for this.
From the editor, you can see the Site settings on the left side.
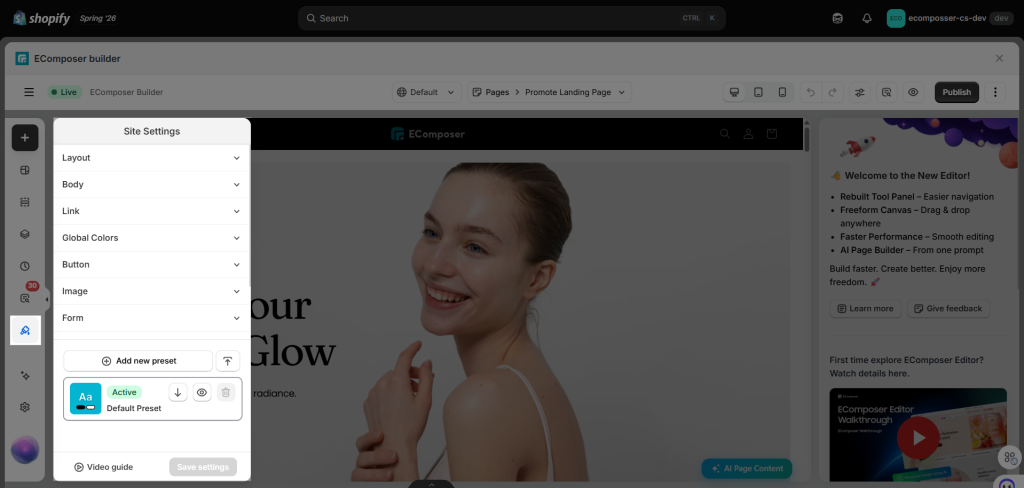
Note: The style here will be applied to all relevant elements on the pages and the Theme, and its priority is lower than the element style. The video below might help you easier understand this tab.
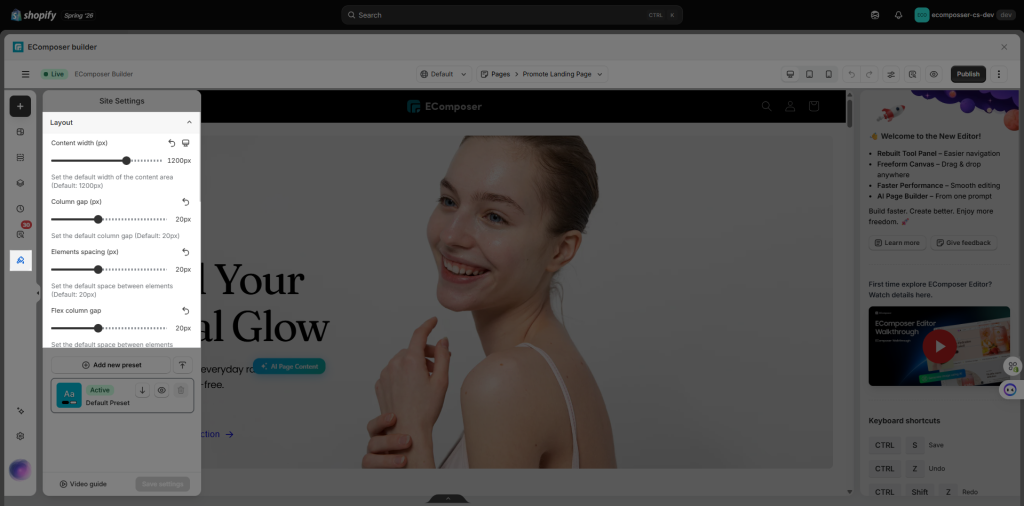
1. Layout
- Content Width: The content area’s default width can be changed here.
- Column gap: This function will allow you to change the gap between each column.
- Element spacing: You can set the default space between the elements.
- Flex column gap: Sets the space between elements vertically within a flex container.
- Flex row gap: Sets the default space between elements arranged horizontally within a flex container.
- Container gap: Anytime you want to change this feature so just go to set the spacing for all sections of the current page.
2. Body
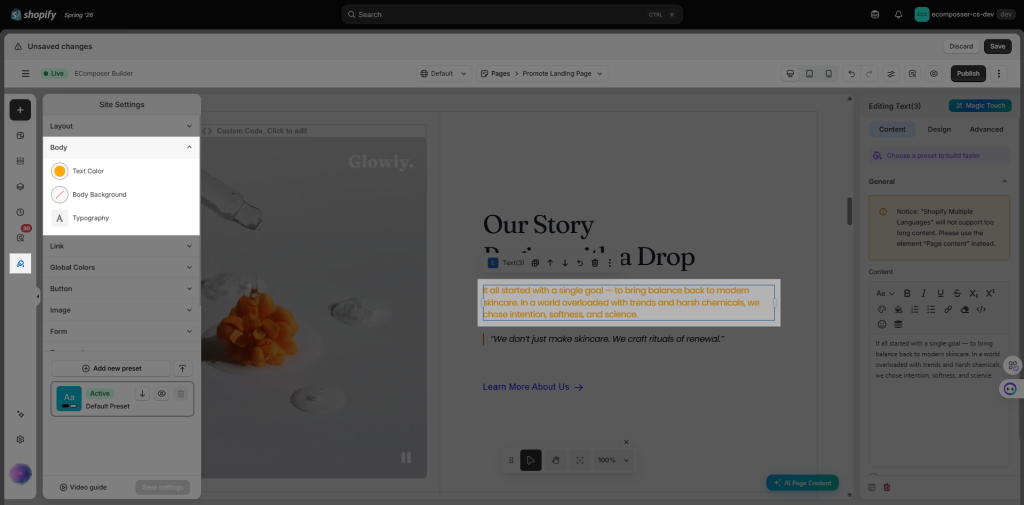
This option will be applied to the Text element or the element which has content inside.
- Text Color/ Body Background: Whenever you want to change the color of the text and the body background, just come to this function to set it.
- Typography: You may go to customize lots of the settings for typography design such as Size, Font, Weight, Transform, Style, Decoration, Line Height, or even Letter Spacing.
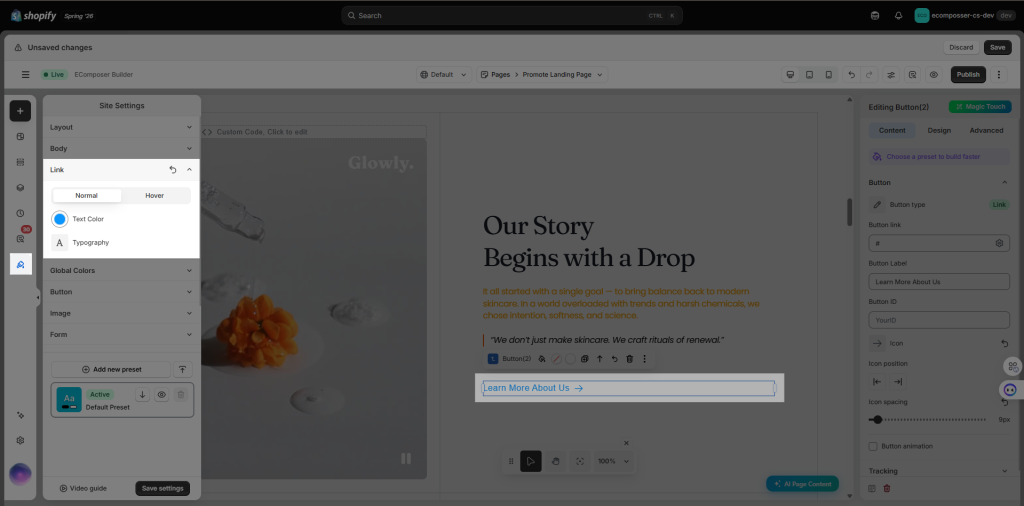
3. Link
This option will be applied to the element which has link such as Button element, button link inside Banner element,etc.
- Text Color: Anytime you want to change the color of the text, please do so with this feature.
- Typography: You may go to customize a lot of the settings for typography design such as Size, Font, Weight, Transform, Style, Decoration, Line Height, or even Letter Spacing.
- If you want to have different color for the link when visitor mouse over, please set it with the Hover effect.
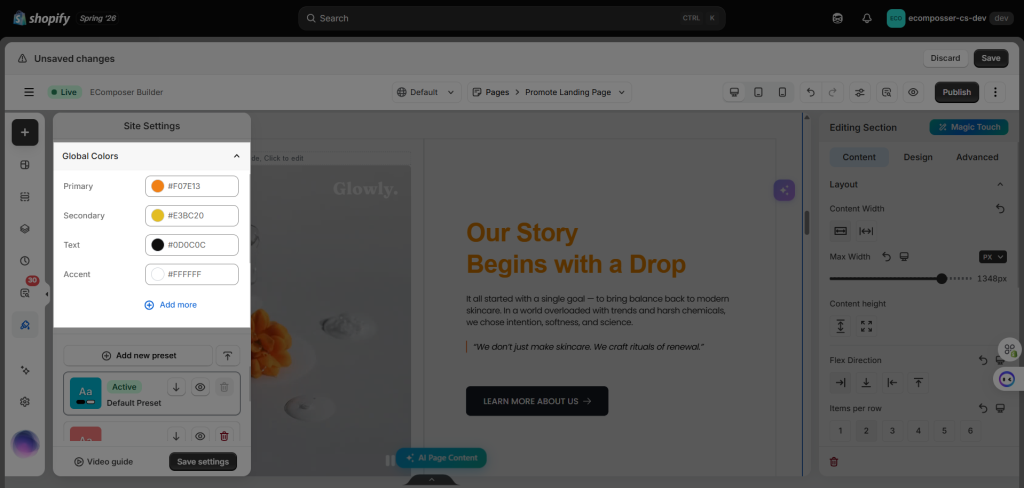
4. Global Colors
The Global color options are very useful for you when building pages. It helps you save the colors that you will often use in your store. For example, if you want to use “blue” for buttons, you can add that color to the Global color, then when designing other buttons, you just need to choose the available color that you added earlier instead of rewriting the hex code of that blue.
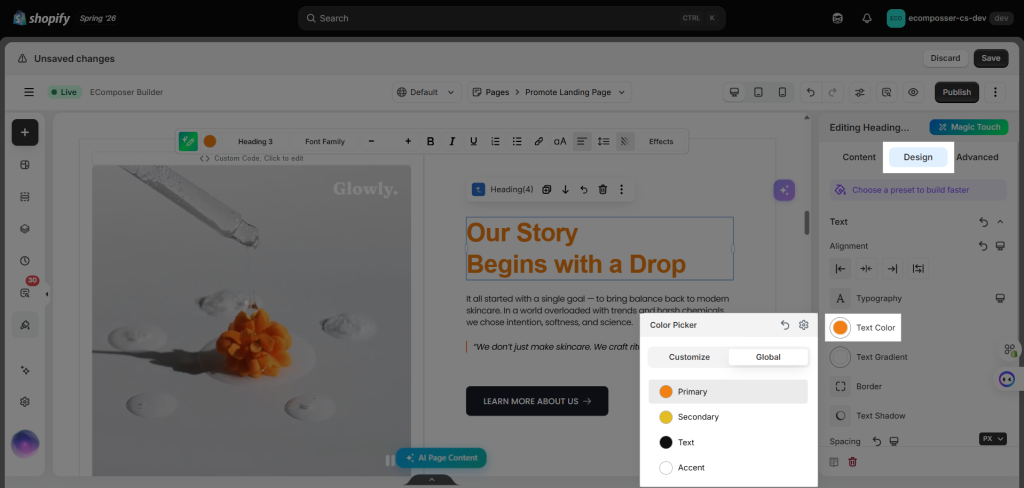
After setting it up, you can select it on each element color option:
5. Button
This option will applied to the Button element, or other element which has button inside such as Banner, Masonry,etc.
- Basic settings: First of all you will hit some of the main settings for buttons like Typography, Text Shadow, and Padding.
- Normal/ Hover settings: If you set the button with the Normal or Hover effect, you will go on the Text Color, Background, Box Shadow, Border, and Border Radius.
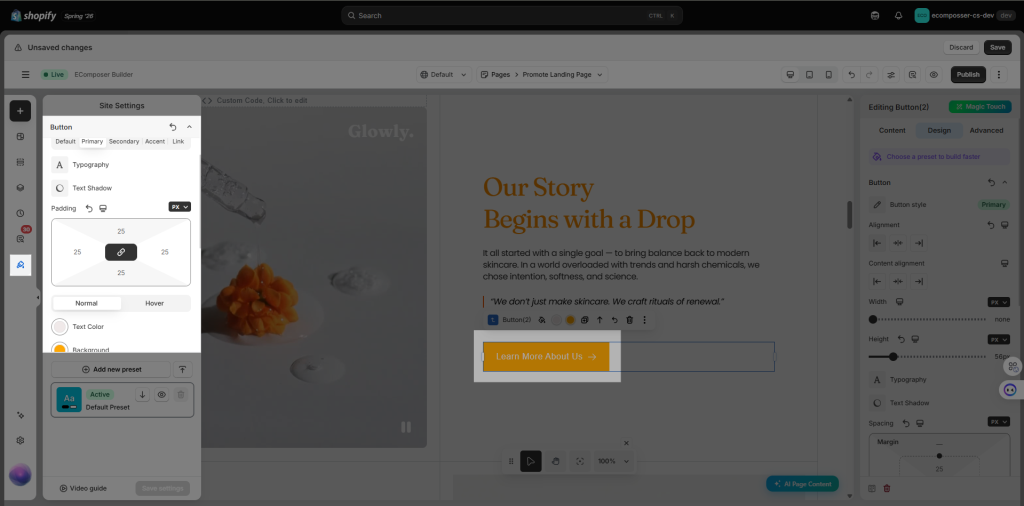
The button settings can be set differently for each type such as Default, Primary, Secondary, Accent and Link
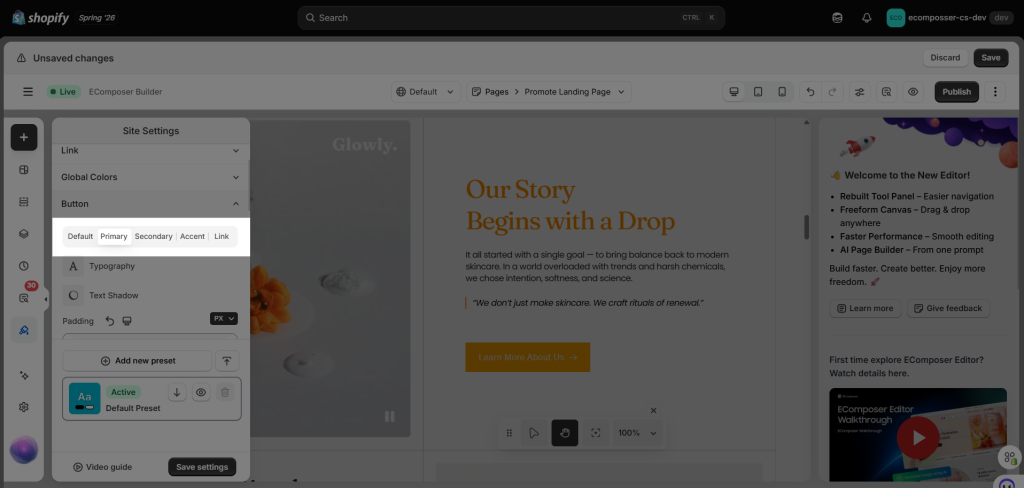
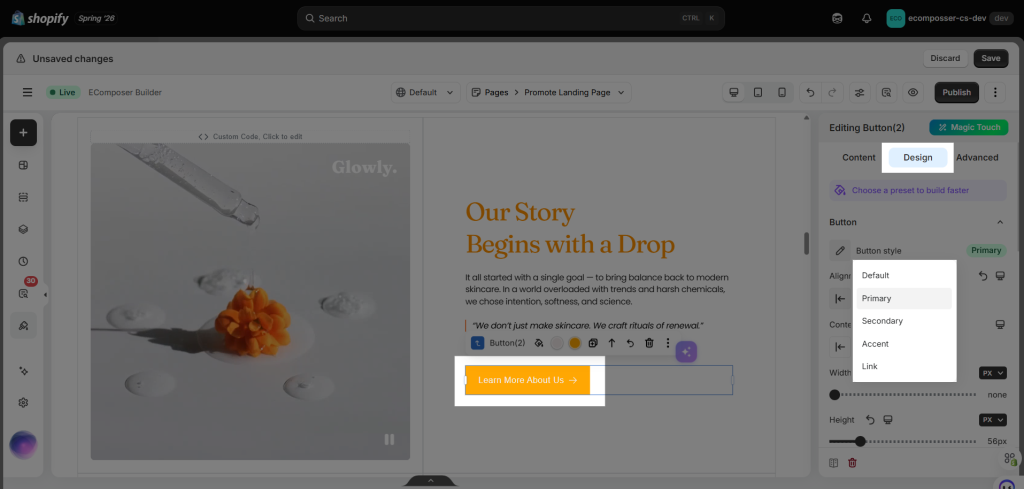
After that, you can choose one of those types from the Button design:
6. Image
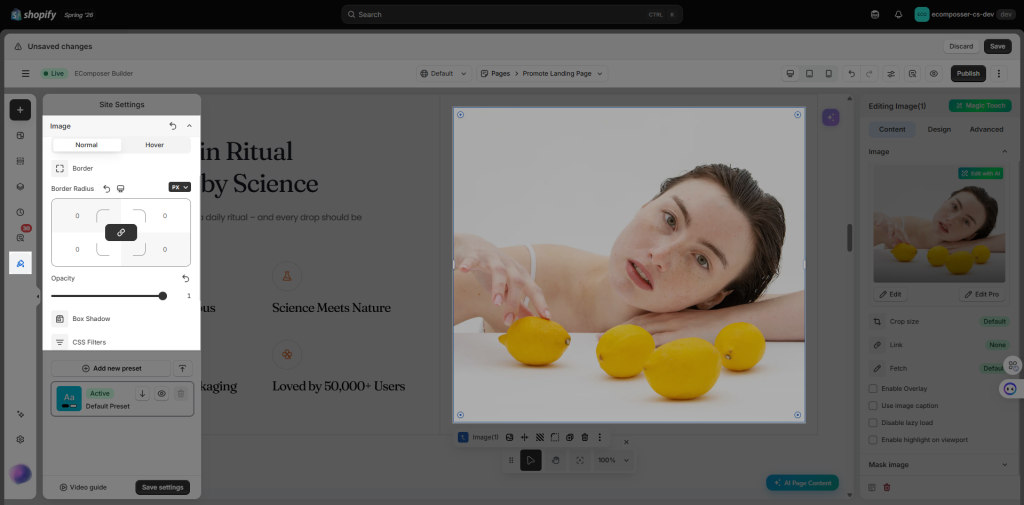
This option will be set to all the Image across your store.
- Normal/ Hover settings: You may go to edit the functions for the pictures such as Border, Border Radius, Opacity, Box shadow, and CSS Filters. If you set all of those features, it will make your image look more impressive.
7. Form
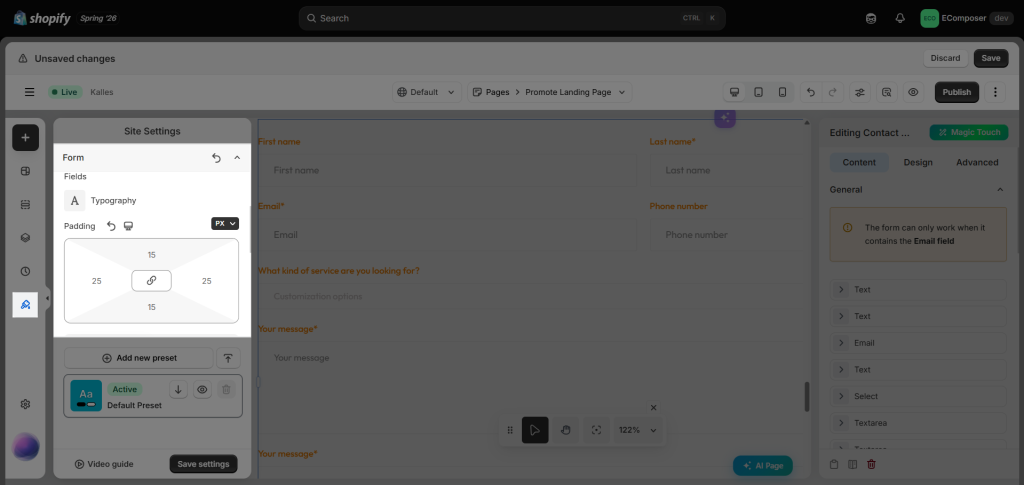
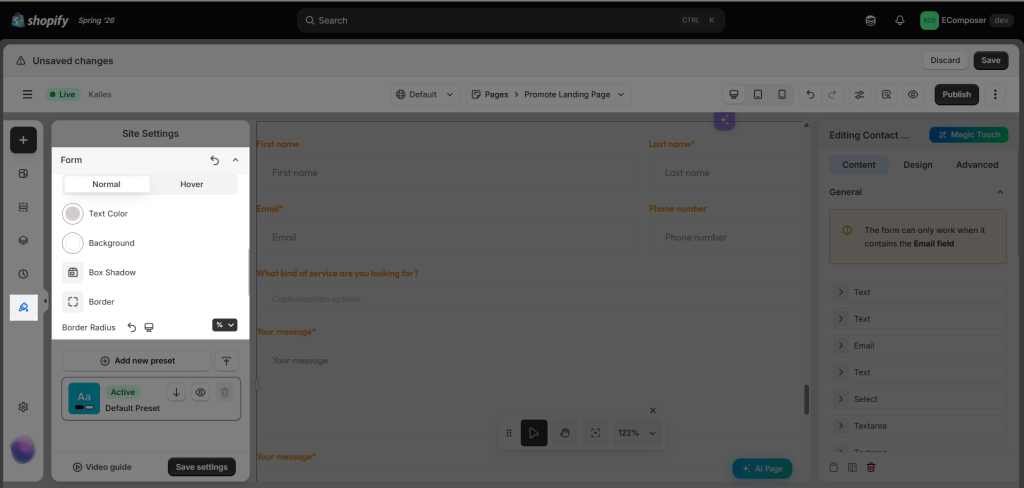
Style settings in this tab will be applied to all the form you have on your store.
- Label: Whenever you are going to change the form settings, which means you will come to a set with Text Color, and Typography.
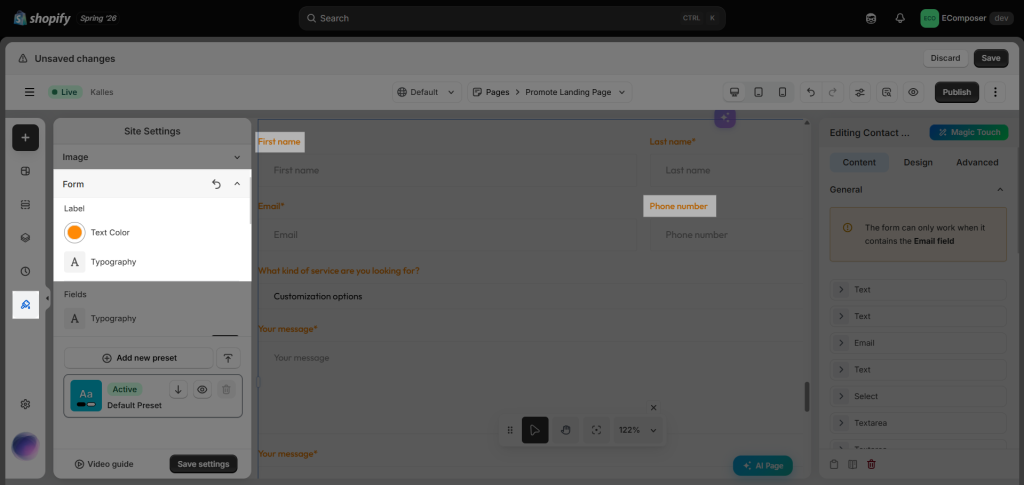
- Field: For more options to go on with form settings, those will start with Typography, Padding, or even some of the effects if you are going to choose the Normal or Hover setting.
8. Typography
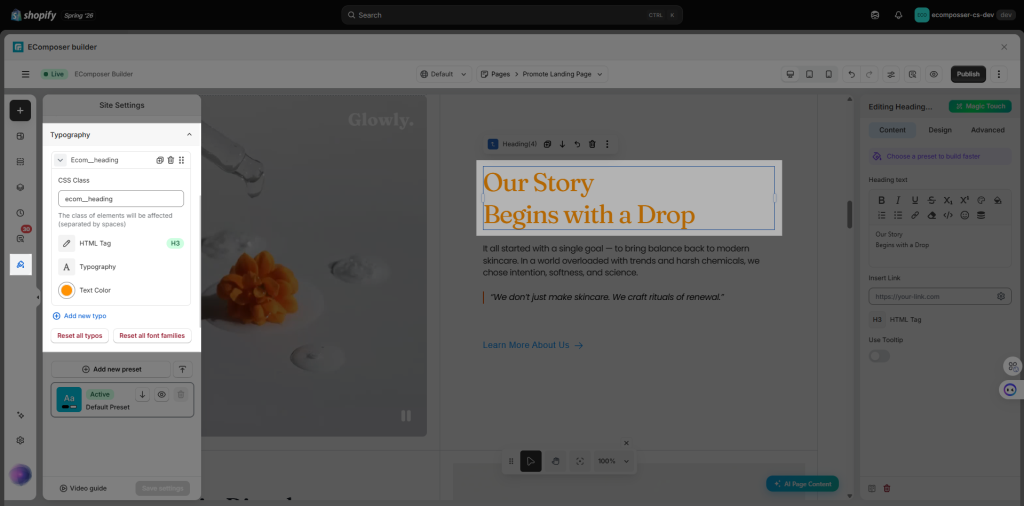
You can add a new typography and apply to a group of element by targeting it’s class, id or a HTML tag.
- Add new typo: You may add the new typography by CSS Class, where you can immediately add extra CSS to the layout that overwrites the CSS of the main stylesheet file, allowing you to change the typography of the site as desired. Furthermore, even if you update and save the layout settings, these changes will remain.
- Reset all typos/font families: You can use these buttons when you want to use the font that you set in the Site Settings or the default typos/font family of the Shopify theme for the pages created in EComposer. They will allow you to reset the typography and font family for all elements on the current page.
+ Reset all typos: It will reset all typos on the elements such as font family, font size, line height, transform,…
+ Reset font families: Reset only the font family on the elements, not the typos (font size, line height,…)
9. Global Typography
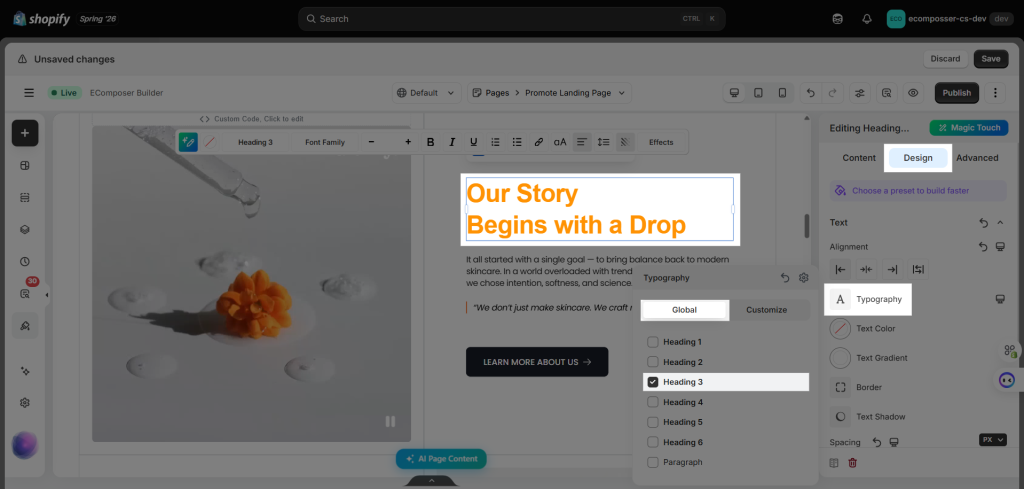
This setting allow you to set a consistent style of the heading across your entire store. Instead of styling heading elements individually, you define default font style for heading tag. Use this feature during the initial setup will reduce page loading times by minimizing style code.
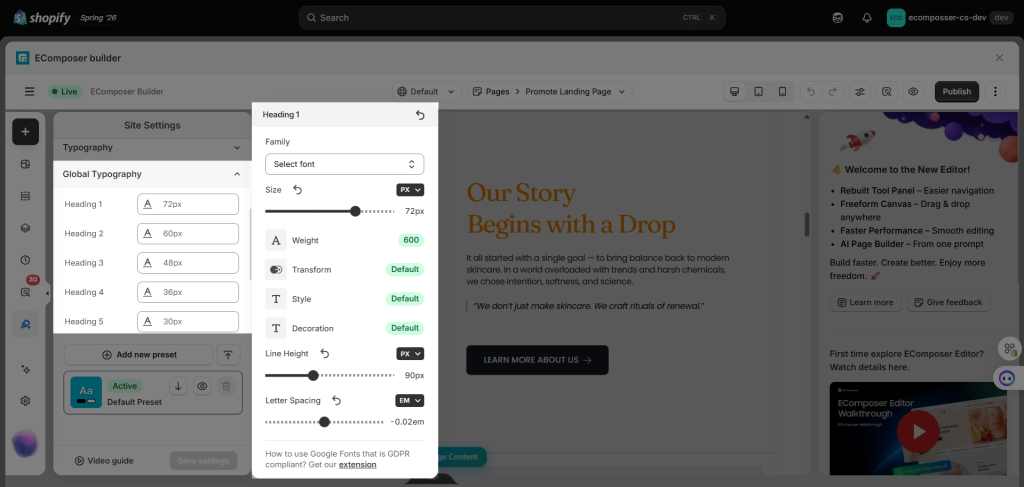
After set it up, you can select the heading style on each heading element on the page:
10. Custom Code
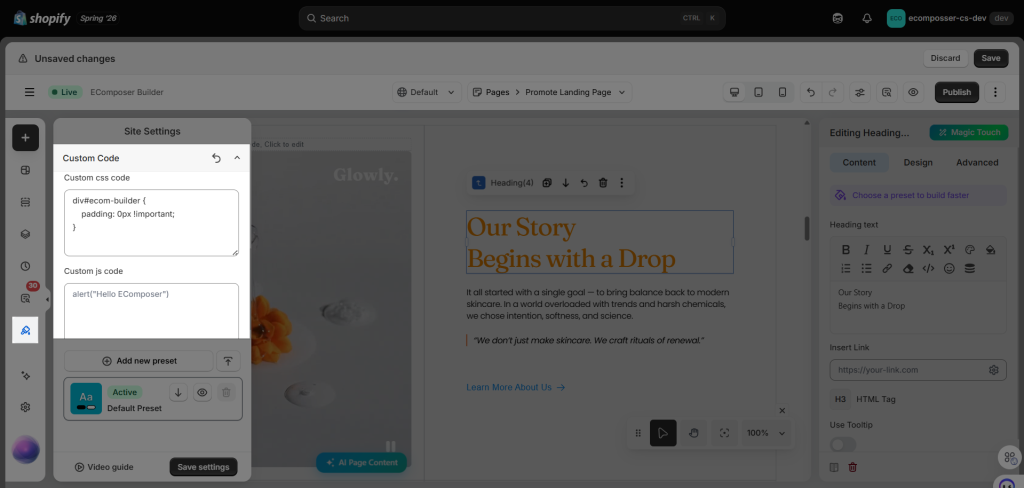
- Custom css code: You may add your own css code here. Please note that this will be applied to the Theme also.
- Custom js code: You may add your own javascript code here. Please note that this will be applied to the Theme also.
11. Site Settings Preset
When you install the EComposer app, a default setting preset is included. You can also create multiple setting presets to easily adapt to different themes and use cases. The active preset will be applied to your entire store.
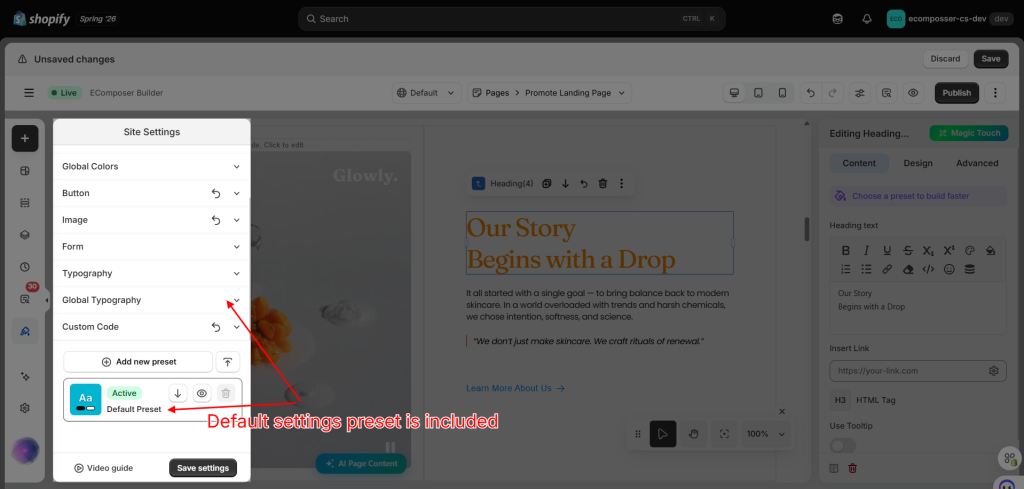
- How to Create a New Setting Preset: You can manually add a new preset or import from an existing one. If you manually create a new preset, its initial settings will default to those of the active preset.
- How to Preview/Edit a Setting Preset:
+ Click on the Preview button to view all settings of this preset
+ Scroll to the top to edit the settings
+ After finishing your edits, click Save Settings
The video below might help you have more details on how to create/preview/edit a settings preset:
- How to Export a Setting Preset:
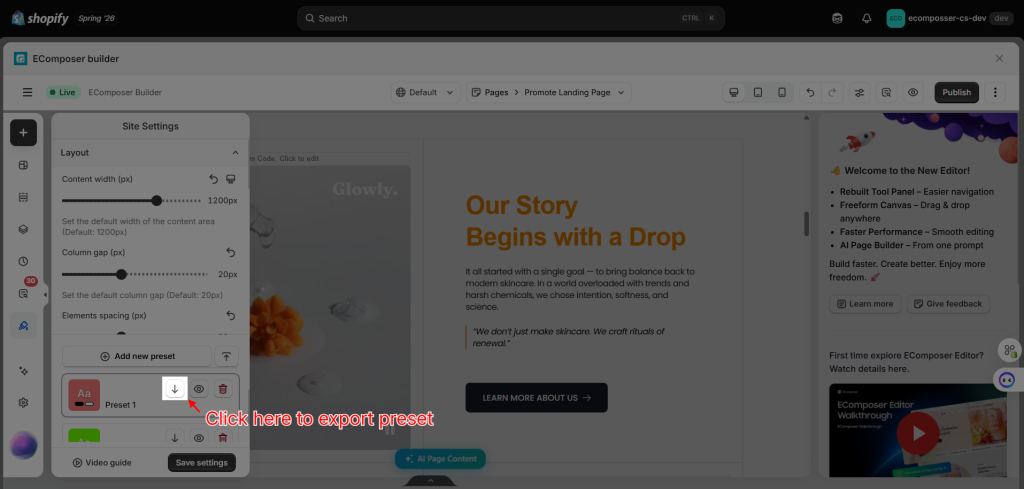
+ Click on the Download preset button to export this preset