

How to use EComposer
With EComposer’s dashboard, you can effortlessly create a wide variety of pages — from Landing Pages, Homepages, Product Pages, Collection Pages, Blog Pages, and Cart Pages to Custom Pages, Contact Pages, and more — all in just a few clicks.
EComposer’s Dashboard intended to help you understand how to navigate and utilize the app effectively.
1. EComposer Builder Dashboard
- App Embed: This setting ensures that EComposer pages and sections are displayed properly on your store. It is recommended to keep this enabled at all times.
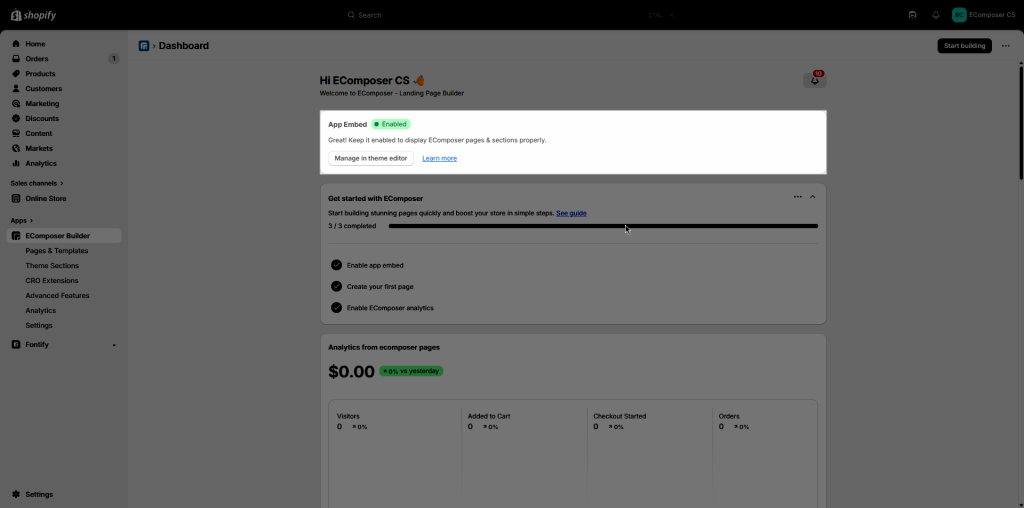
- Getting started with EComposer: A quick-start guide to help you begin building your store pages efficiently. If all these options has been done, your store is ready to live.
– Enable App Embed
– Create your first page
– Enable EComposer Analytics
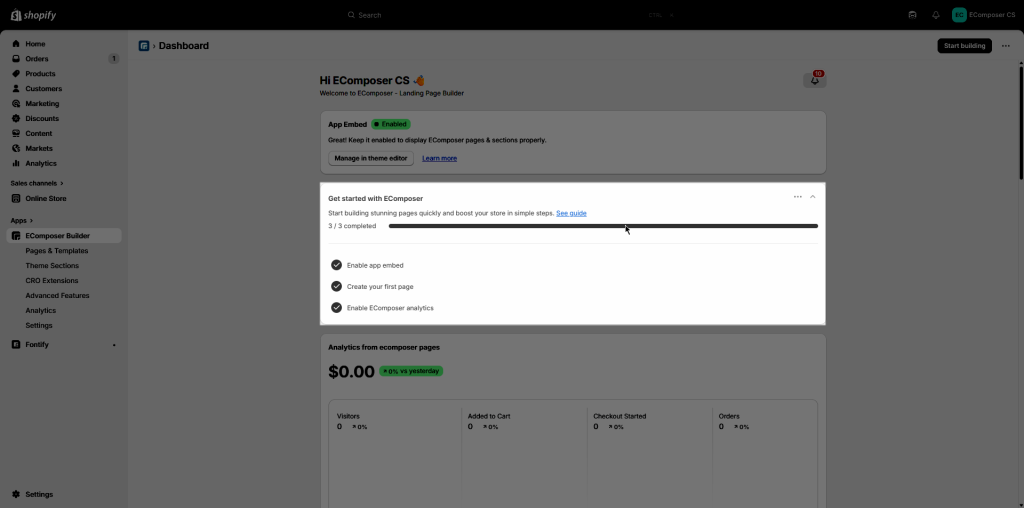
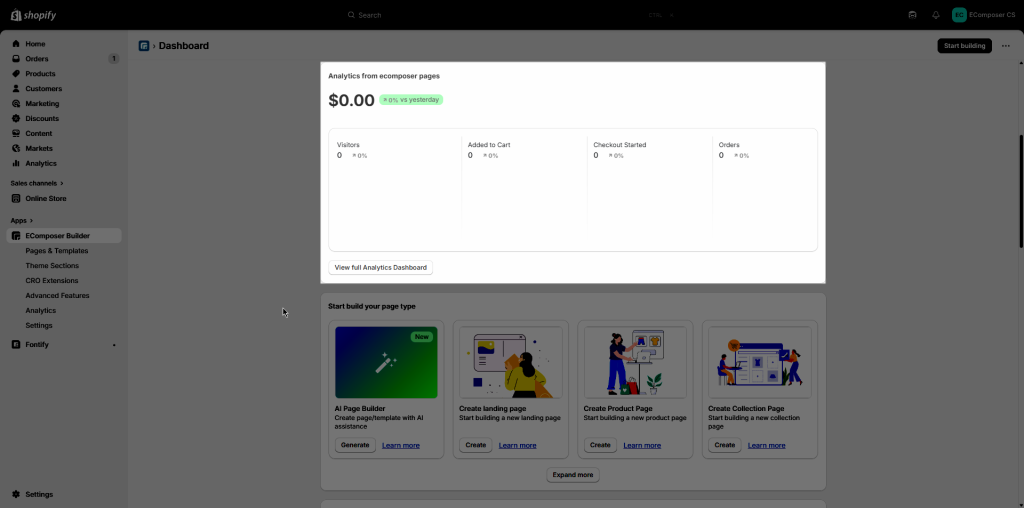
- Analytics from ecomposer pages: This section helps monitor customer engagement and conversion performance by the following metrics: Revenue, Visitors, Added to Cart, Checkout Started, Orders.
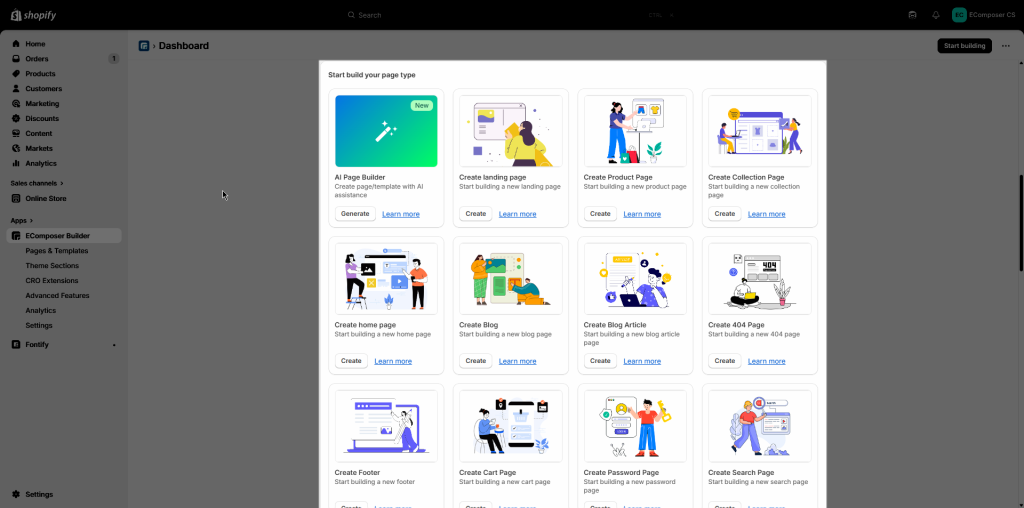
- Start build your page type:
– AI Page Builder (New): Create pages or templates using AI assistance.
– Manual Page Creation: Landing Page, Product page, Collection page, etc.
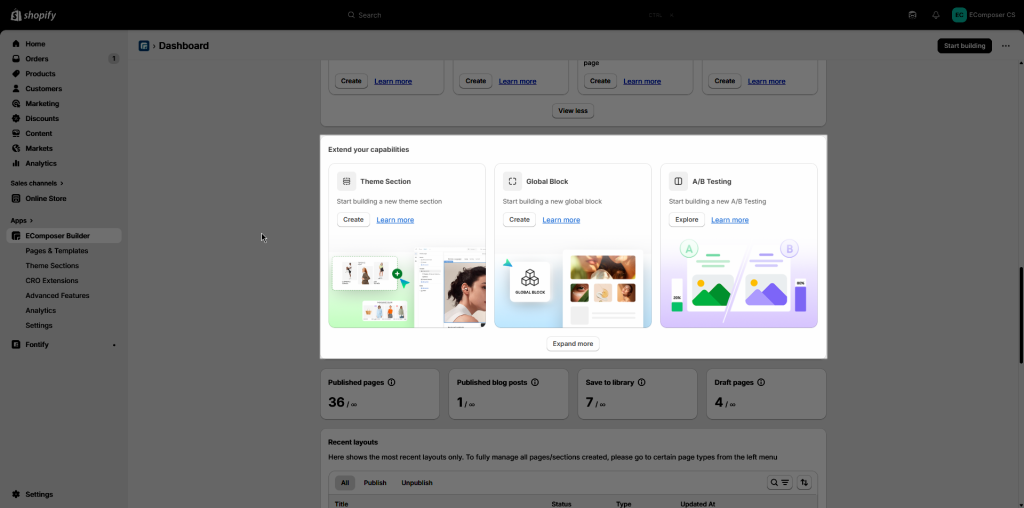
- Extend your capabilities: Additional tools to enhance your store:
– Theme Section: Create reusable theme sections
– Global Block: Build shared blocks across pages
– A/B Testing: Test variations to optimize performance
- Store Content Summary: This part will show Published Pages, Published Blog Posts, Saved Library Items, Draft Pages that you have on EComposer
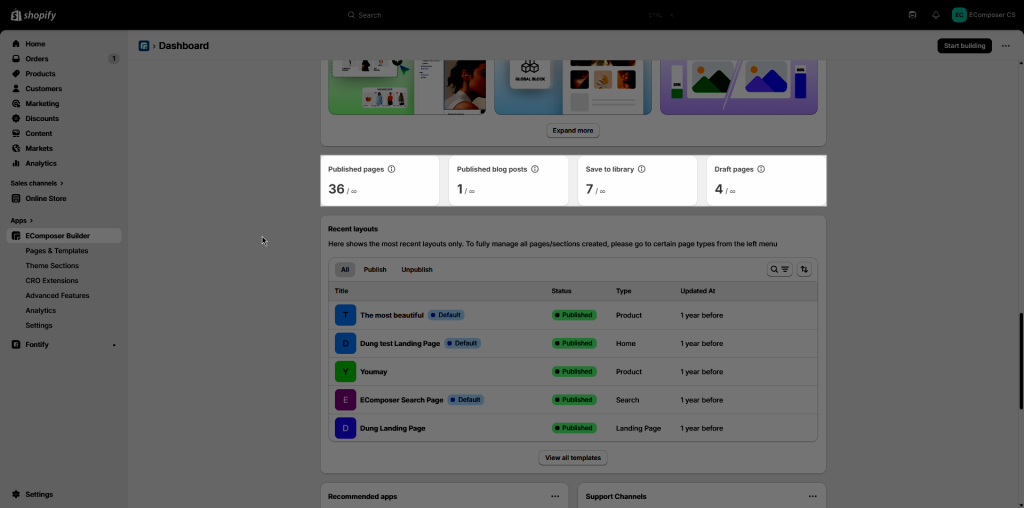
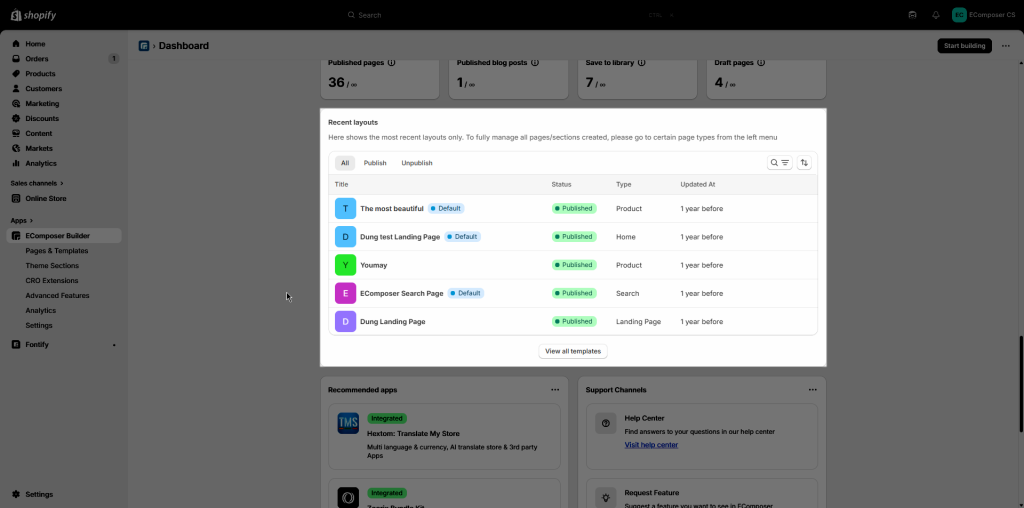
- Recent Layouts: here shows the most recent layouts only. To fully manage all pages/sections created, please go to certain page types from the left menu. You can filter all your page via these status: All, Published, Unpublished.
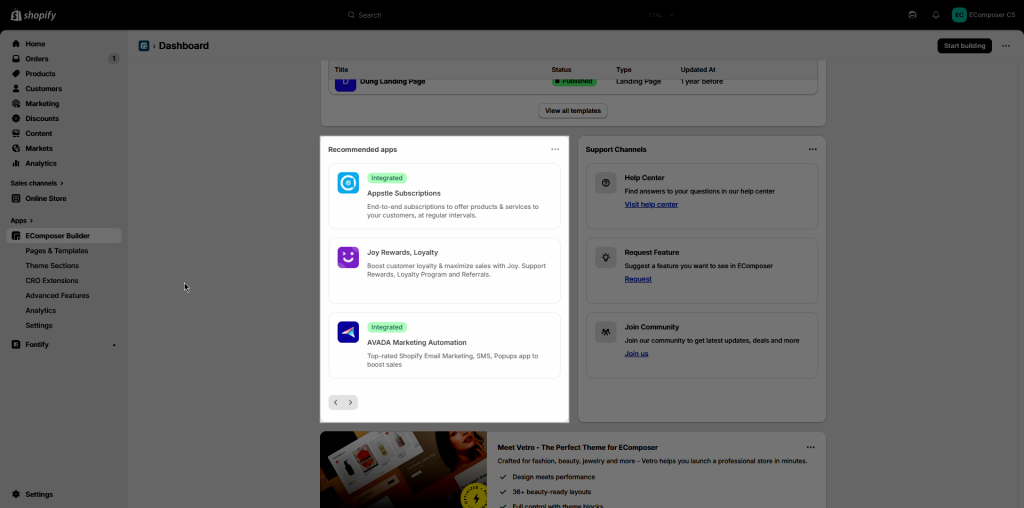
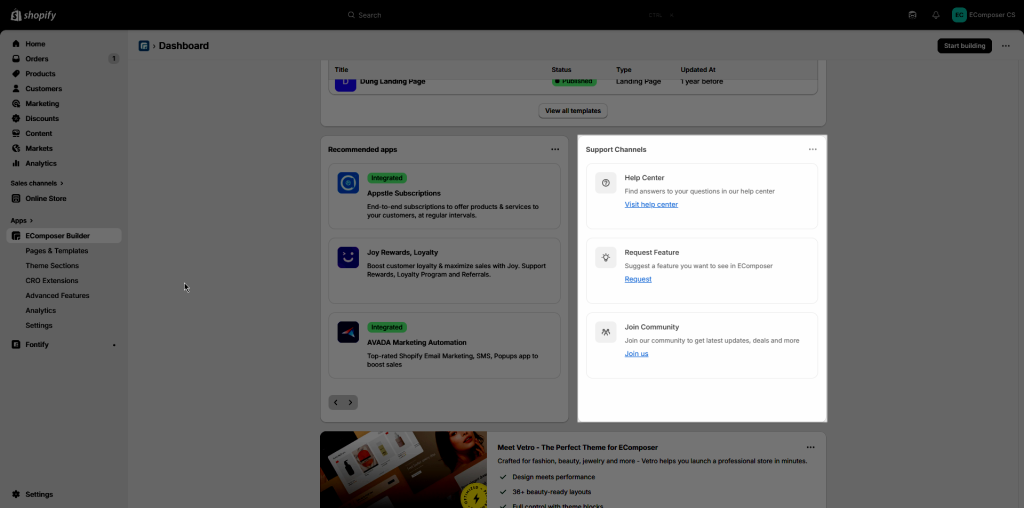
- Recommended Apps: EComposer integrates with a wide range of apps to enhance functionality. These integrations help improve conversions, customer experience, and store performance.
- Support Channels: This part will show 3 options to support merchant in using EComposer
– Help Center: Find answers to your questions in our help center.
– Request Feature: Suggest a feature you want to see in EComposer.
– Join Community: Join our community to get latest updates, deals and more.
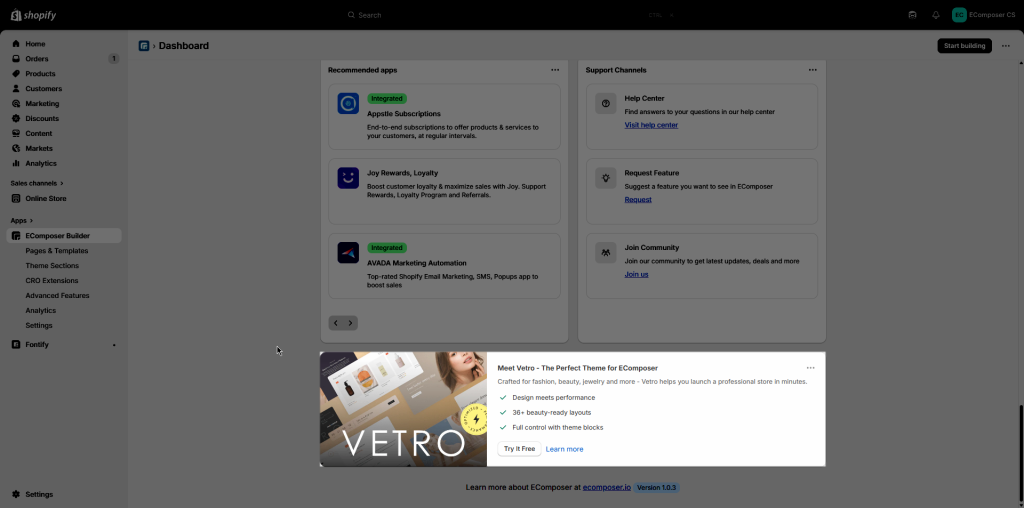
- Featured Theme: Here will show the theme designed specifically for EComposer users which has full customization with theme blocks as well as optimized for performance and design.
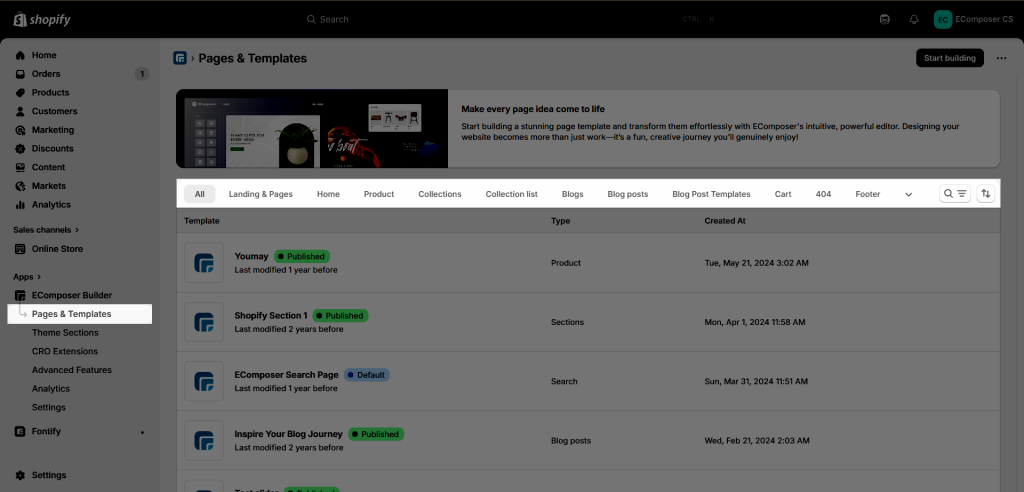
2. Pages & Templates
This tab show All the Pages and Templates that you created as well as each Template Types inside
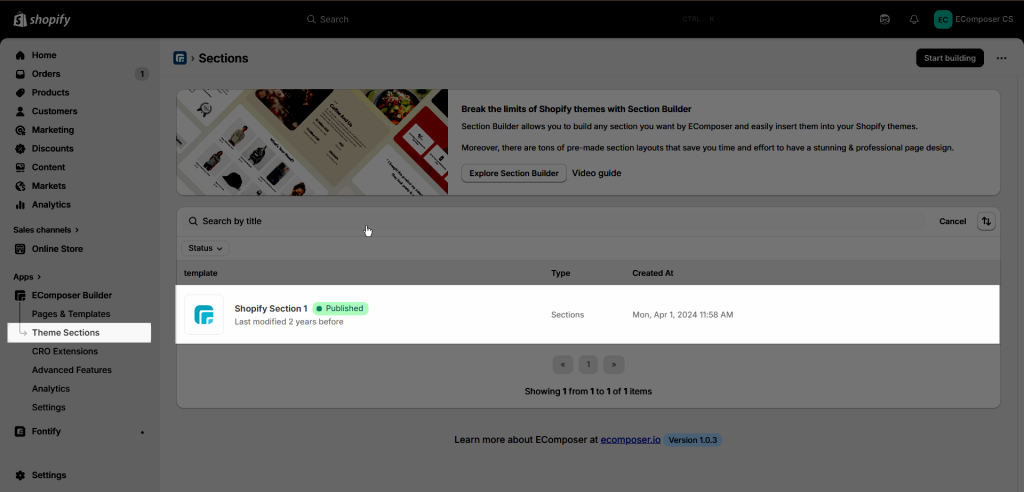
3. Theme Sections
This tab will show the Section Builder that can be added to your Shopify theme page:
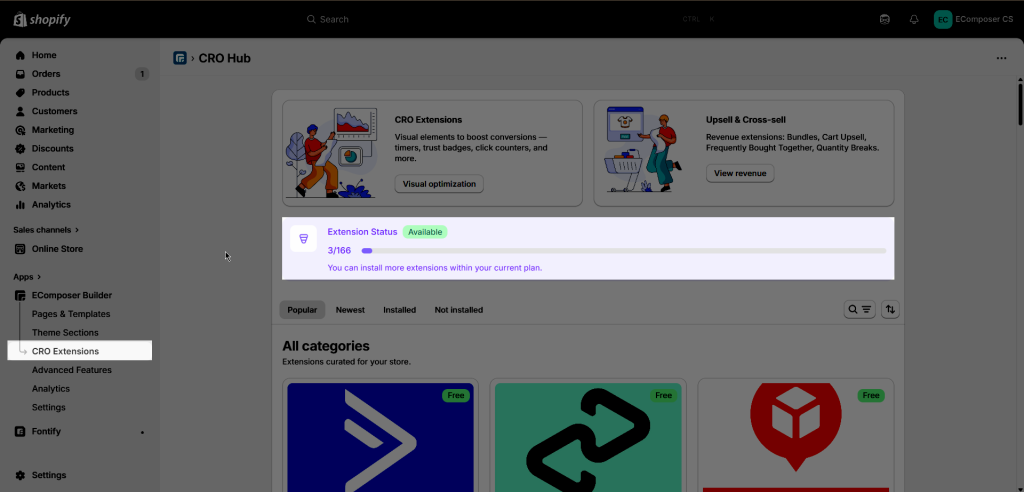
4. CRO Extensions
This will show Extension Status that you installed
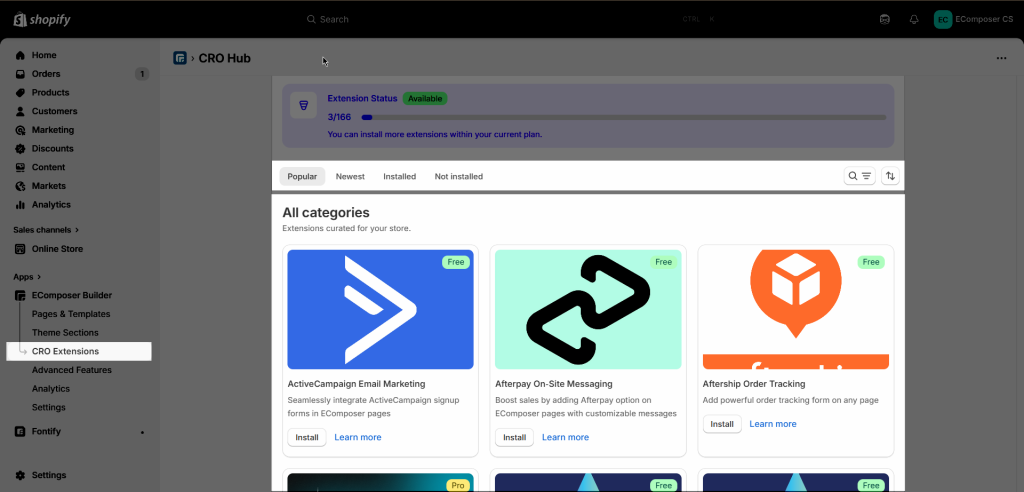
You can filter the extension to show via Popular, Newest, Installed, Not installed
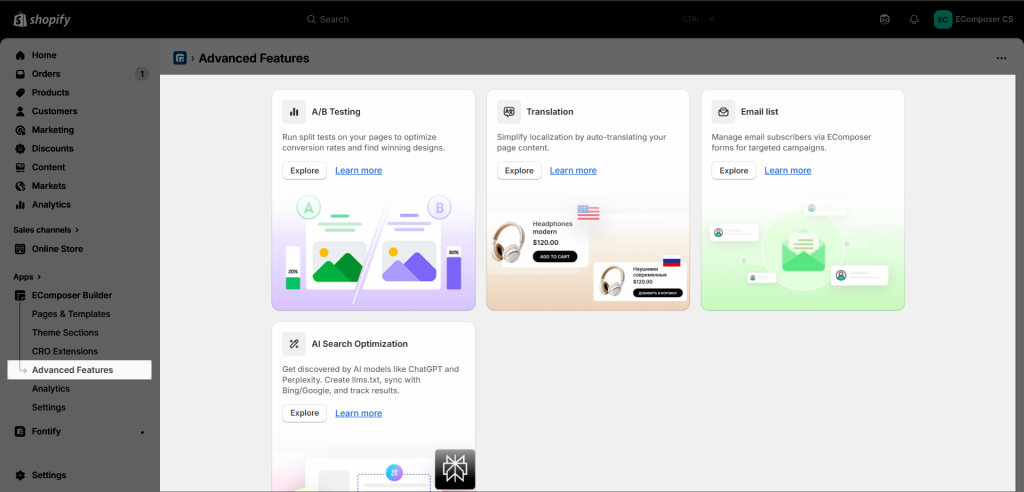
5. Advanced Features
In this tab, we provide advance feature for your store such as: A/B Testing, Translation, Email list, AI Search Optimization.
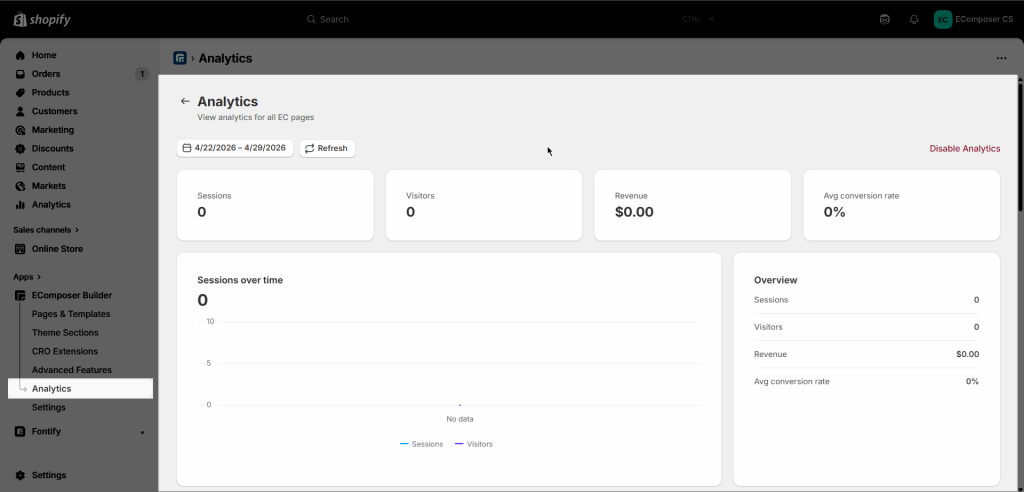
6. Analytics
This tab help you track the performance of your all the pages in EComposer in real-time by analyzing key metrics.
7. Settings
These options from the App Settings menu allow you to fill in all your private store information, such as:
- Store details
- Theme management
- Subscription
- Usage
- Activity log
- Template transfer
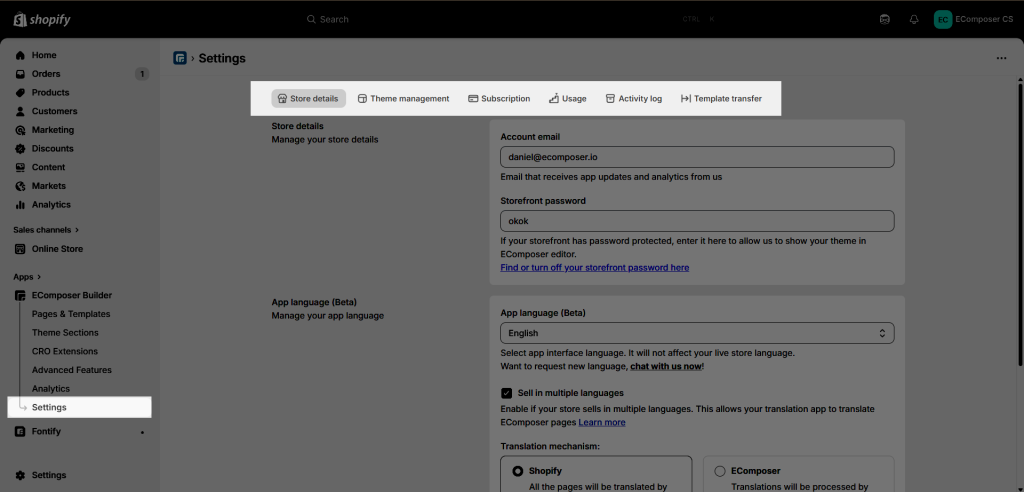
For more details, you can check this document
8. Build a first page with EComposer
To get started, you can choose one of our professionally designed templates for a quick setup, or click “Start Building” to create a completely custom page from scratch.
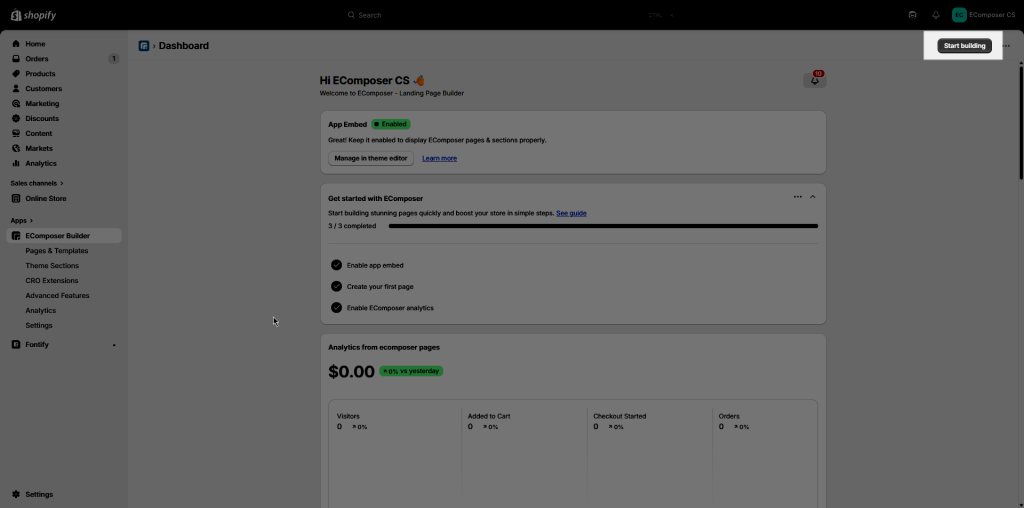
First, select the page type you want to create. We’ll provide examples and descriptions to clarify.
- Homepage: It is essentially the “front door” of your entire website. It’s typically the occupies your root domain. Easily, you can pick “Home”
- Landing page: It is a standalone web page designed with a single. Such as About us, FAQs, Contact us, etc. Then you can quickly choose “Landing & Pages”
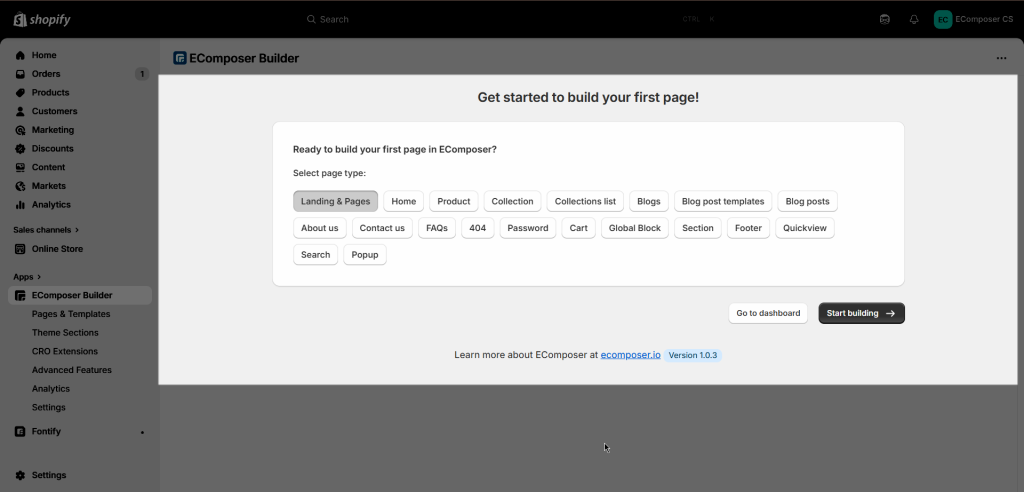
After that, click “Start building” to go to the EComposer editor to get started.
Inside the EComposer’s editor, you can either:
- Utilize EComposer’s pre-made templates – just click “Insert” on the one that best fits your vision. Or click on the eye icon to preview it first.
- Or, opt for a “Start from scratch” to unleash your creativity and design the page entirely from scratch.
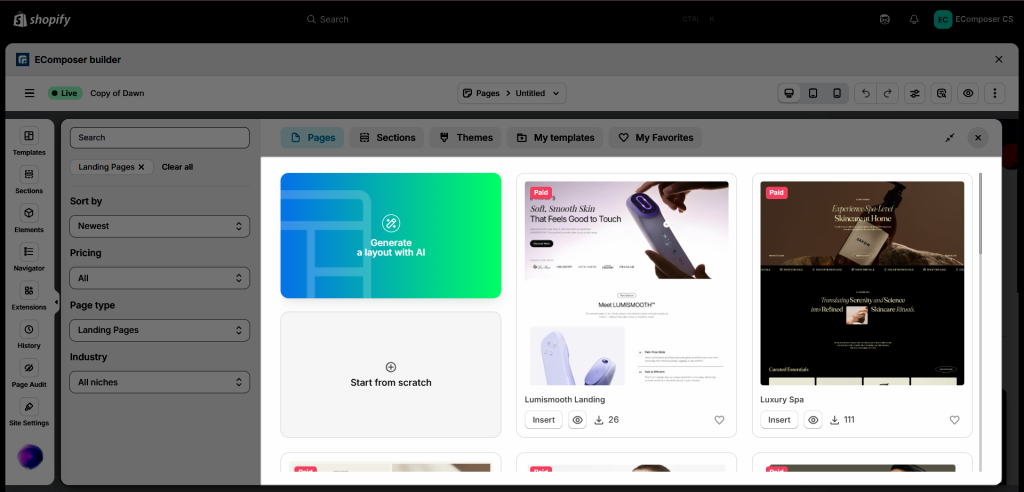
Discover how easy it is to create with EComposer! The video guide below showcases the intuitive experience of utilizing our pre-made templates.
The video guide below offers an intuitive look at how you can build your page from scratch with complete freedom.




