Create Blog Posts in EComposer
The Blog Post feature in EComposer allows you to create highly customized blog pages with advanced layouts and rich content elements.
Unlike Shopify’s default blog editor, which mainly supports basic content such as text, images, and videos, EComposer lets you build blog posts using any elements available in the builder. You can freely design complex structures, add promotional sections, product showcases, banners, countdowns, FAQs, and more to create more engaging and conversion-focused blog content.
This is especially useful for:
- SEO-focused landing blog posts
- Promotional or campaign articles
- Storytelling pages with advanced layouts
- Blogs combined with product sections and marketing content
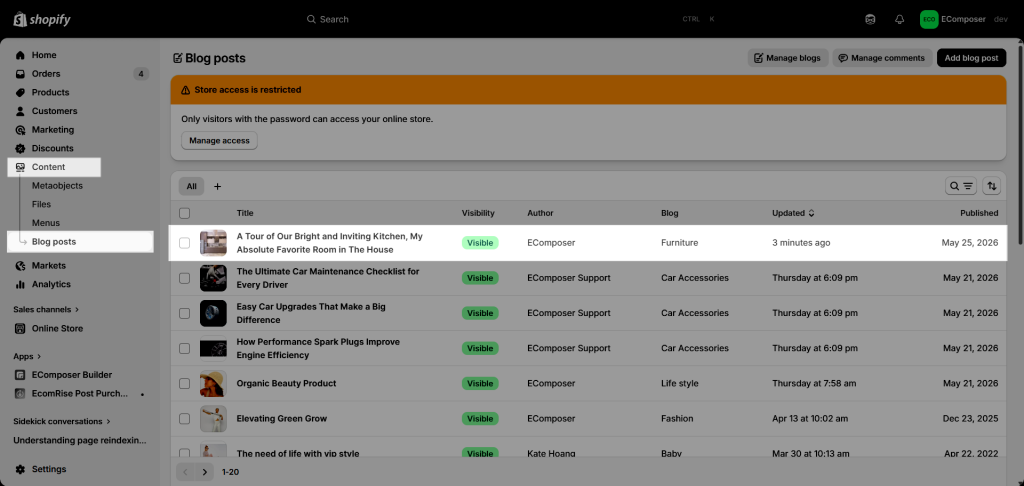
After creating and publishing a blog post in EComposer, the app will also automatically add that blog post to your Shopify Admin under Content → Blog posts, allowing you to manage it similarly to native Shopify blog posts.
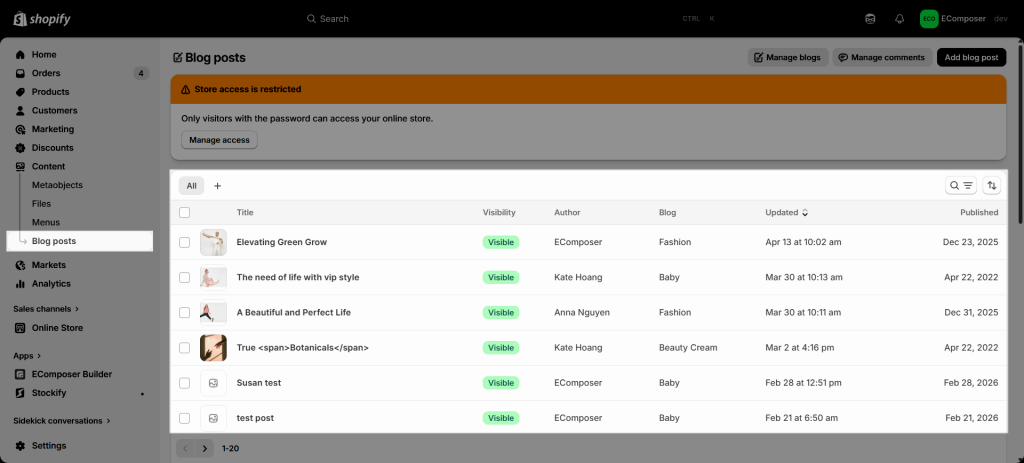
Please note that each Blog Post created in EComposer is counted as 1 page in your subscription plan limit. For example, if you want to create 20 separate blog posts, you will need to create 20 individual EComposer pages.
If you plan to create a large number of blog posts, you may consider upgrading to the Unlimited Blog Posts plan ($39/month), which allows you to create unlimited blog posts without page limitations.
Also note that blog post content created with EComposer is built and managed directly inside the app. Because of this, if you uninstall or stop using EComposer in the future, there is currently no way to automatically convert those blog post layouts and content back into Shopify’s native blog editor format.
1. Create a Blog Post in EComposer
To create a new Blog post, please open the app, then follow the steps below:
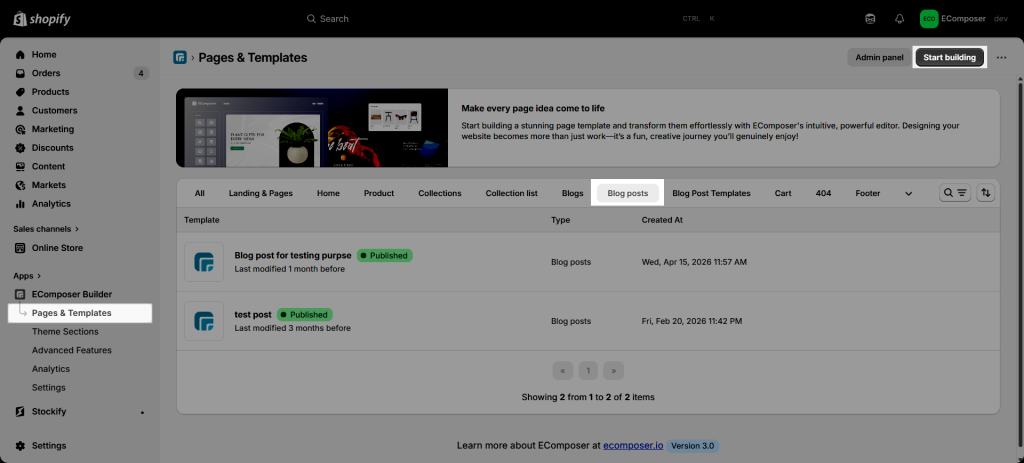
Step 1: From the EComposer dashboard, please access Pages & Templates > Blog Posts and click the Start Building button.
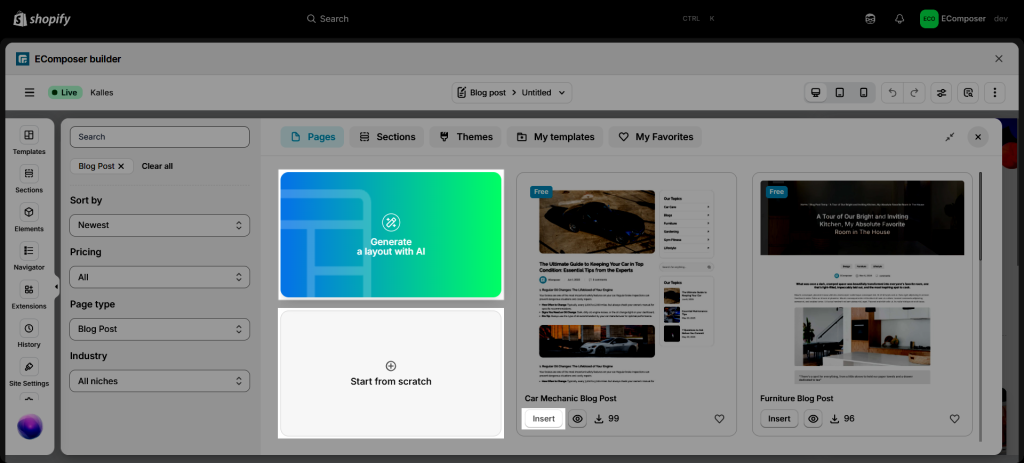
Step 2: In the editor, you can insert a prebuilt template or generate the post design with AI or build your article from scratch.
Step 3: You can add any elements or prebuilt sections you’d like to create your article from scratch. Please refer to the video below for a clearer explanation.
2. Edit Blog Post settings
After you’ve done with the content, please press the Publish button (it does not publish your post immediately, so don’t be worried). You will see another step to decide whether to publish the page or not.
- Blog Post Title: You can enter your blog post title here.
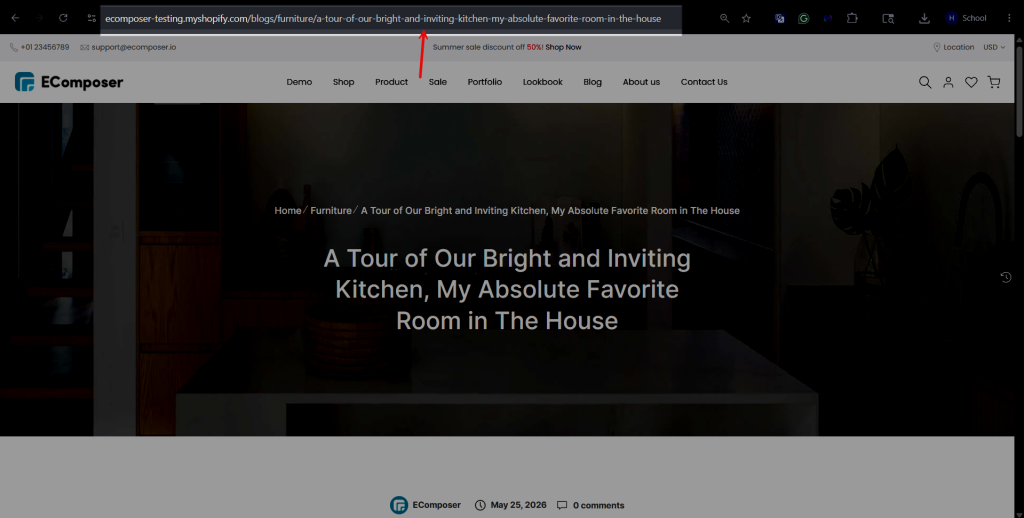
- Blog Post handle: mustn’t be blank, you can edit your page URL in a good-looking way.
- Template Slug: must be unique.
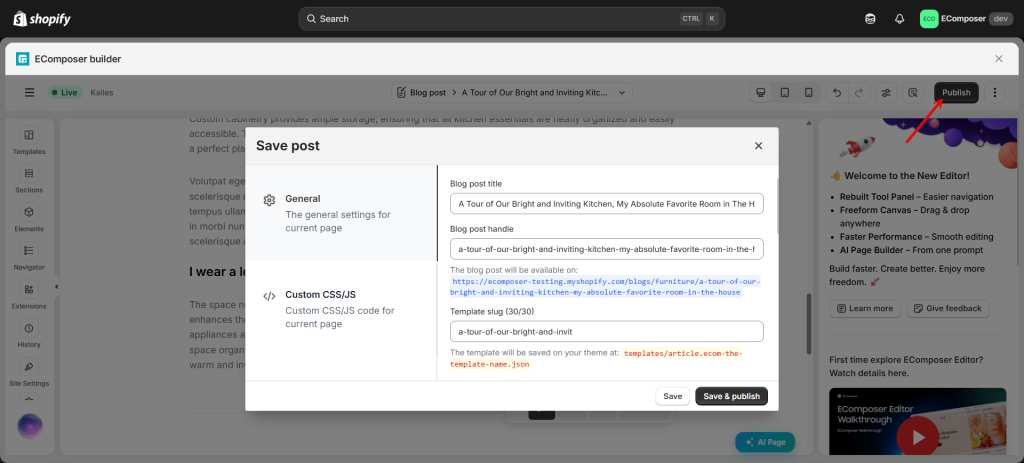
Page handle is the part of the URL that comes after your domain name, and it helps to identify each page on your website. This is where and how the page URL of a live page is showing on the browser’s search bar.
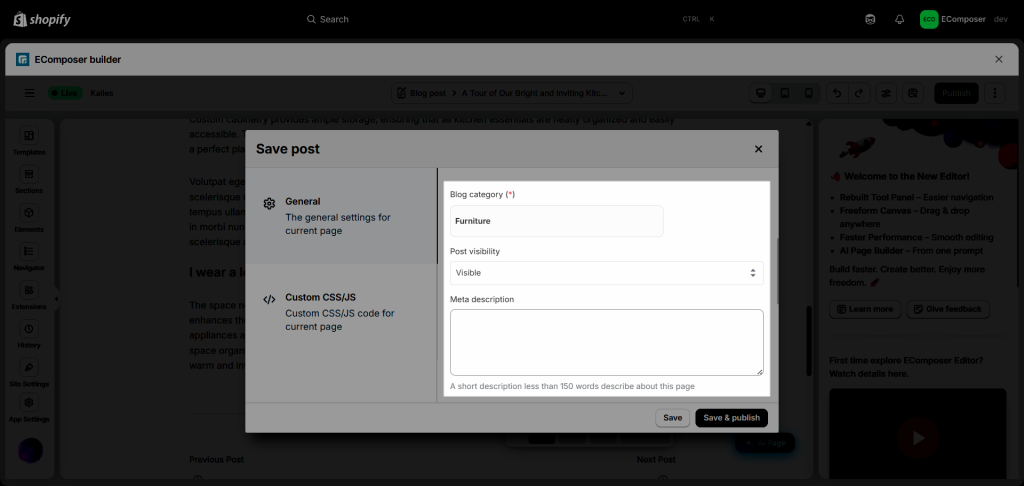
- Blog category: Choose a Category that you already added in your Shopify Admin > Blogs.
- Post visibility:
+ Visible: If you choose this option, your page will be published promptly to your customer via the page URL.
+ Hidden (Unpublish page): Only save your latest changes, but do not publish the page to visitors. - Meta description: A short text that describes the page when shared.
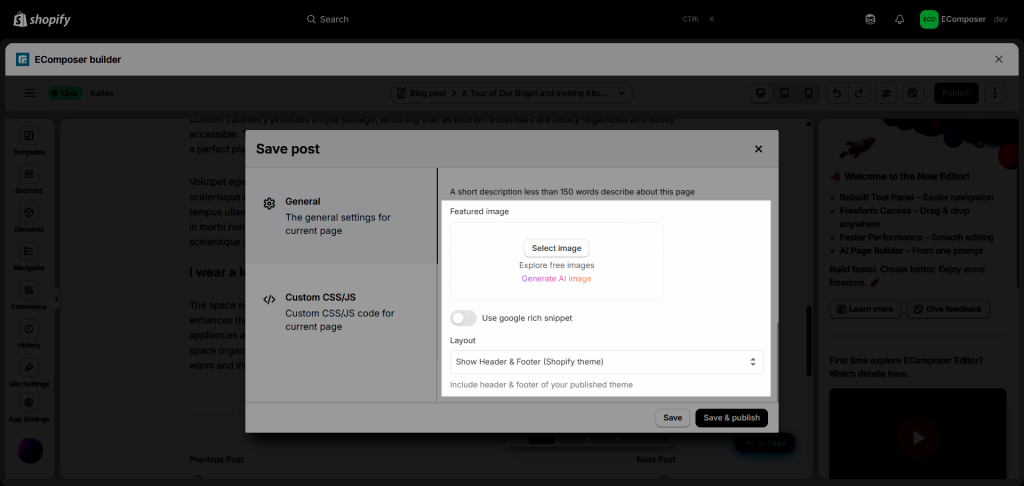
- Featured image: You can add the featured image for your Blog post here.
- Layout:
- Show Header & Footer (Shopify theme): This will use the theme header and footer.
- Hide: This will hide the theme header and footer in both the Editor and live page.
Lastly, in the blog post list of the Shopify admin, you will see the new post showing here as well. But to edit this post’s content, you have to go back to the EComposer app to do that.