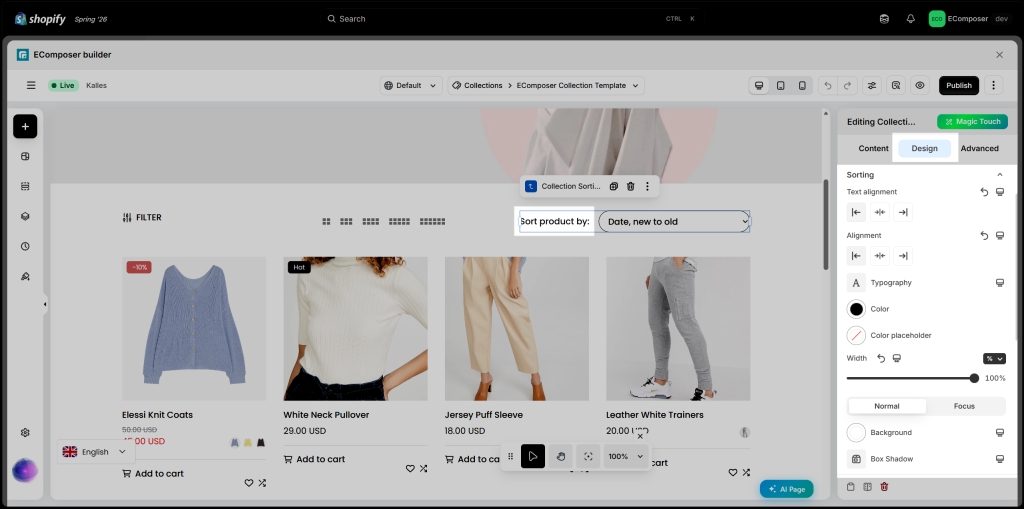
Sorting
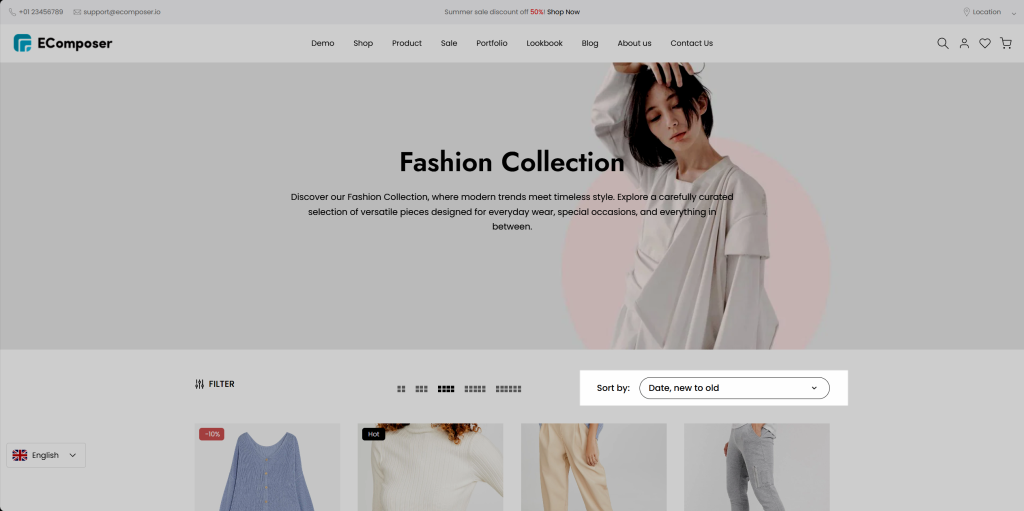
The Sorting element displays Shopify’s available sorting options, allowing customers to reorder products in a collection or search results. For example, shoppers can sort products by Price: Low to High, Price: High to Low, Newest, Best Selling, and other available options, making it easier to find the products they’re looking for.
1. Adding the Sorting element to your page
Navigate to Elements → Collection Page, then drag and drop the Sorting element into your desired location on the page.
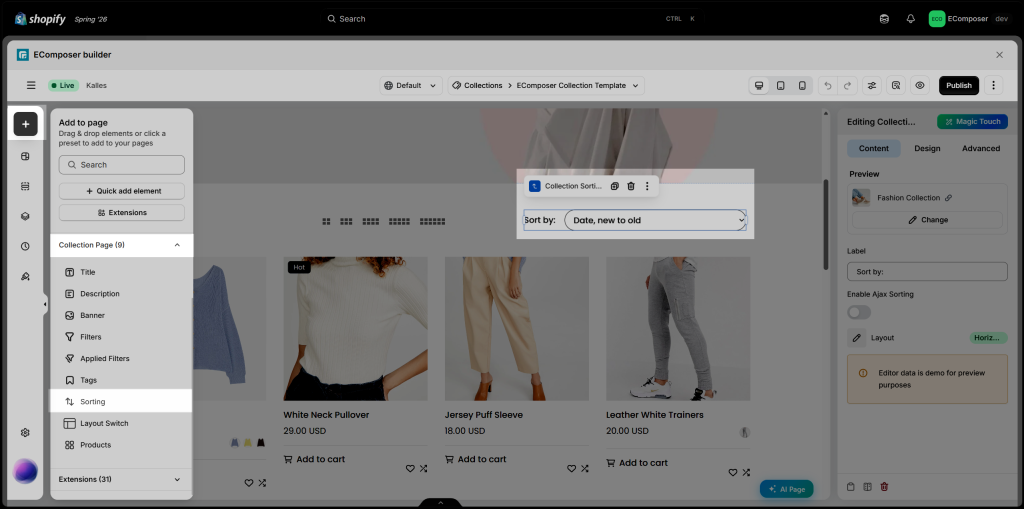
2. Configure Sorting
2.1. Content
The Content tab contains the core settings for the Sorting element. Here, you can configure how the sorting dropdown is displayed and behaves, helping customers browse products more efficiently.
- Preview: Select a Collection to preview how the Sorting element will appear and function in the editor. This setting is for preview purposes only.
- Label: Customize the text displayed before the sorting dropdown, such as “Sort by:” or “Sort products by:”.
- Enable Ajax Sorting: Enable this option to update the product list instantly when customers select a sorting option, without reloading the page.
- Layout: Choose the display layout for the Sorting element. Available options include Horizontal, Vertical, or Default.
2.2. Design
The Design tab provides styling options for the Sorting element. Customize its appearance, including colors, typography, spacing, borders, and other visual settings to match your store’s branding and collection page design.
- General: Customize the basic appearance of the Sorting element, including Alignment, Background, Box Shadow, Border, Border Radius, and Spacing.
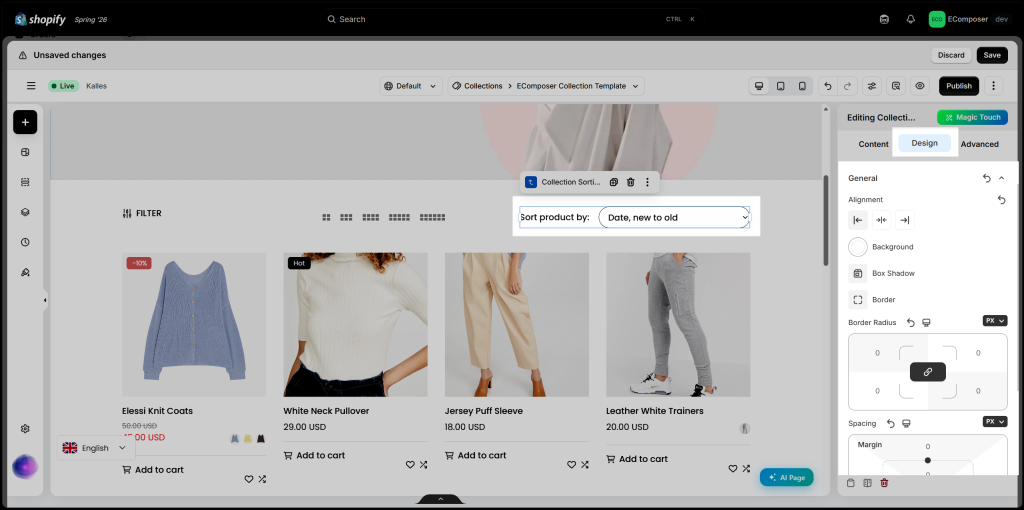
- Label: Customize the appearance of the label text, including Alignment, Typography, Text Color, Text Shadow, and Spacing.
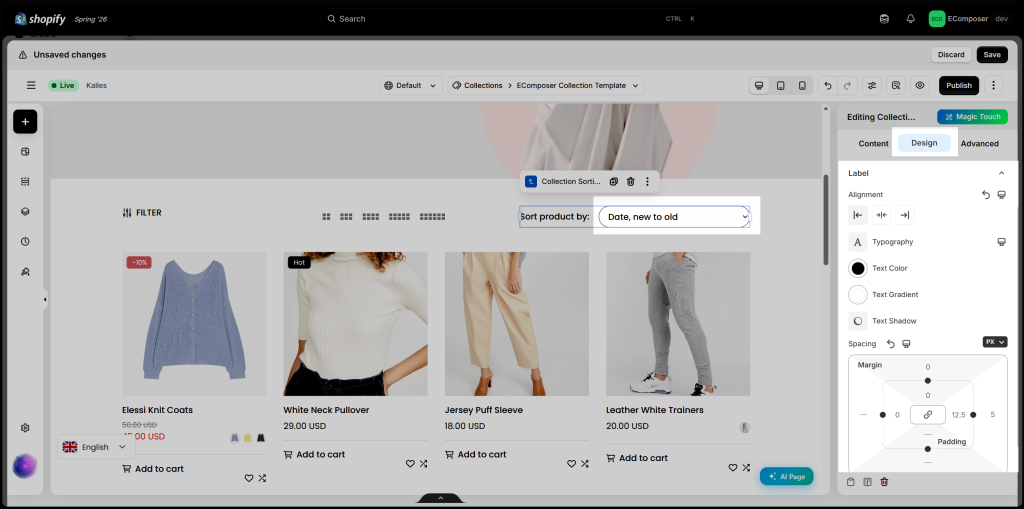
- Sorting: Customize the appearance of the sorting dropdown, including Alignment, Typography, Text Color, Width, and the styles for both the Normal and Hover states.