Ask a Question
This extension is a valuable tool that enhances the customer experience and facilitates seamless communication between shoppers and your business. With this extension, customers can easily fill out a form to inquire about specific products, ensuring their questions are answered promptly and accurately.
List of features:
- Highly customizable text/icon.
- Customizable icon positions, icon spacing, icon image and more.
- Desktop and Mobile optimized.
- Allow users to change Background color, Input, Error message, Button of the form.
1. How to install/add the Ask a Question extension?
To open the Extension popup: From the left sidebar, go to Extensions → search for the extension name and click to install, or click View more to browse all available extensions in the app.
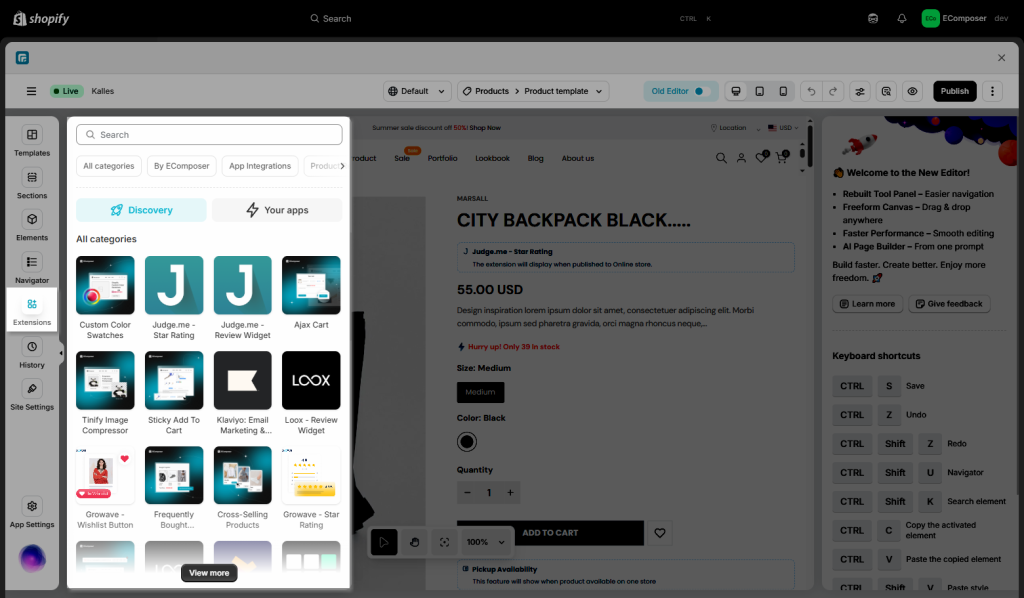
On the Extension popup, you can see the Ask a Question extension. Click Install now to install it the right way.
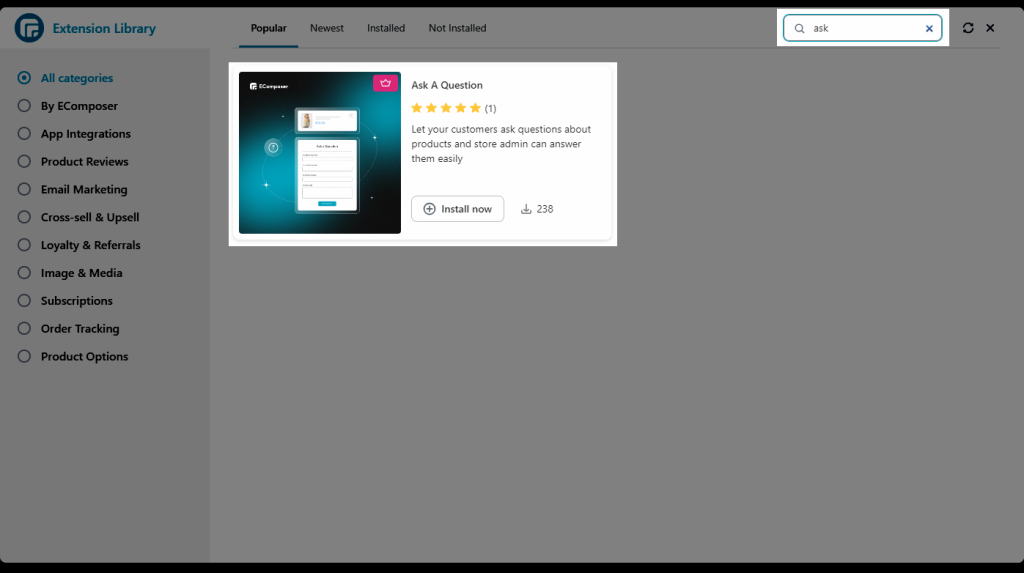
Adding the Extension is really easy, all you need to do is drag and drop.
2. Where can I find the submitted information?
After the customer hit the send button, they’ll have to pass the Google Captcha test to prevent spam. After submitting the form, the information will be sent to the Sender email address. You can check either the spam box or all the tabs on email.
In case you want to change the email address, please go to Shopify admin => Settings => Notifications => Sender email
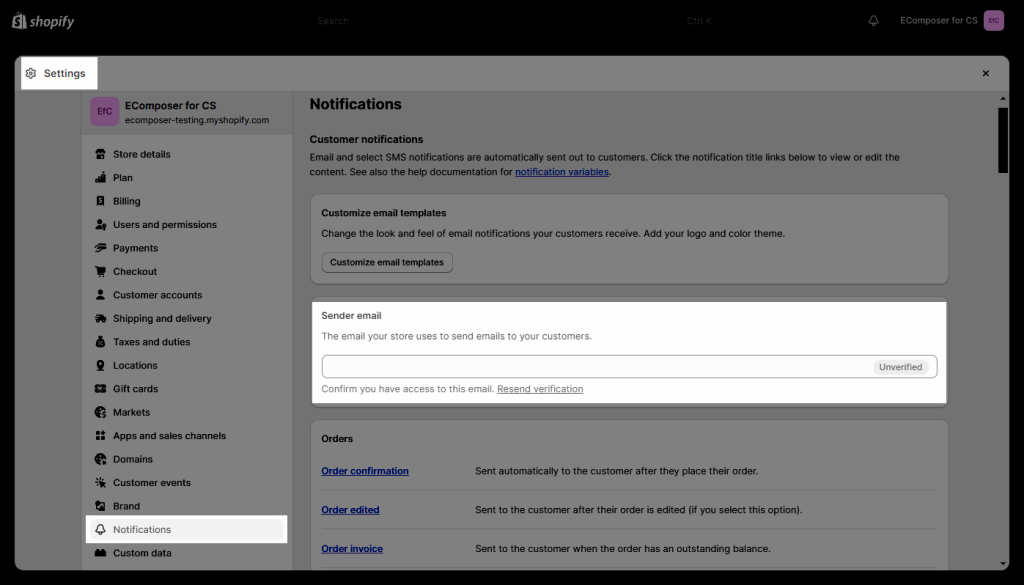
Here’s a video so it’s easier for you to visualize:
3. Content
3.1. General
- Main title: The primary title, which the user initially sees as “Ask a question,” can be modified here.
- Icon: You may make the icon easier to recognize for the user here.
- Form title: Here, you can edit the popup’s title to anything like “Ask a question.”
- Name label + Email label + Phone label + Message label + Button label: Fill in the content so that it corresponds with the label.
3.2. Notification
- Show preview message: If you wish to display a status message, such as a success or error message. To make it visible, choose this option.
- Also, you could modify the content for the Success message + Error message if you would love to.
3.2. Design.
- General tabs: Allow you to change the background color, and create a box shadow and border for the extension.
- Product details: This will let you modify the Text colour and more style for the font in the Typography set.
- Icon: This will let you change the colour, size and spacing for you to change.
- Popup button: Have similar settings which are pretty self-explanatory and are explained here.
- Form title, Form Label, Input, Error Message, and Submit all have the same settings and are self-explanatory and are explained here.
3.3. Advanced
These tabs have been very well documented here.

