Back in Stock Notifications
Back In Stock Notifications is used as restock messages to customers who recently expressed interest in an item that was out-of-stock, they are informed when it becomes available again. Customers are encouraged to return and complete the transaction as a result.
It supports you in creating a form on the product page to receive customers’ emails in case they have further demand. Hence, you have to collect and save customers’ contacts in a list manually to notify them when the product is restocked. The notification email will be sent by yourself, not automatically.
After the customer fills in the email and submits it, you will receive an email notification to the Sender email that you added in Shopify. Go to Shopify settings -> Store details -> Contact information to see it is what email.
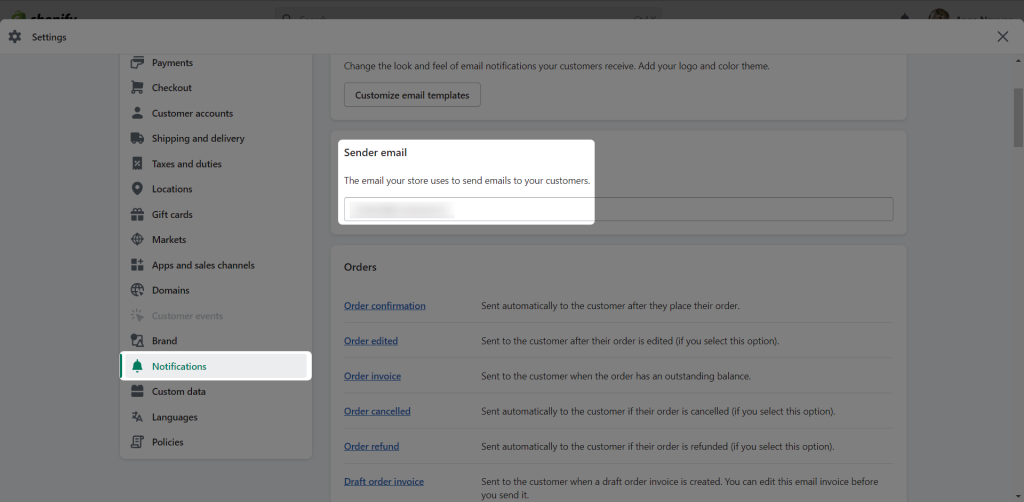
You will have to save this data and contact the customer when the product is available. If you need more advanced functionality, you can consider using third-party apps at the Shopify app store.
As we can see the advantages of this extension, so let us move ahead to discover more about this extension with EComposer App.
1. How to install the Back in Stock Notifications extension?
Most of the time, when a customer visits your product page to purchase something, that item is no longer in stock. Why don’t we create an email form to notify them whenever that product is restocked. So to be able to use it, you just need to install it right inside EComposer App.
To open the Extension popup: From the left sidebar, go to Extensions → search for the extension name and click to install, or click View more to browse all available extensions in the app.
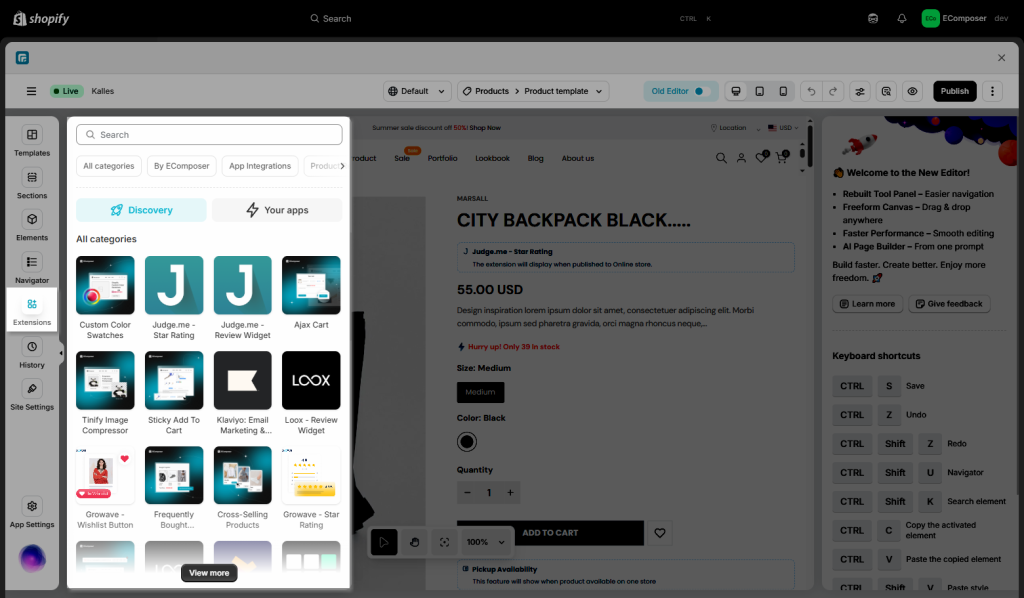
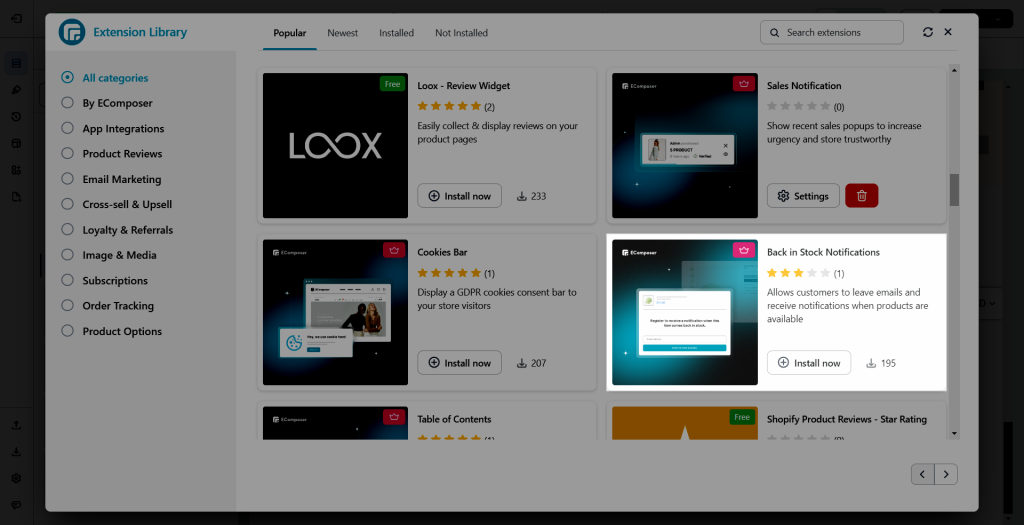
On the Extension popup, you can see the Back in Stock Notifications extension. Click Install now to install it the right way.
2. How to add Back in Stock Notifications extension into EComposer App?
Now we will come to add the extension to the template that we are creating in EComposer App.
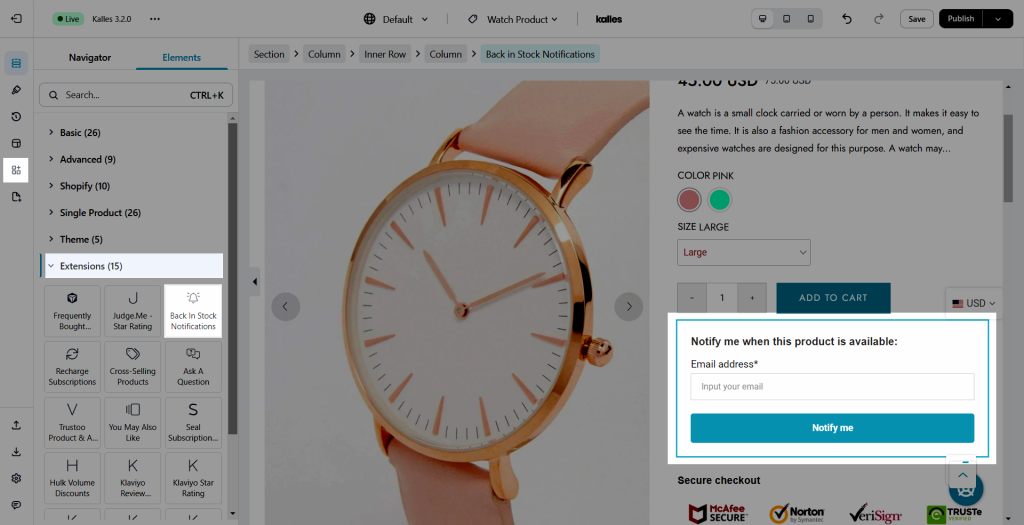
- First, you will go to Extension to find the Back in Stock Notification extension.
- In the second step, you need to Drag and Drop the extension anywhere that you expect it to be.
2.1. Content
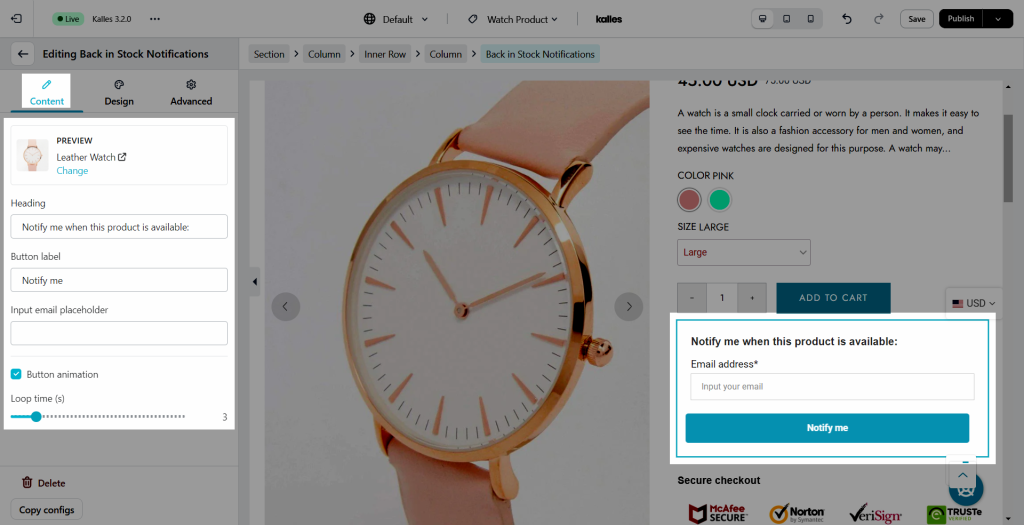
Please come here to set some of the basic things whenever you want to change some of them:
- Preview: This allows you to see the product you want to display.
- Heading: You may write down some of the details in order to provide more information to your customer.
- Button label: Allow you to change the make-sense name that corresponds to the button.
- Input email placeholder: Let you write a placeholder for email input.
- Button animation/ Loop time: This may help you set more effects for the button.
2.2. Degisn
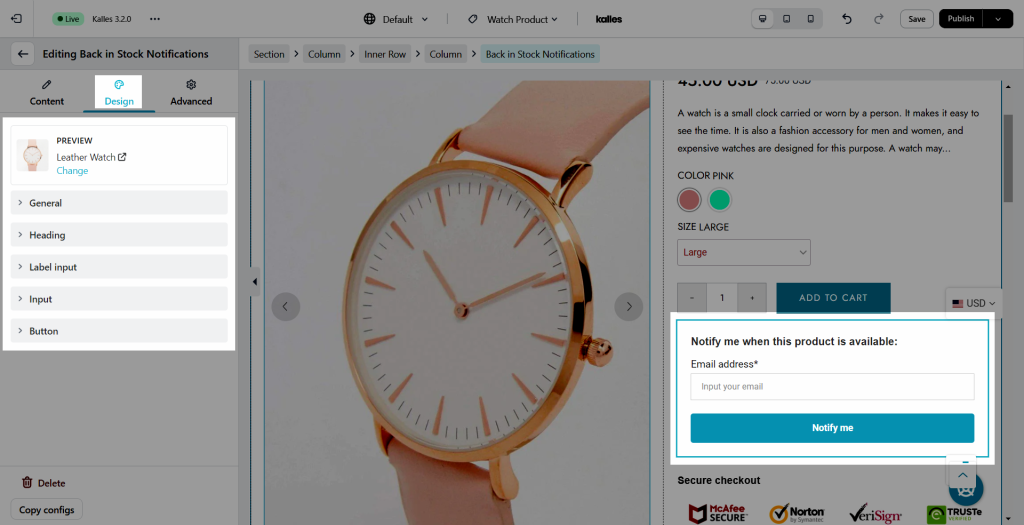
Of course, there are some additional special settings effects, such as Degisn options:
- General: You may go to set the Background, Box Shadow, Border, and Border-Radius.
- Heading: Some of the other settings like Alignment, Typography, Text Color, Text Shadow, and Spacing.
- And without saying here which is Label input settings, Input, and the Button.
