Afterpay On‑Site Messaging Extension
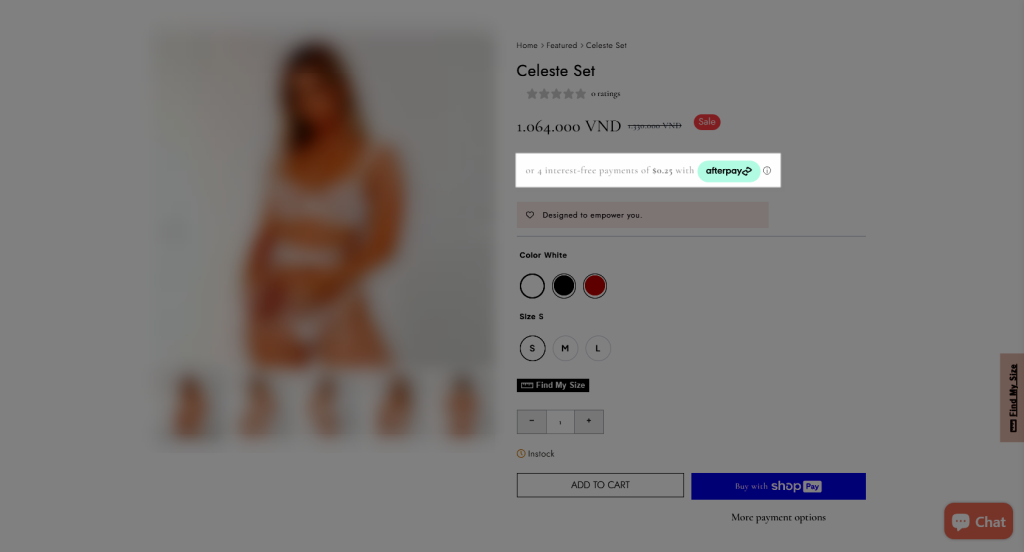
Afterpay is a payment gateway that offers somewhat of a “buy now, pay later” product. It offers your customers a chance to buy whatever they fancy and pay four equal installments due every two weeks, instead of paying upfront. This concept has gained a lot of traction since most Americans are receiving their bi-weekly paychecks. Hence, the demand for Shopify afterpay is increasing every passing second. This is the reason why we decided to integrate Afterpay to EComposer
Customers have the option to select Afterpay at checkout, after which they will be redirected to the Afterpay portal detailing the payment amount, payment frequency, and the amount that is due at the time of checkout.
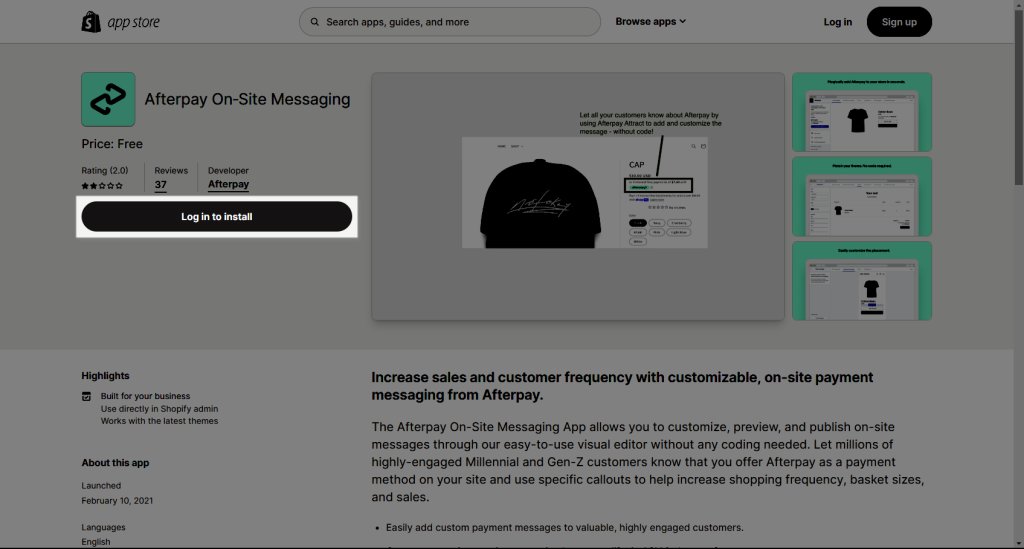
First, please install the Afterpay app in your store. Here is the link to that app on Shopify App Store.
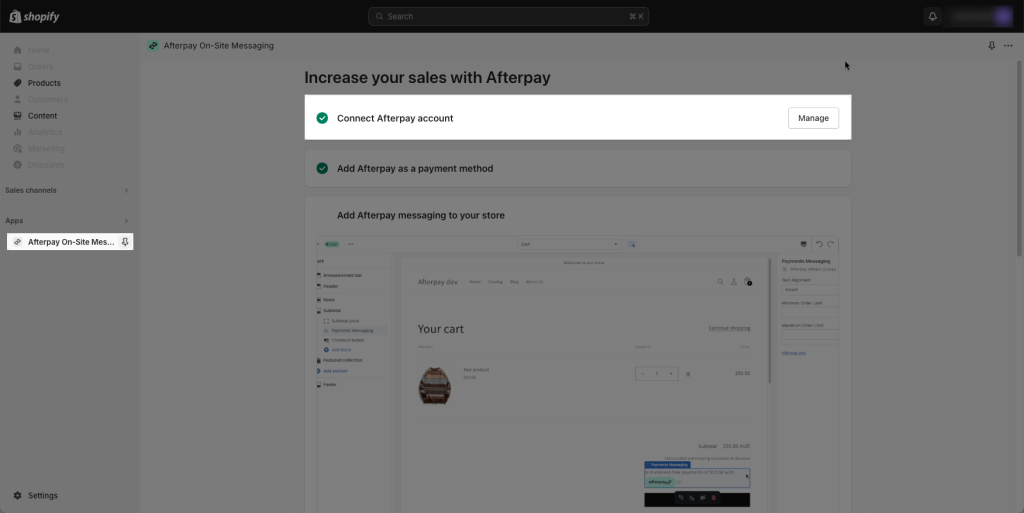
After you have installed the app, it will show up in the App list on your site.

Firstly, you need to ensure that you had connected with Afterpay sucesfully. These steps below need to be done by yourself
- Sign Up:
- Create an account with Afterpay on their official website
- Configure Afterpay:
- Once the app is installed, follow the instructions to configure Afterpay for your store.
- You’ll need to enter your Afterpay account details, API credentials, and other settings.
- Connect the account successfully in the app dashboard
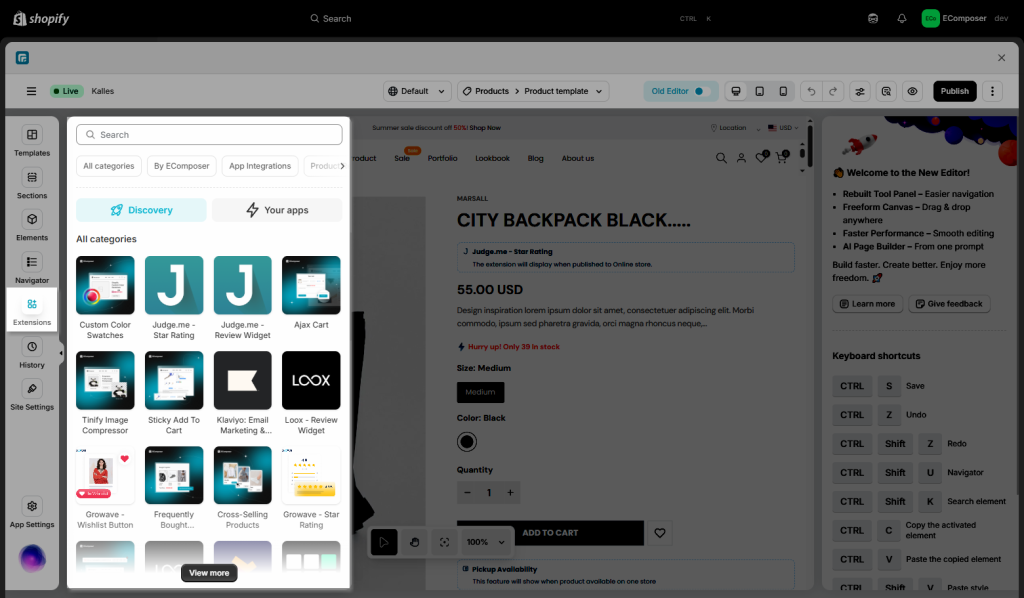
To open the Extension popup: From the left sidebar, go to Extensions → search for the extension name and click to install, or click View more to browse all available extensions in the app.
Drag and Drop the Afterpay element to any position of the product page (usually under Price)

Result: the Afterpay message doesn’t show up in the Editor view but on the live page


