Show Video from Metafield to EComposer
Have you ever wondered how to display a video metafield in EComposer? This guide was created to help you show your video metafield inside the app page.
1. Add the Metafield definitions
From Shopify backend -> Settings -> Custom data, you can generate a metafield definition here.
Note: We need to use Products metafield for the Video metafield.

Now click on Add Definition:

- Name: Add the name for the Metafield here. Any names are possible.
- Namespace and key: A unique identifier for your metafield. They’re separated by a ., and can only contain letters, numbers, underscores (_), and hyphens (-). You can leave as it is automatically generated.
- Description (optional): The description is displayed on the Shopify admin page where you add values for your metafield.
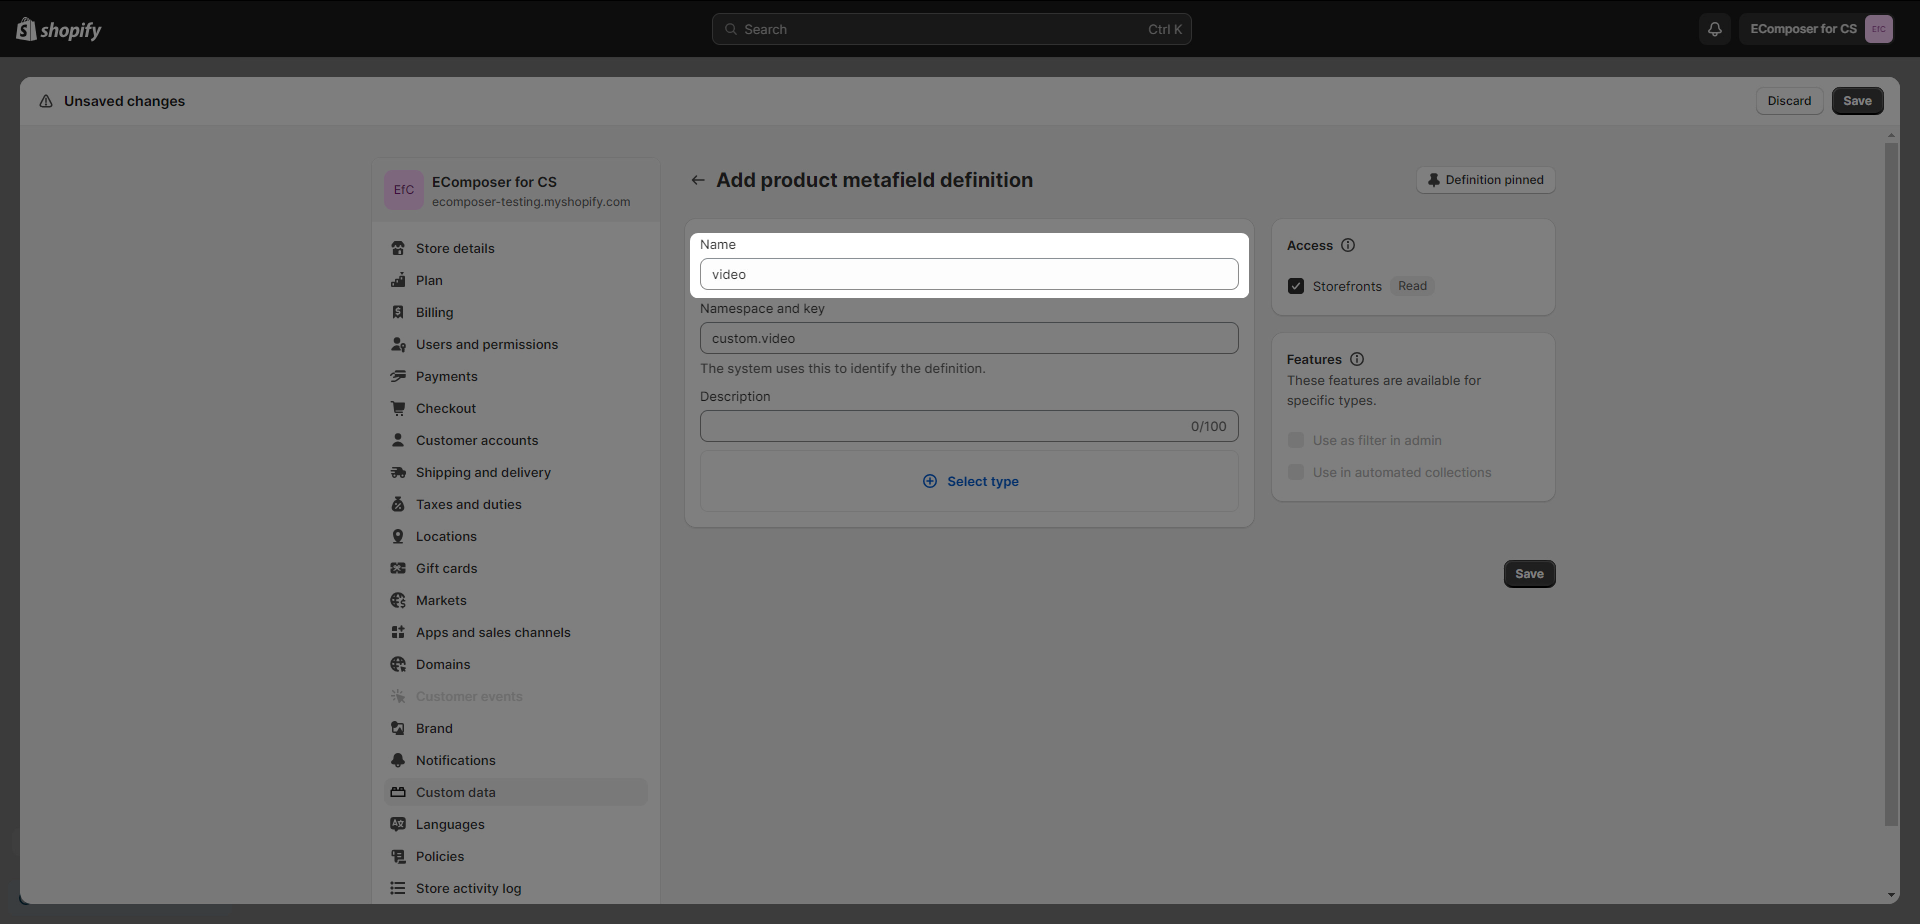
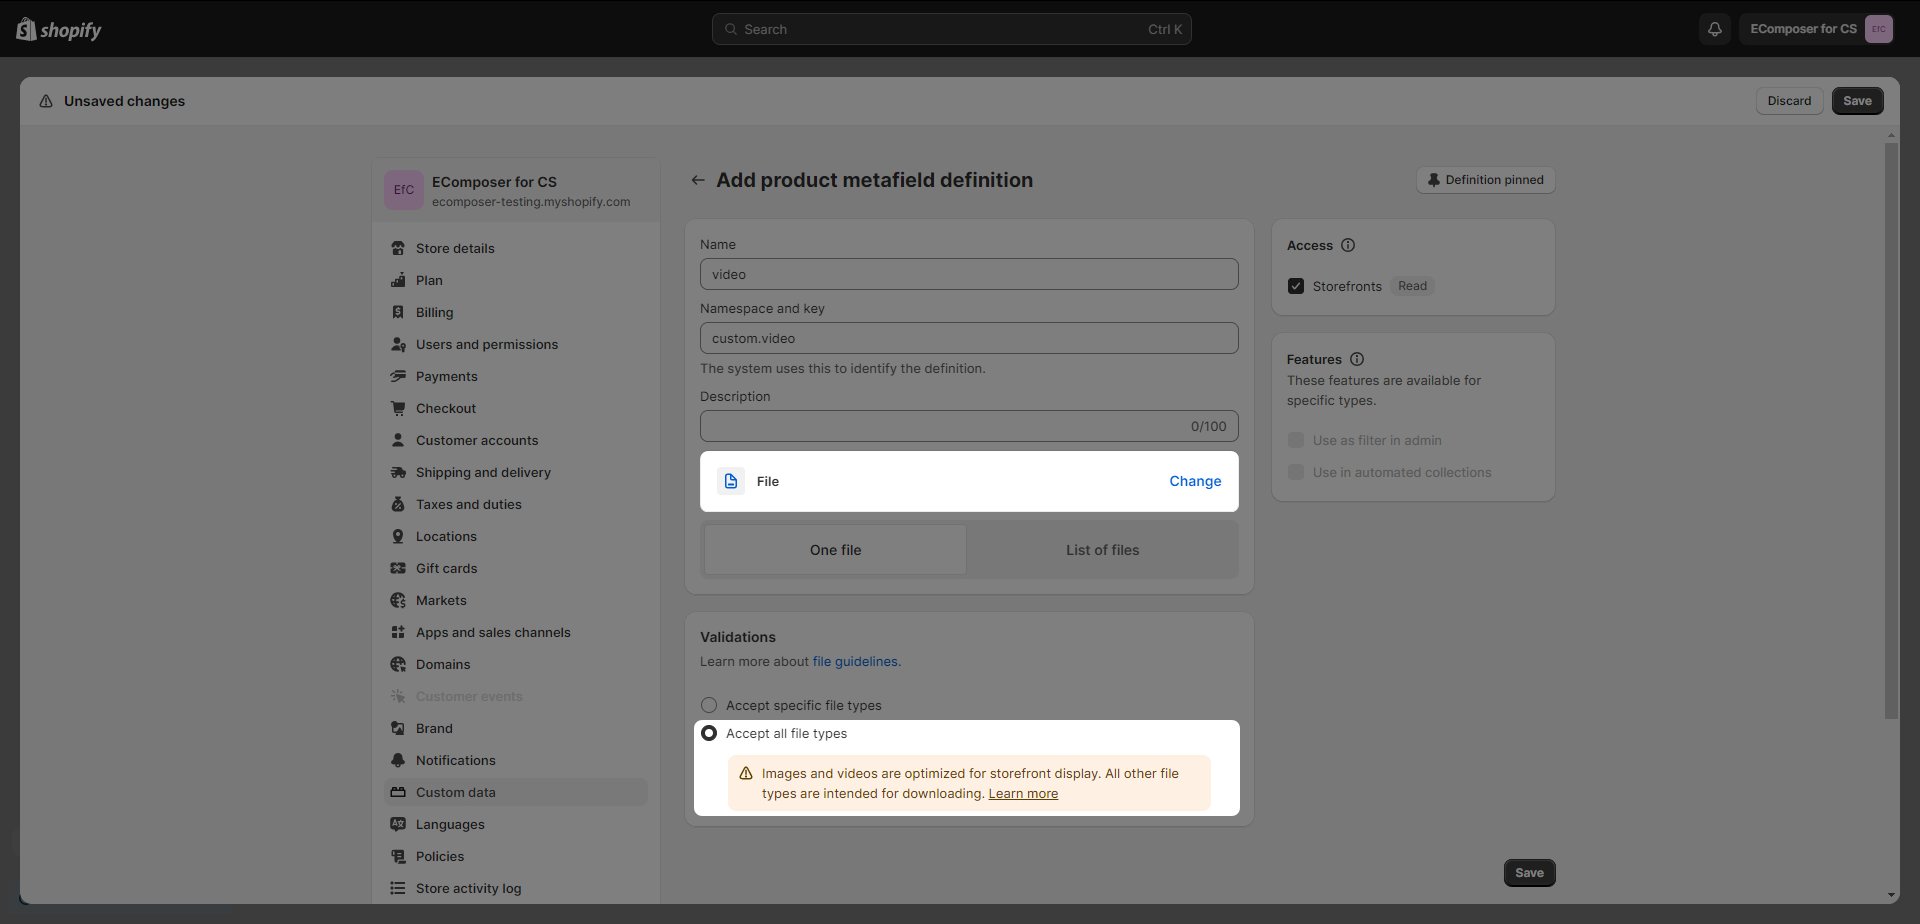
Select the content type button: Select File type and choose Accept all file types.
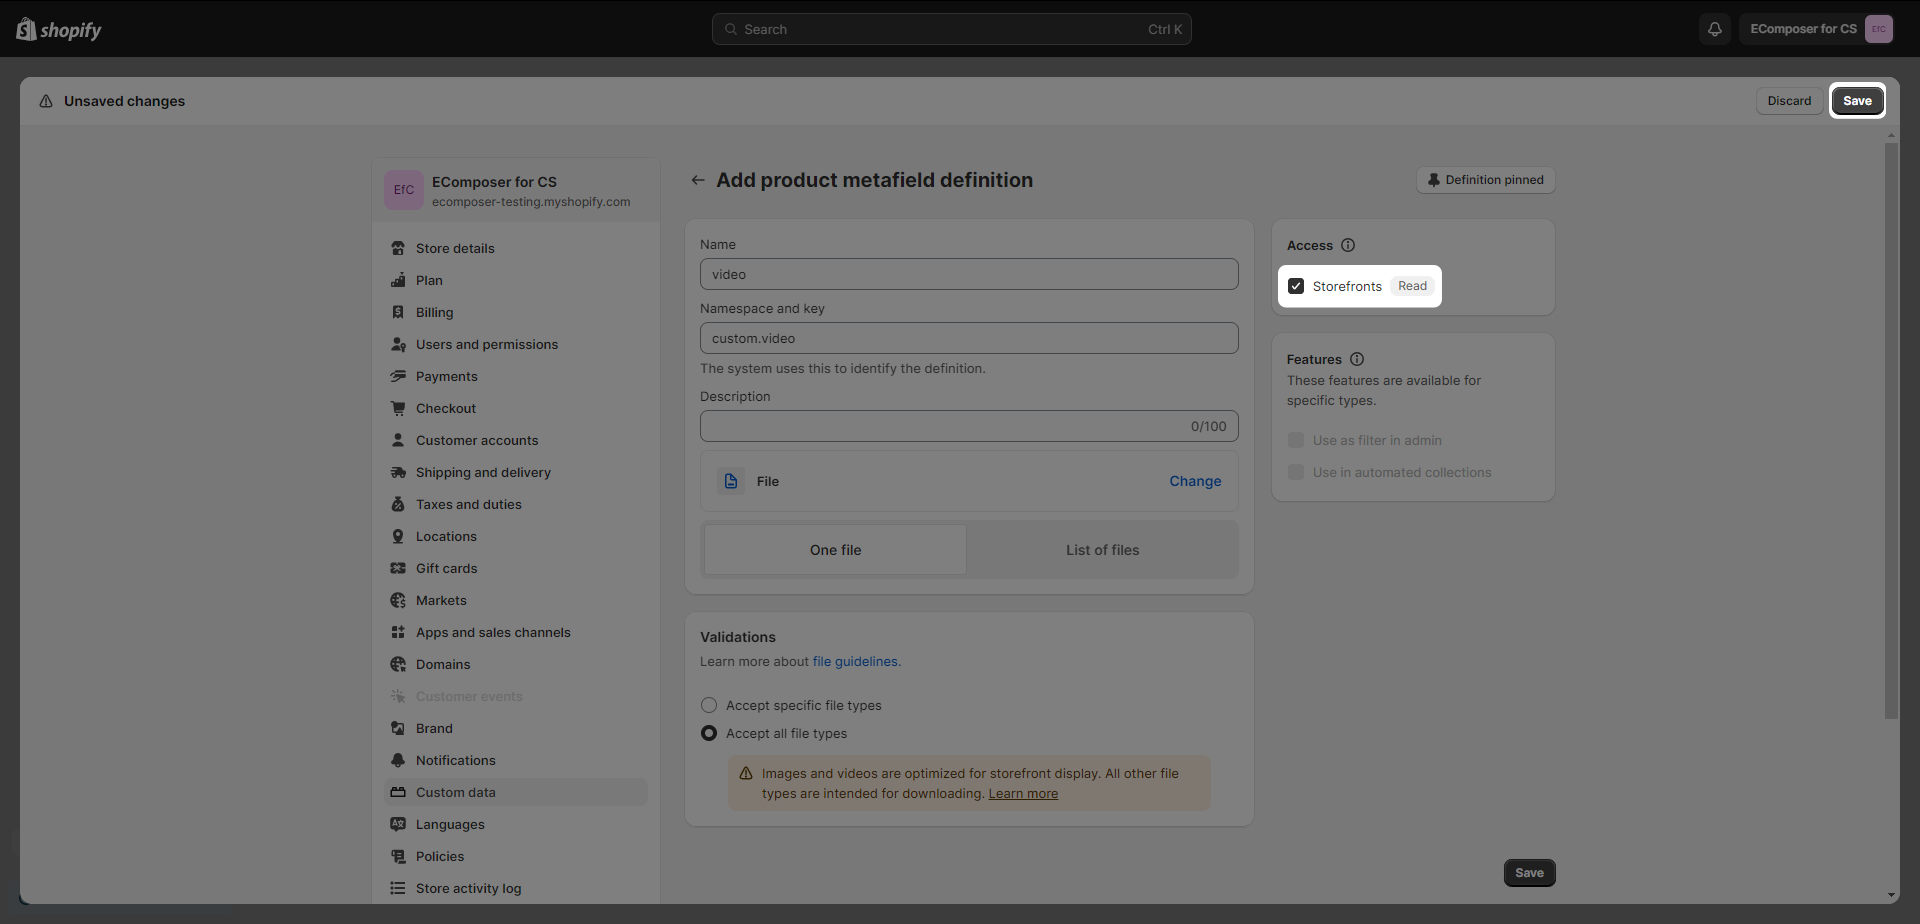
Don’t forget to tick to Storefronts box to make your new metafield active.
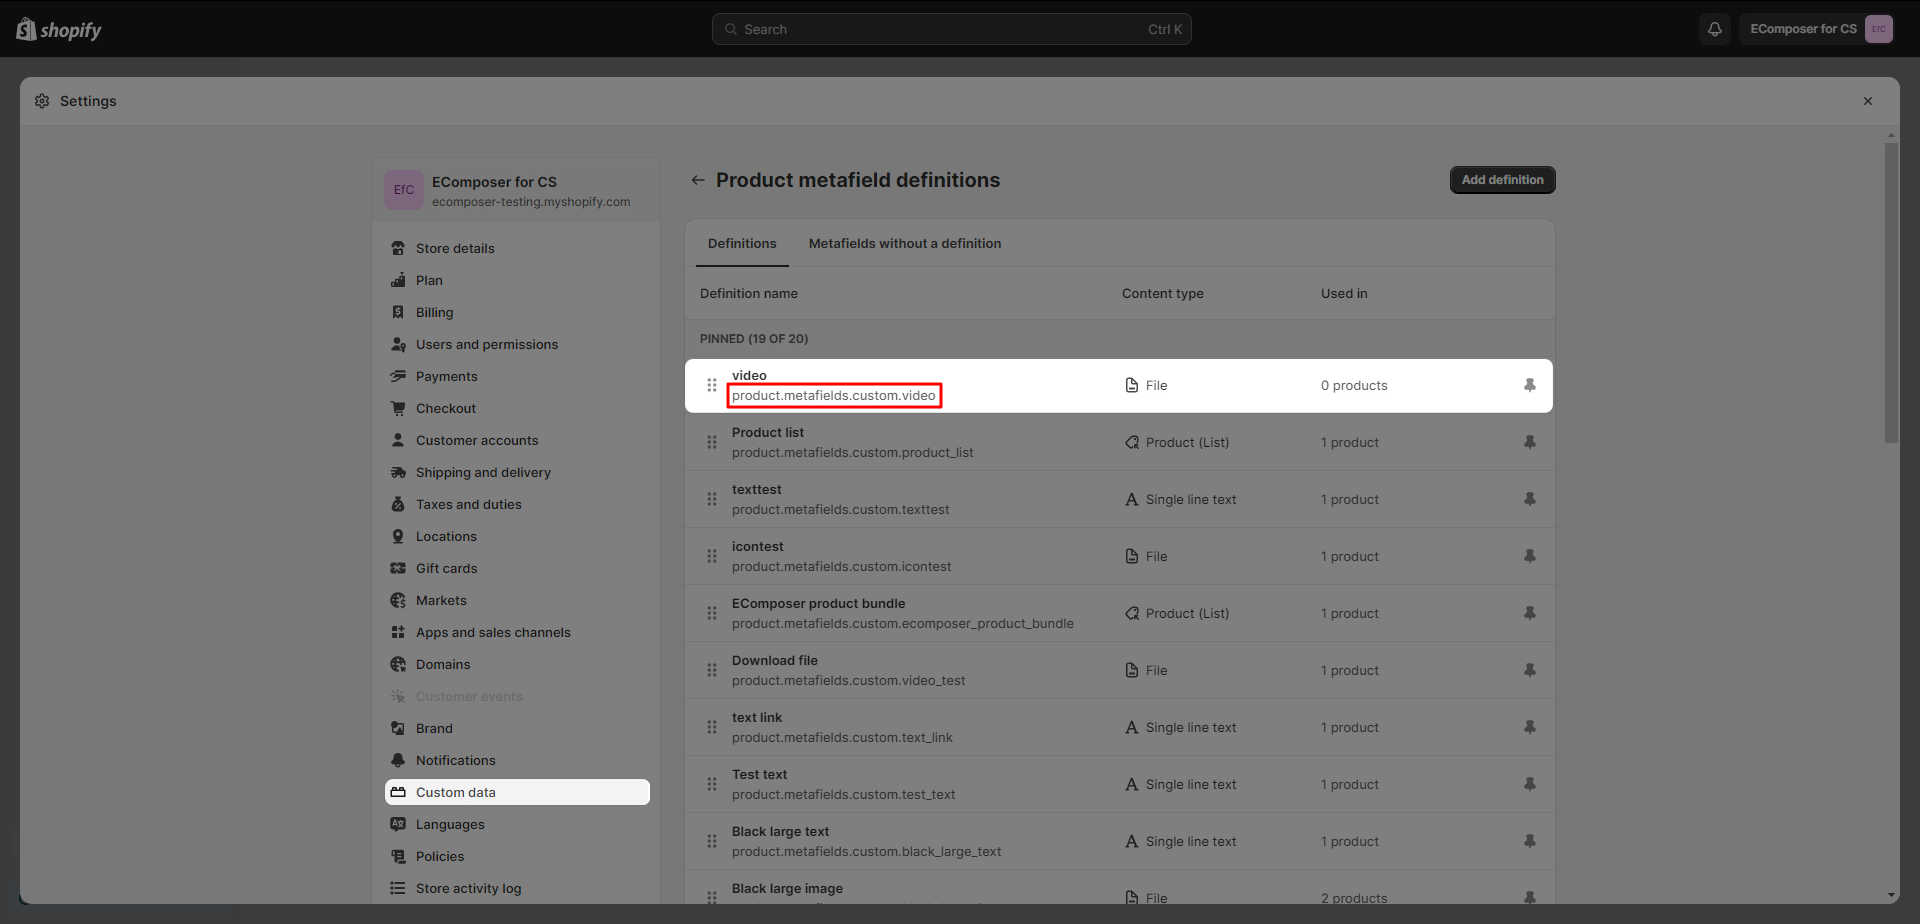
After creating a correct metafield type you will see this code snippet, let’s copy it product.metafields.custom.video
2. Adding video file to the product metafield
Open a certain product name that you want to show the Video file metafield. For example, I choose the “Leather Watch” product.
Scroll to the bottom of the page, you will see Metafield section appearing there.
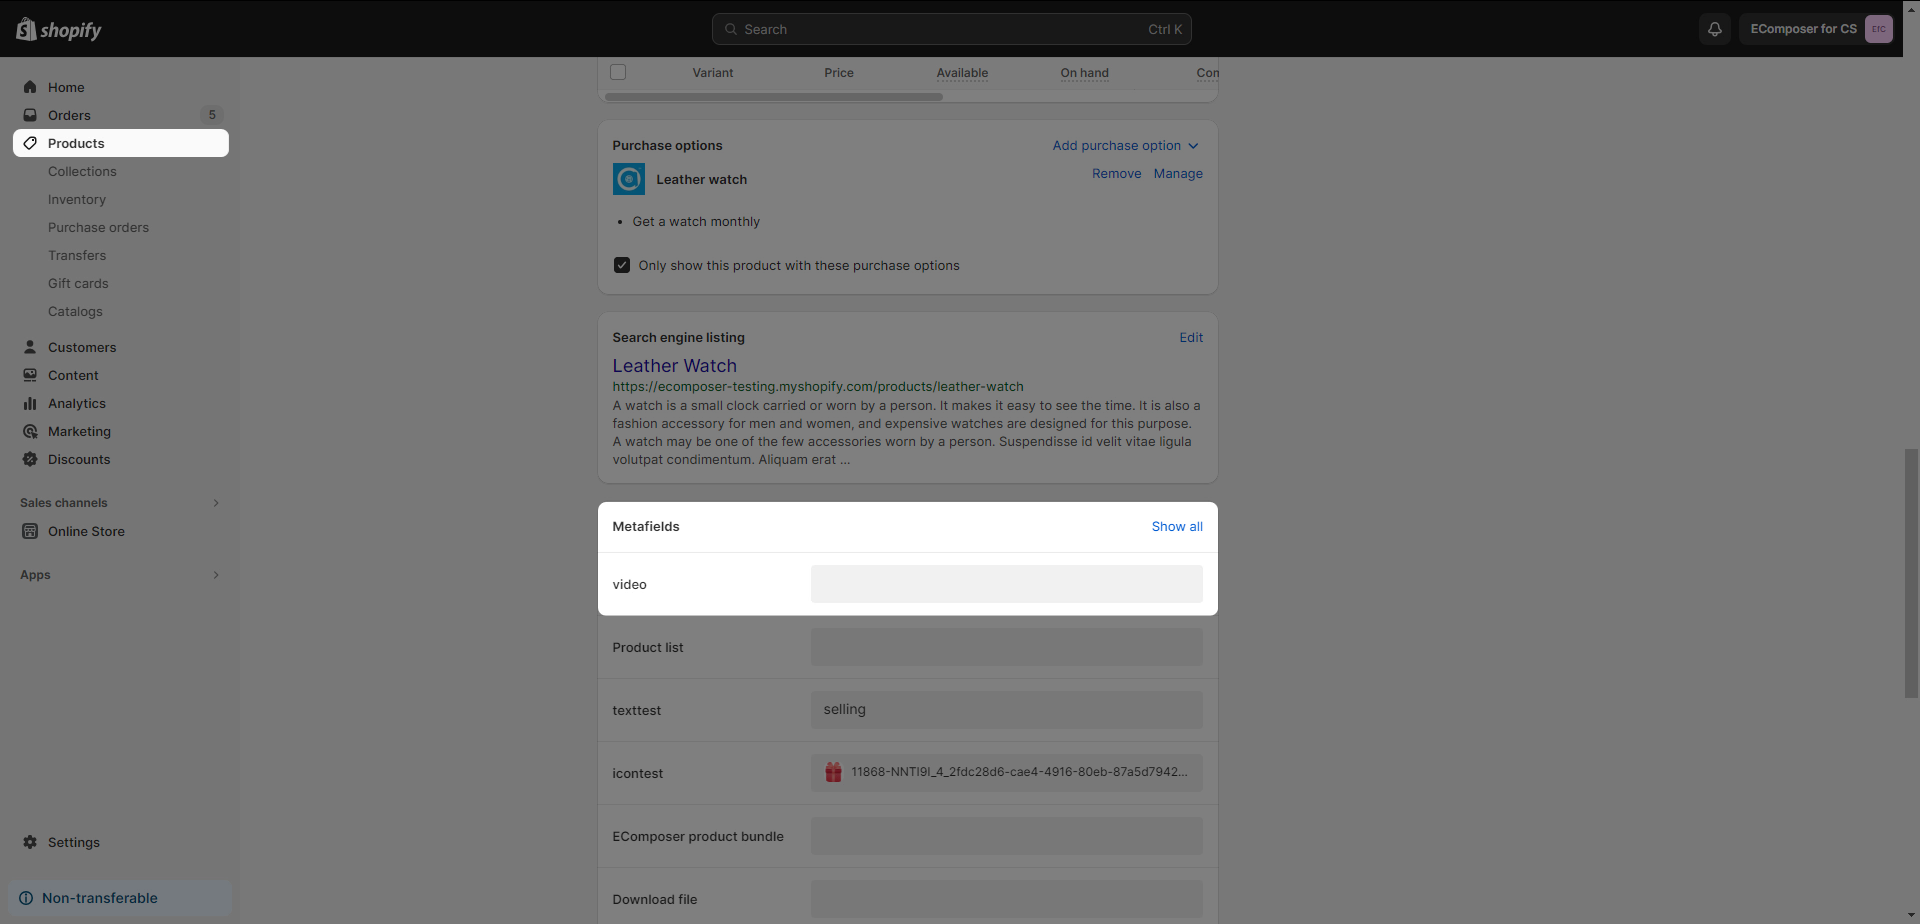
We will choose our uploaded video file -> Save
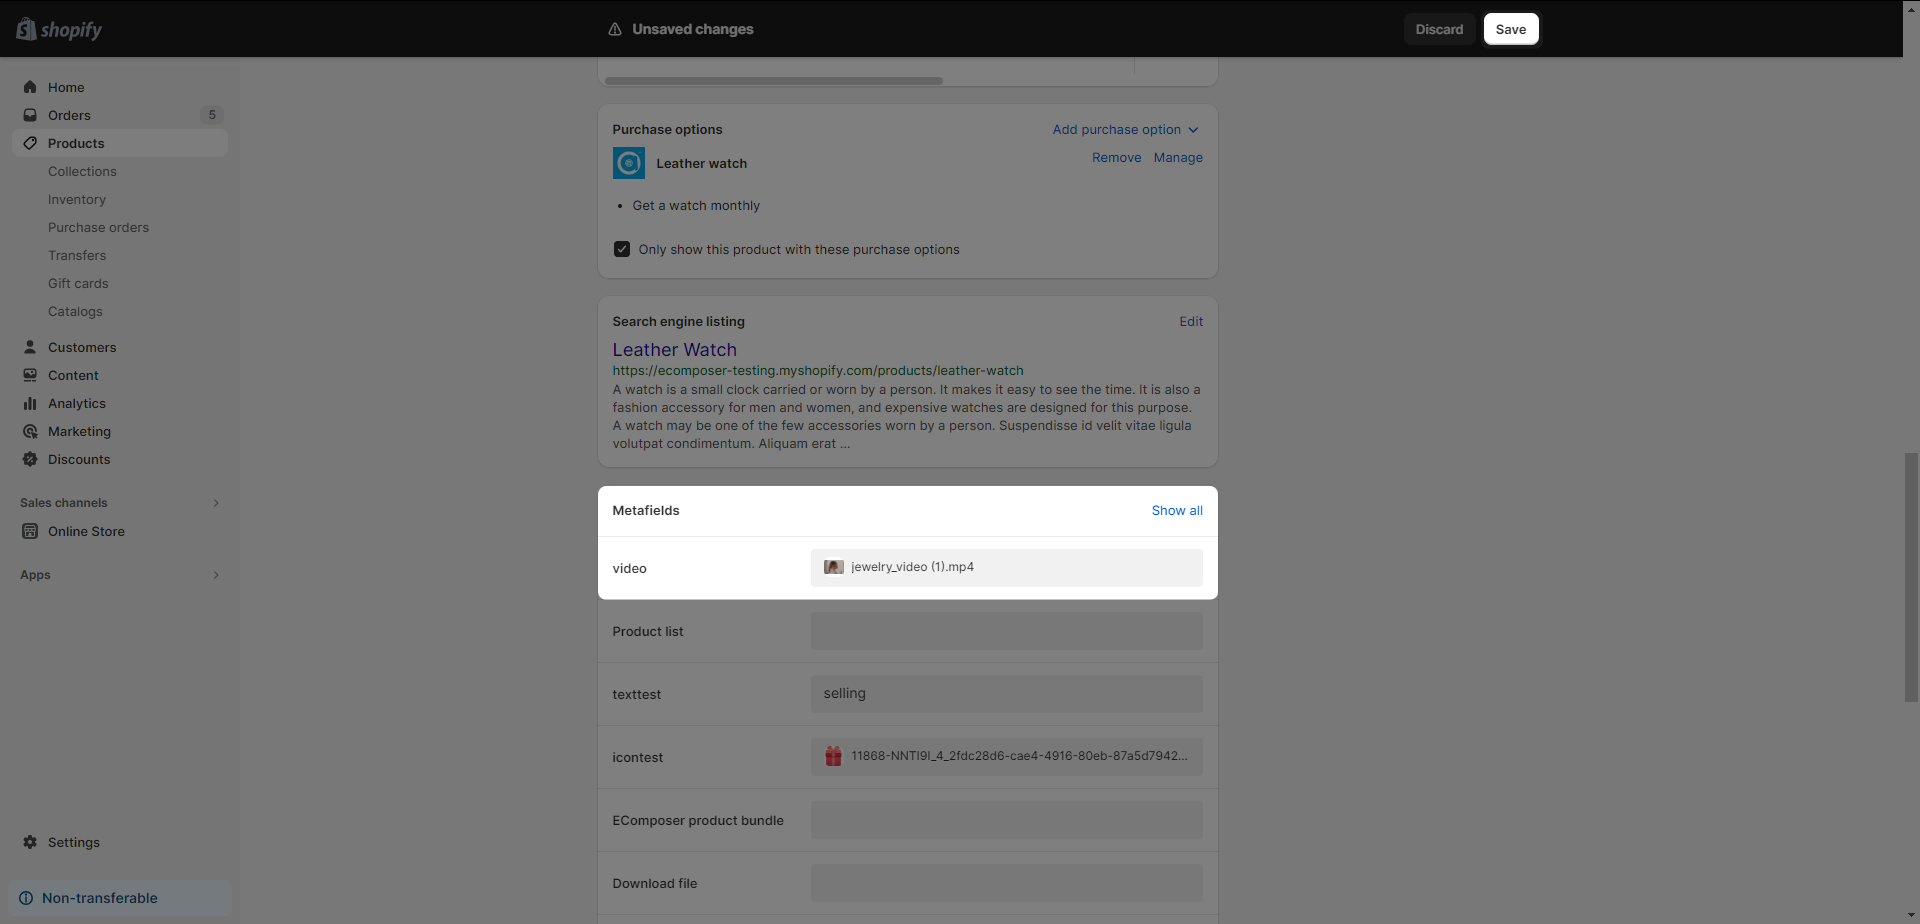
Go back to the EComposer Editor -> On a Product template, you can drag and drop Metafield element.
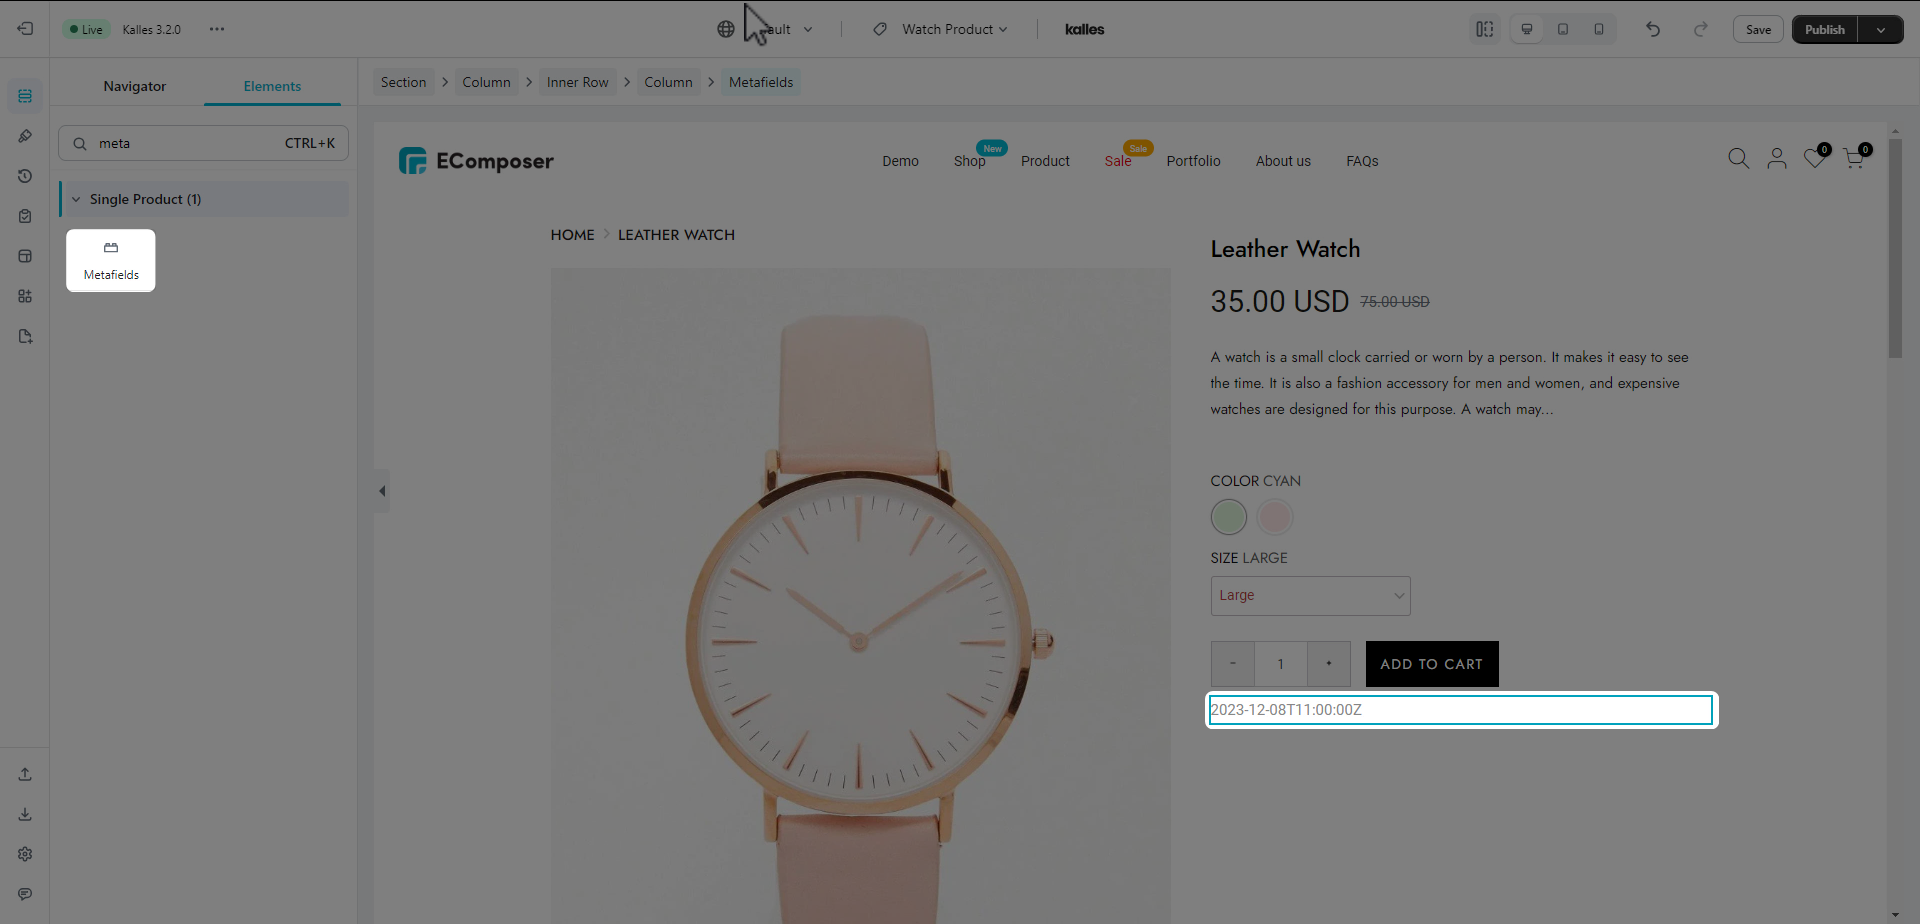
Paste your metafield code to replace the red bold text with your metafield at the code below:
<video width="100%" height="100%" autoplay playsinline muted>
 <source src="{{ product.metafields.custom.video.value.sources[1].url }}">
</video>
If you want to change the video with or height you can replace the “100%” inside the code:
<video width="100%" height="100%" autoplay playsinline muted>
 <source src="{{ product.metafields.custom.video.value.sources[1].url }}">
</video>
In the last step, you copy the whole code to paste into the Metafield box of Metafield element.
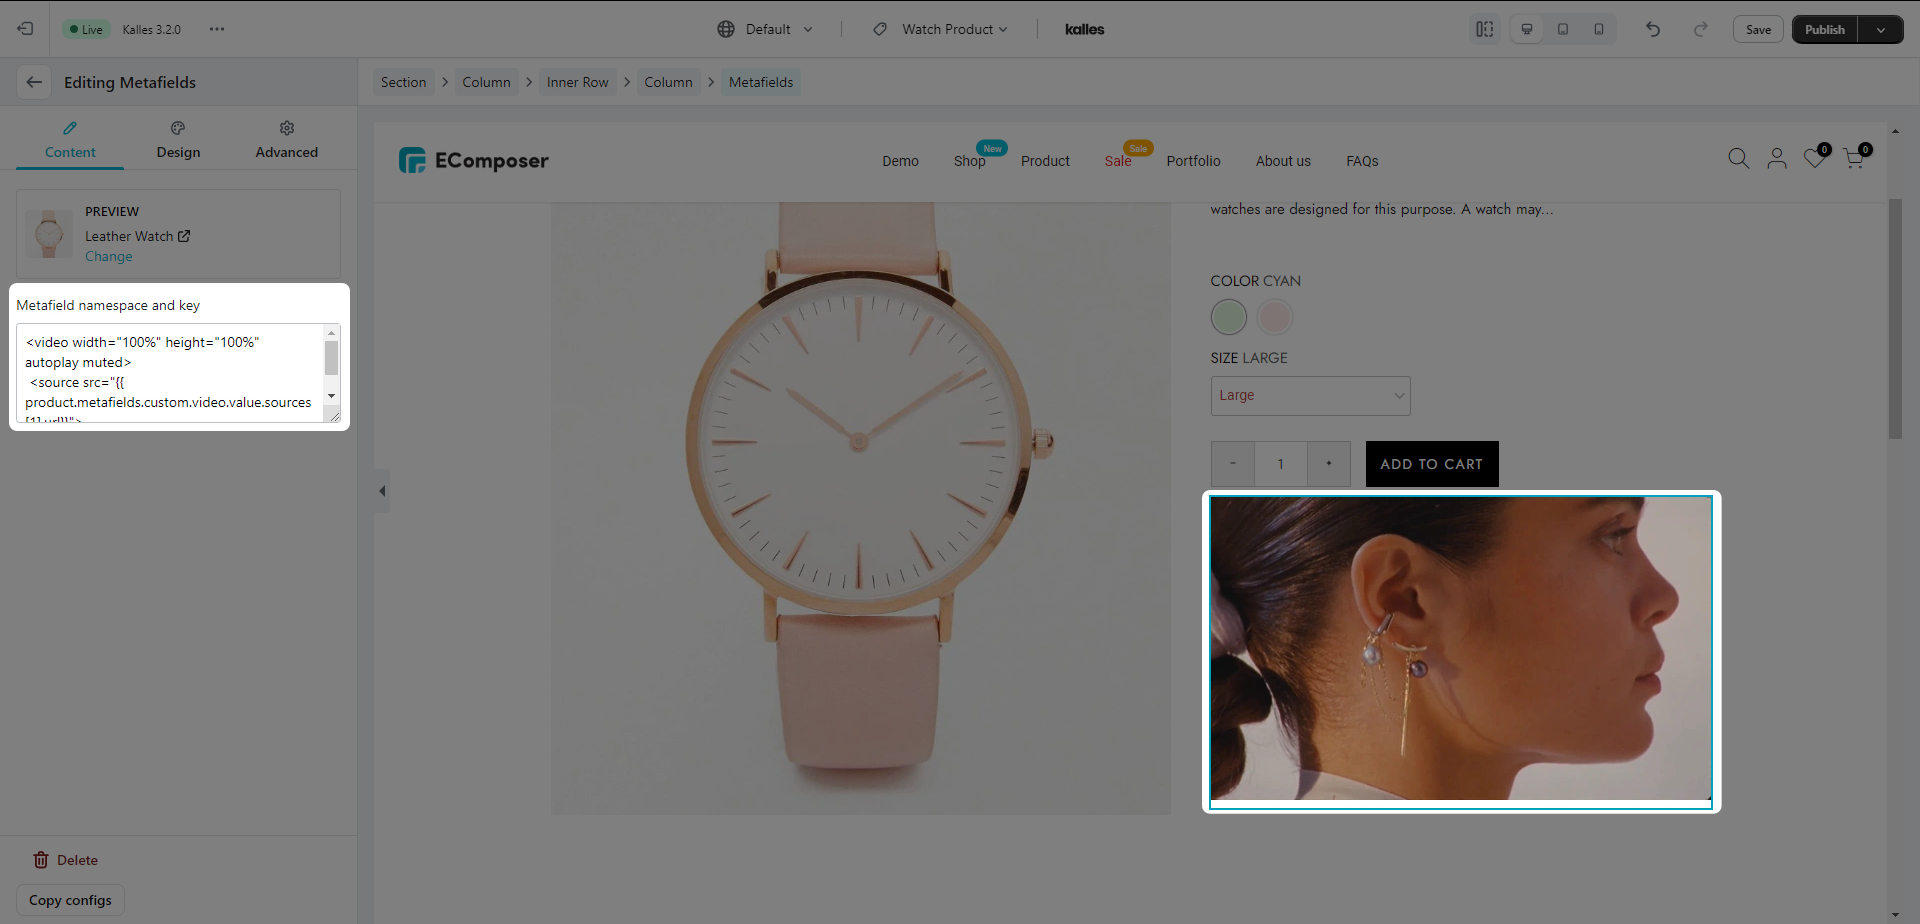
Please use below code to show the metafield type “List of files”:
{% assign videos = product.metafields.custom.videos.value %}
{% if videos %}
  <style>
    .video-container {
      display: flex;
      flex-wrap: wrap;
      justify-content: center;
      gap: 10px;
      max-width: 1200px;
      width: 100%;
      padding: 20px;
    }

    .video-container video {
      width: 100%;
      max-width: 400px;
      border-radius: 8px;
      box-shadow: 0px 4px 8px rgba(0, 0, 0, 0.1);
    }

    @media (min-width: 768px) {
      .video-container {
        flex-wrap: nowrap;
        justify-content: space-between;
      }

      .video-container video {
        width: 30%;
      }
    }
  </style>

  <div class="video-container">
    {% for video in videos %}
      {% assign vd = video.sources.last %}
      {% assign video_url = vd.url | default: '' %}
      {% assign preview_image = video.preview_image.src | image_url %}
      {% if video_url != '' %}
        <video  crossorigin="anonymous" controls {% if preview_image != '' %}poster="{{ preview_image }}"{% endif %}>
          <source src="{{ video_url }}" type="{{ vd.mime_type}}">
        </video>
      {% endif %}
    {% endfor %}
  </div>
{% endif %}


