Create Blog Posts in EComposer
By default, you can create blog posts in the Shopify Admin, but its editor is quite basic and lacks advanced functionality. That’s why EComposer provides a more powerful and flexible Editor. With EComposer, you can write and design your blog posts directly inside the app, allowing you to create more engaging, professional, and fully optimized content.
Note: With only $39/month, you can generate and edit unlimited blog posts
1. Create a Blog Post in EComposer
To create a new Blog post, please open the app then follow the steps below:
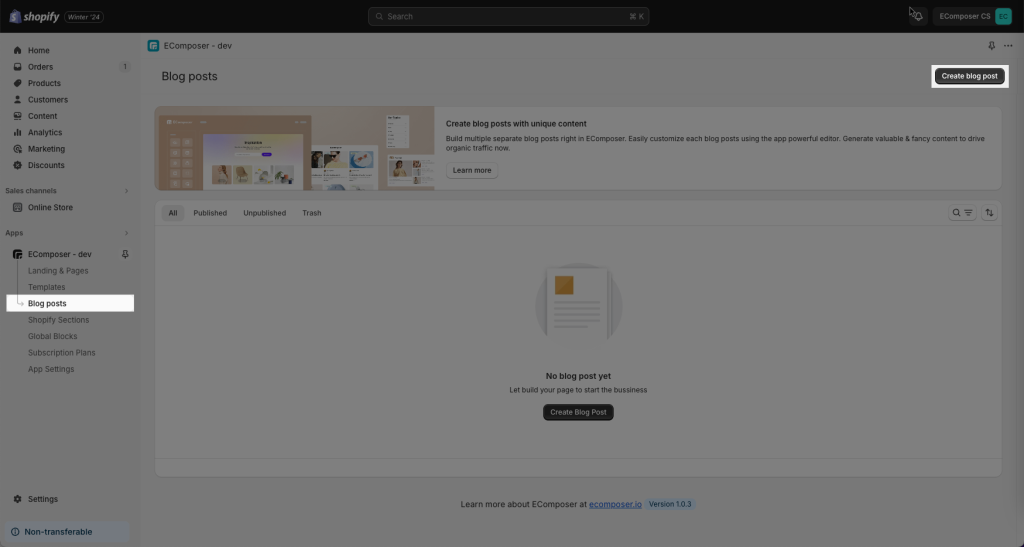
Step 1: From the Blog post menu -> Click the Create blog post button.
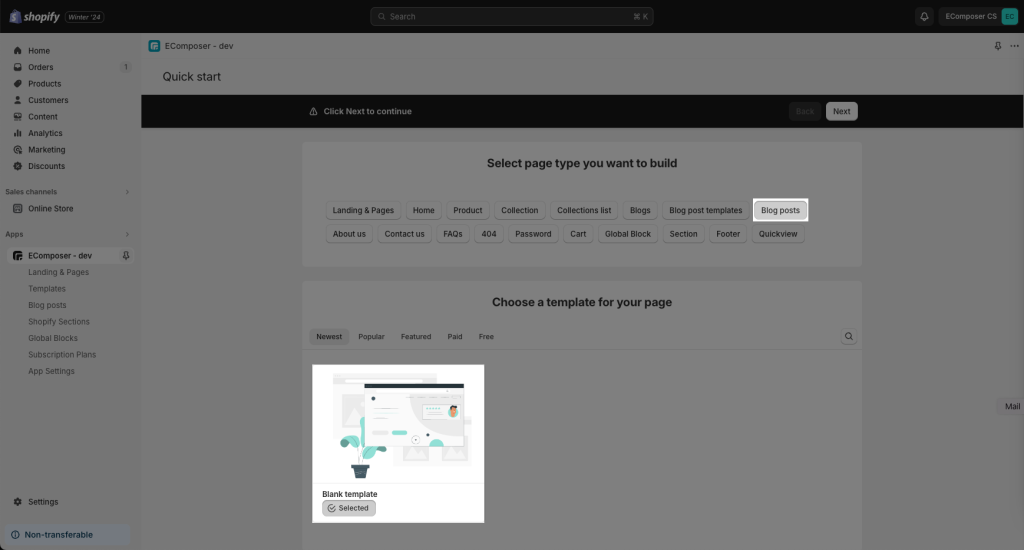
Step 2: Choose the Blank template
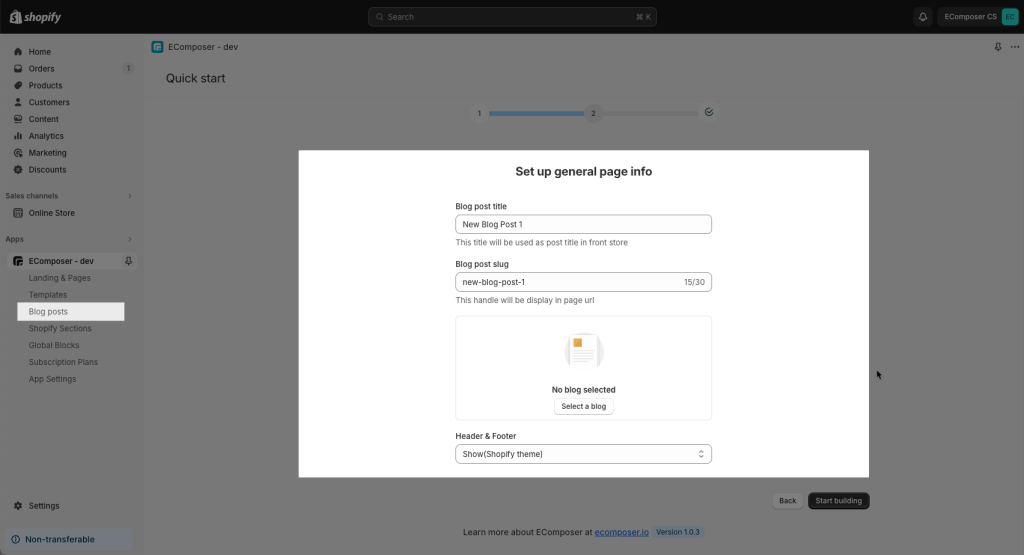
Step 3: Now let’s set up your general information for this post such as Title, page handle/slug, Category,…
Step 4: Add sections to your Blog post. Please follow this video below to learn how to build a Blog post layout from scratch
2. Edit Blog Post settings
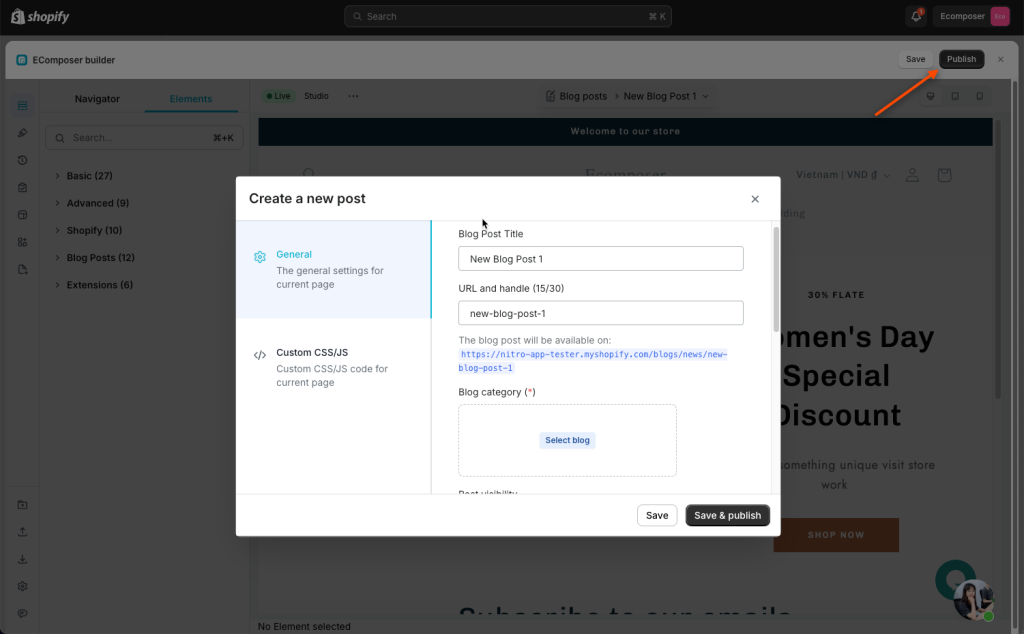
After you’ve done with the content, please press the Publish button (it does not publish your post immediately so don’t be worried). You will see another step to decide whether to Publish the page or not.
- Blog Post Title: You can enter your blog post title here.
- URL and handle: mustn’t be blank, you can edit your page URL in a good-looking way.
- Blog Category: Choose a Category that you already added in your Shopify Admin –> Blogs
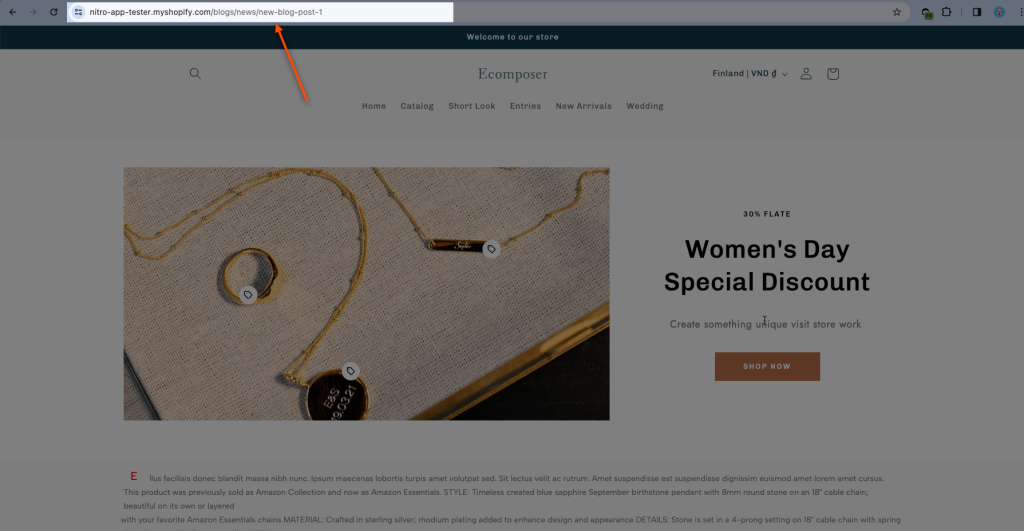
Page handle is the part of the URL that comes after your domain name, and it helps to identify each page on your website. This is where and how the page URL of a live page is showing on the browser’s search bar
- Post visibility:
+ Visible: if you choose this option, your page will be published promptly to your customer via the page URL.
+ Hidden (Unpublish page): only save your latest changes but not publish the page to visitors. - Meta description: A short text that describes the pages when shared.
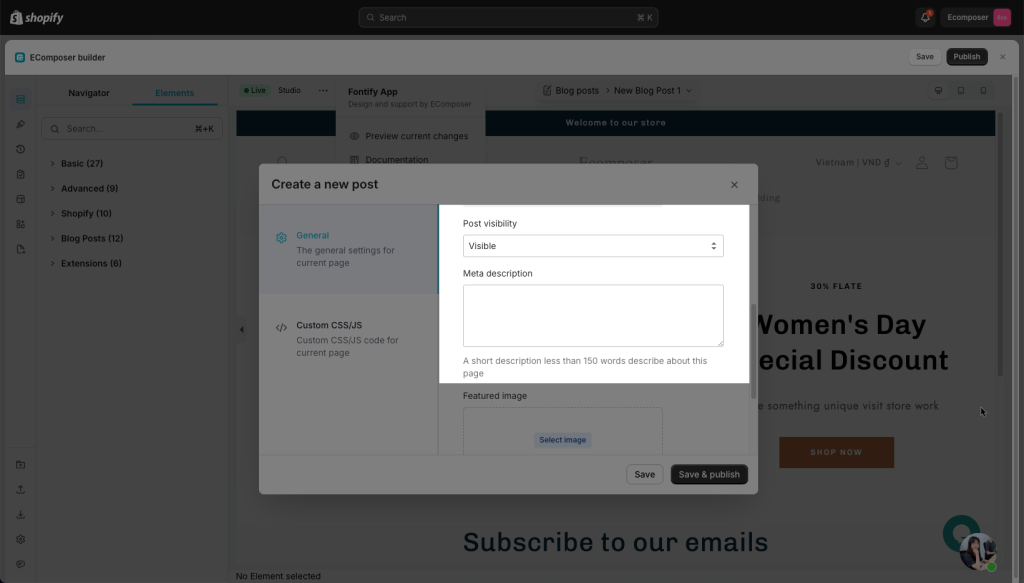
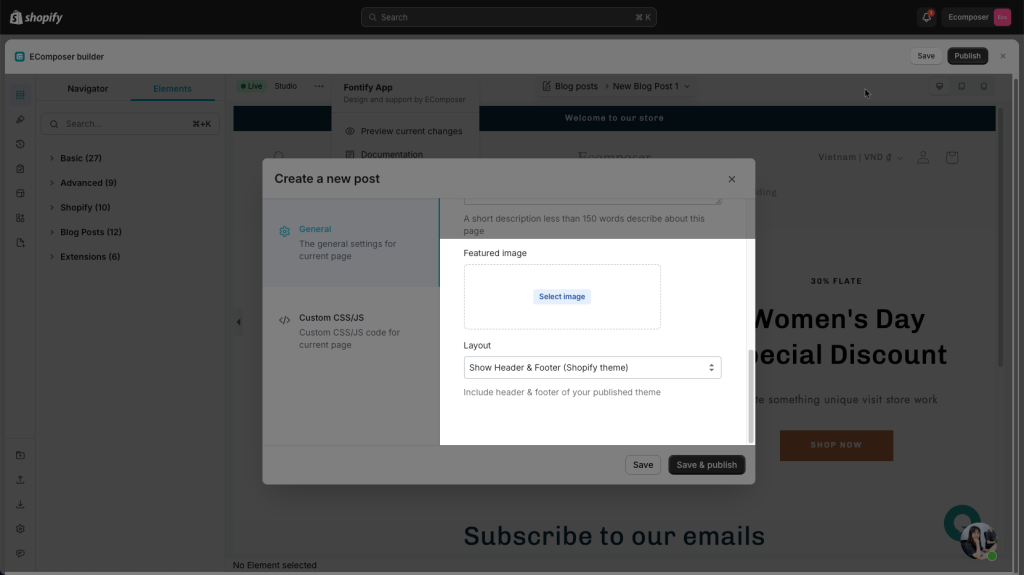
- Featured image: You can add the featured image for your Blog post here.
- Layout:
- Show Header & Footer (Shopify theme): This will use the theme header and footer.
- Hide: This will hide the theme header and footer in both the Editor and live page.
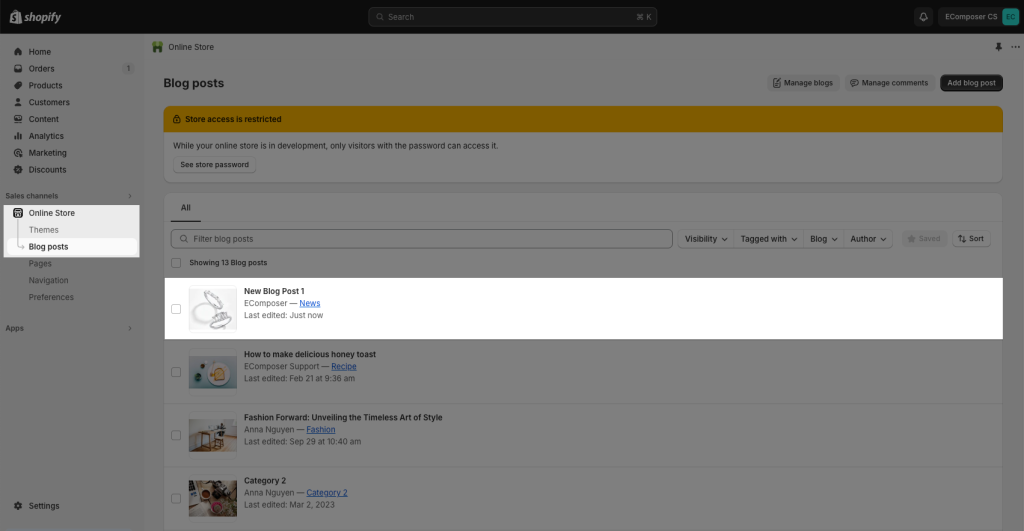
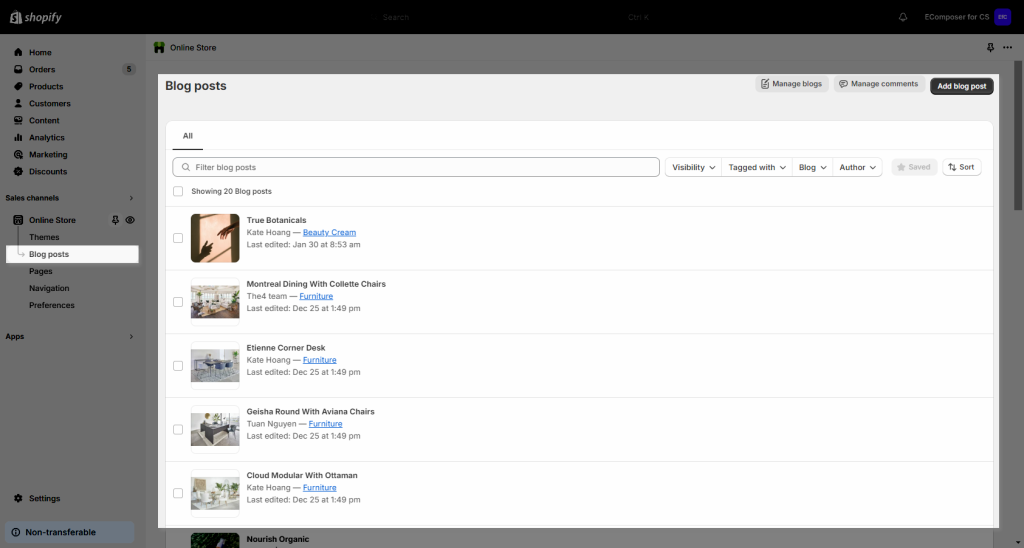
Lastly, in the blog post list of Shopify admin, you will see the new post showing here as well. But to edit this post content, you have to go back to Ecomposer app to do that
